


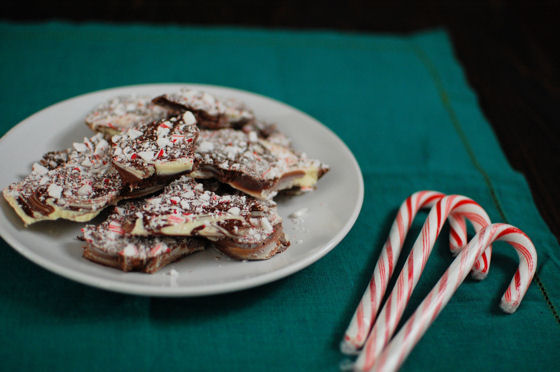
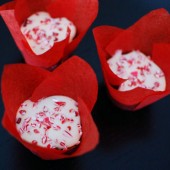
Swirled Peppermint Bark
If you’re looking for a quick gift for friends, hostess gift, or treat to take to work or a party, this swirled peppermint bark is always a sure bet.
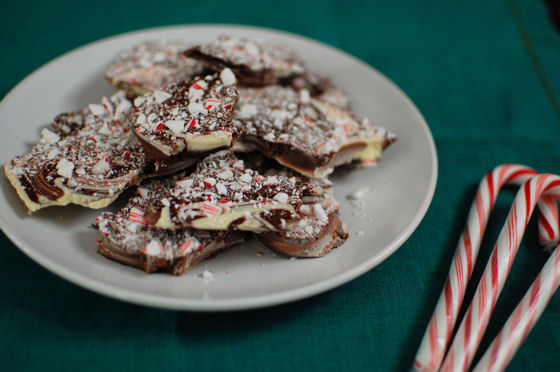
Peppermint bark is such a classic holiday treat. I was drawn to this one because it has swirled chocolate and white chocolate as opposed to the traditional layering that you see with most peppermint barks.
It comes as no surprise that this peppermint bark was a cinch to make and was a hit. I mean how can you go wrong with chocolate and peppermint? You can’t.
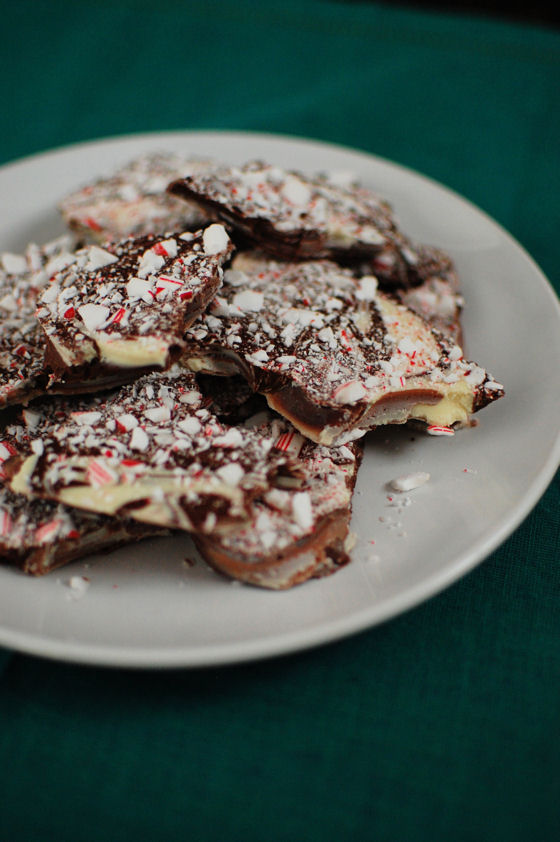
Definitely take the time to use a double boiler for both chocolates. Melted chocolate in the microwave works for most applications, but I wouldn’t risk it with peppermint bark. Especially since white chocolate can be quite high maintenance…
Two Years Ago: Beef Stew and Massaged Kale with Pear and Pumpkin Seeds
Three Years Ago: Homemade Green Bean Casserole and Turnip Puff
Four Years Ago: M&M Surprise Cookies and Cookie Dough Brownies
Five Years Ago: Lumberjack Cookies and Peppermint Sandies


Swirled Peppermint Bark
If you're looking for a quick gift for friends, hostess gift, or treat to take to work or a party, this swirled peppermint bark is always a sure bet.
Ingredients:
1.5 lb white chocolate
1.5 lb semi-sweet chocolate
8 candy cane, crushed
Directions:
Set up two double boilers (a simmering pot of water with a glass bowl sitting over top, not touching the water.
Let the chocolate melt mostly on it's own, stirring every once in a while with a rubber spatula. When it's mostly melted, remove it from the heat, being careful to make sure water doesn't get into the chocolate.
Stir until completely smooth and then spoon each chocolate in random blobs on a wax paper-lined 11x17, filling most of the surface.
Using the end of a small knife held vertically, swirl the chocolate until you're happy with the presentation.
Pick up the pan a few inches off the counter and let it fall back, to evenly distribute the chocolate and get rid of any air bubbles.
Scatter the candy cane pieces over the top.
Let sit at room temperature until completely hardened. Break the bark into pieces.
Store at room temperature in a covered container.
Recipe from Confections of a Foodie Bride


 I am Jen the Beantown Baker. Engineer by day and baking maven by night. Hubby serves as my #1 fan and official taste tester. We got hitched back in 2006. Barefoot. In the sand. With the waves crashing behind us. It was one of the best decisions we’ve ever made.


Many times I’ve thought about adapting this recipe to making a fruit-flavored cheesecake swirl, like strawberry or raspberry. You beat me to it! They look lovely and I’m sure tasted amazing!
Thank you so much for sharing this great recipe! I tried and my family loved it!!!
beantownbaker — January 27th, 2013 @ 4:13 pm
So glad you guys enjoyed them!
This is amazing. Baked this last night using frozen blackberries and it turned out great. Thanks for sharing <3
beantownbaker — August 30th, 2013 @ 7:23 am
So glad you enjoyed them!
I’m so excited to try these! I have stacks of blackberries and felt sure they would go brilliantly with chocolate cake. I’d thought of making chic brownies served with fresh berries but these look even better! Thanks.
beantownbaker — September 2nd, 2014 @ 7:28 pm
Hope you enjoyed these.