


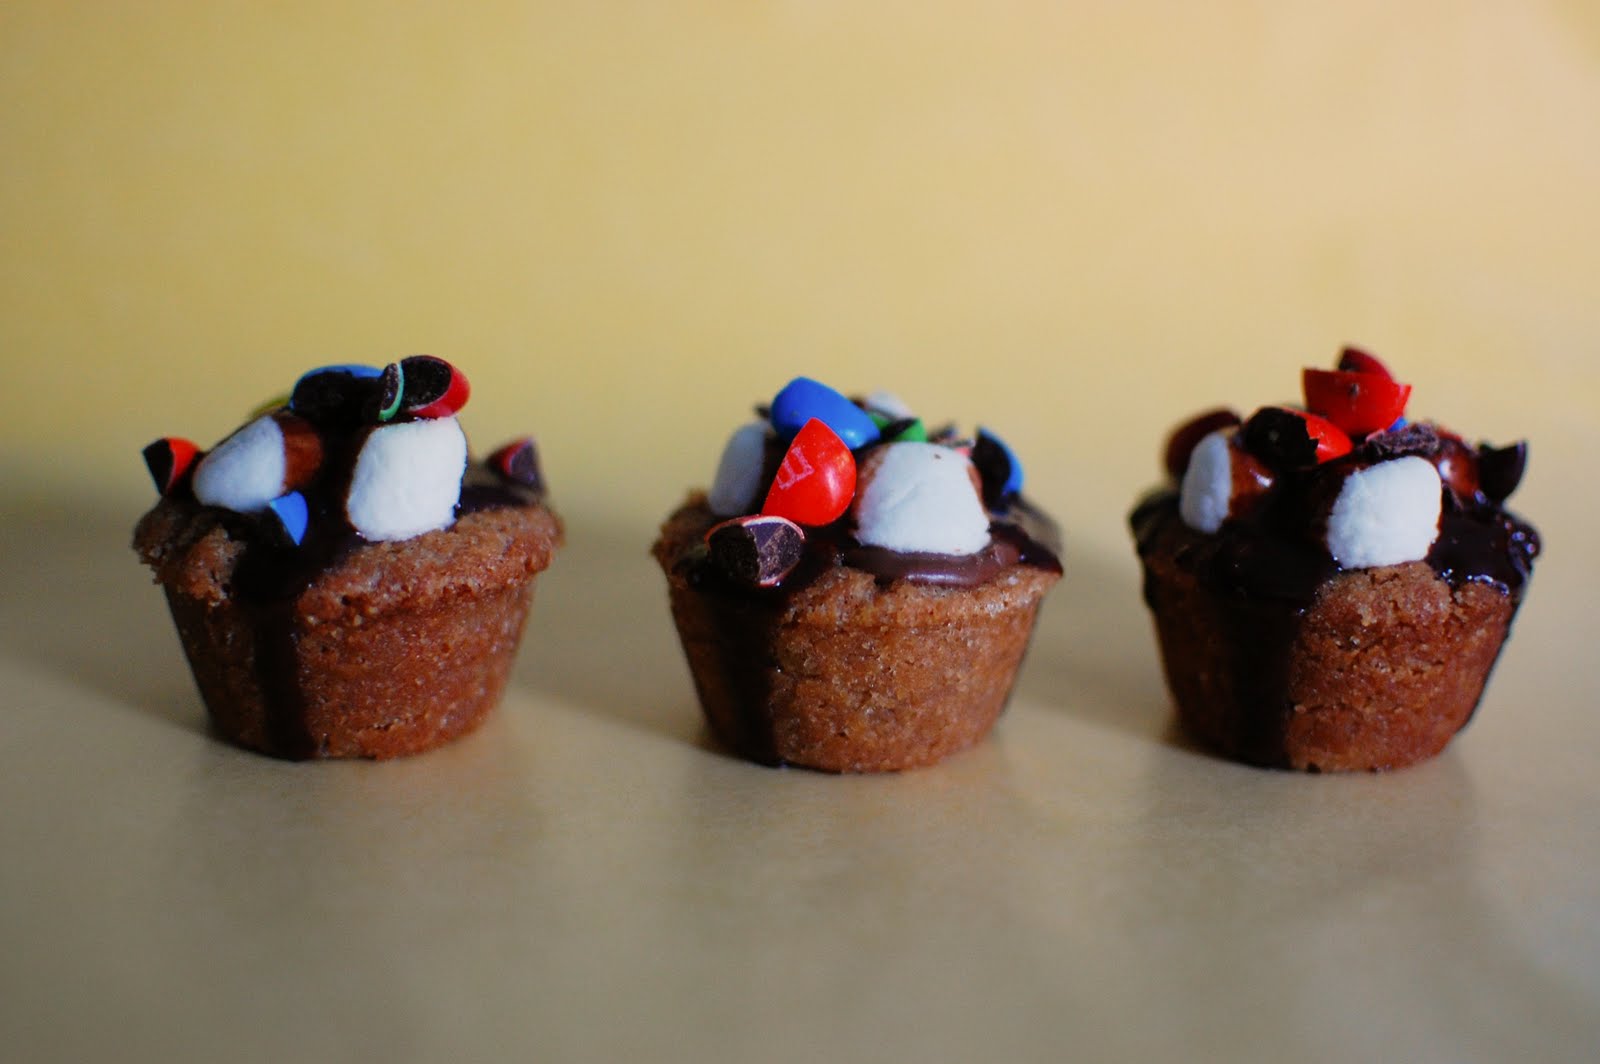
M&M Surprise Cookies
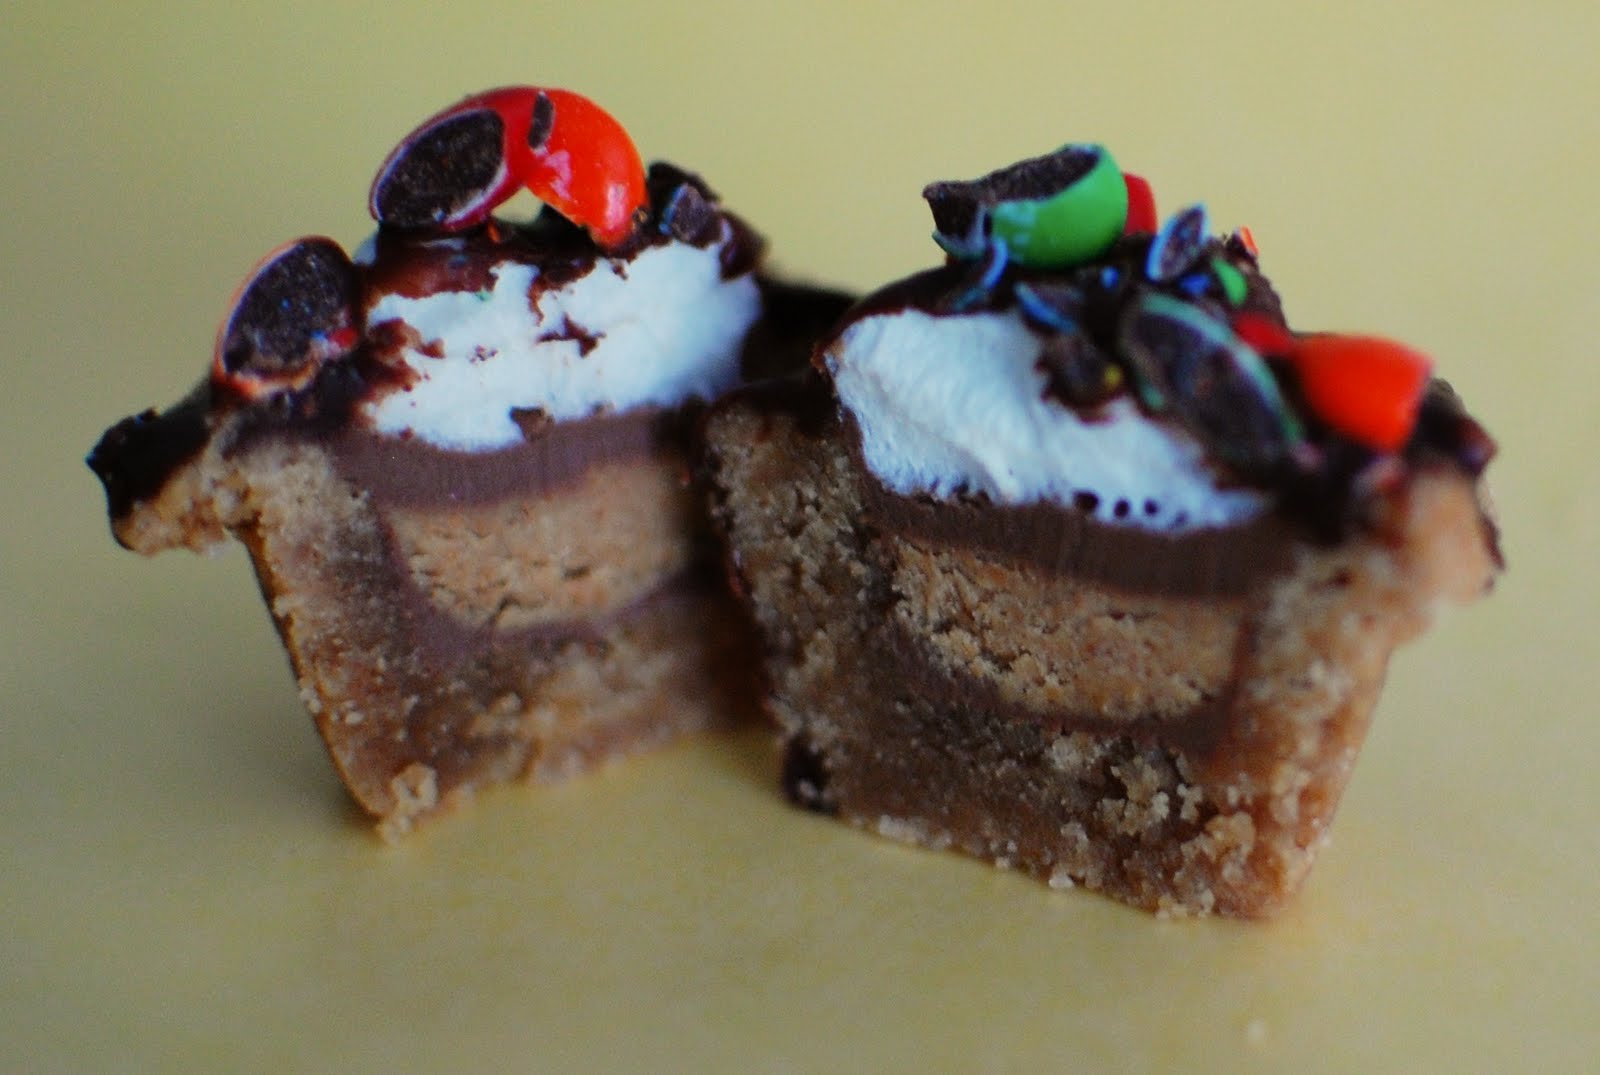
These cookies should be called “Super Sugar Overload Cookies”. They’re pretty intense. I could only handle eating one of these and I love chocolate and peanut butter. When you consider the anatomy of this cookie, it’s not wonder they’re sugar-coma inducing. Start with a peanut butter cookie pressed into a mini-muffin tin, then a Reeces peanut butter cup is pressed into the cookie. On top of the peanut butter cup are 4 mini marshmallows heated until they puff up. Next, a drizzle of chocolate which is finally topped with some crushed M&Ms. These little guys really pack a punch of flavors. It’s like a sugar party in your mouth.
I had a really hard time finding mini-M&Ms. In fact, I couldn’t find them. I looked in three stores with no luck. So I just used regular M&Ms that I chopped up a bit so they wouldn’t be disproportionate in size. It worked just fine.
Definitely be sure to let the peanut butter cookies cool completely in the pan. If you try to remove them too early, they’ll get all smooshed up and it won’t be pretty.

I had some issues with the peanut butter cookie batter. It had an odd texture even prior to baking. It was a bit gritty. Next time, I would definitely cream the peanut butter, then add the sugar and cream those two ingredients prior to adding the eggs. I think that would help with the texture. It wasn’t horrible, just not as smooth as I would have thought.


Peanut Butter Cup Surprise Cookies
Yield: ~36
Ingredients:
2 Cup creamy peanut butter
2 Cup sugar
2 egg
24 mini Reeses Peanut Butter Cups, unwrapped
mini marshmallows
2 Cup semi sweet chocolate chips
4-6 Tablespoons heavy cream
1/2 Cup mini M&M’s - I used chopped M&Ms
Directions:
Preheat oven to 350 degrees F. Place peanut butter, sugar and egg into a large bowl and mix until well combined.
Scoop dough evenly into a 12 count mini cheesecake pan or mini muffin pan. Cook for 13-15 minutes until almost done.
Remove from oven and press a peanut butter cup into the center of each cookie until flush with cookie top. Top each cookie with 4 mini marshmallows and return to oven for 2-3 more minutes or until marshmallows are puffed. Remove and set aside to cool for 10 minutes.
Place chocolate chips into a microwave safe bowl and microwave in 30 second intervals until melted smooth. Stir in 2-3 Tablespoons heavy cream until silky and smooth. Spoon chocolate over top of puffed marshmallows and sprinkle with mini M&M’s.
Recipe from Picky Palate
 I am submitting these as my entry for Flavor of the Month on Bake at 350. This month, the flavor is Cookies!


 I am Jen the Beantown Baker. Engineer by day and baking maven by night. Hubby serves as my #1 fan and official taste tester. We got hitched back in 2006. Barefoot. In the sand. With the waves crashing behind us. It was one of the best decisions we’ve ever made.


This looks like such a perfect gift! Are those your homemade marshmallows I spy in the mug?
Of course they are! I seriously can’t justify buying marshmallows anymore. They’re just so easy and SO good homemade. I even whipped up a batch to put on our twice baked sweet potatoes for Thanksgiving.
I really wanted to do this this year for gifts but time escaped me. Looks great!
Soooo here’s the deal- A Boston Food Diary is going to look A LOT like Beantown Baker next week as I steal your recipes 🙂 Looks great Jen!
Why have I never thought about doing this? It looks so easy and it definitely would give me an excuse to make some homemade marshmallows!
That looks like an amazing gift! Making a homemade hot cocoa would definetly save money. Thanks for the recipe(:
Ghirardelli cocoa is very good and your homemade hot cocoa mix …too!!! May you have a special merry Christmas!!!Hugs, Flavia
I have never thought of making my own cocoa mix OR marshmallows. I feel a winter project coming on. Looks delicious!
I have had this bookmarked to make to some gifts for a couple of my girlfriends. So awesome and easy to make!
-Amanda
Loads of thanks to you. I can make everyone happy this Christmas. This recipe is even easy to follow.
Yum! What a great holiday gift idea!