


Homemade Ginger Beer
You guys might be wondering what motivated me to make my own ginger beer. I have Lindsay to thank for that. Do you guys know Lindsay? She’s the superstar behind the design of many many food blogs out there (mine included) thanks to her company Purr Design, she has written not one, but two cookbooks, and she posts regularly on her own food blog, Love and Olive Oil. For the past few months, she has been challenging herself in the kitchen and asking her readers to join in her challenges. For the month of May, she decided to tackle Homemade Ginger Beer. Since the Dark and Stormy is one of my favorite cocktails out there (I’ve even made Dark and Stormy cupcakes!), I decided I’d join in the party.
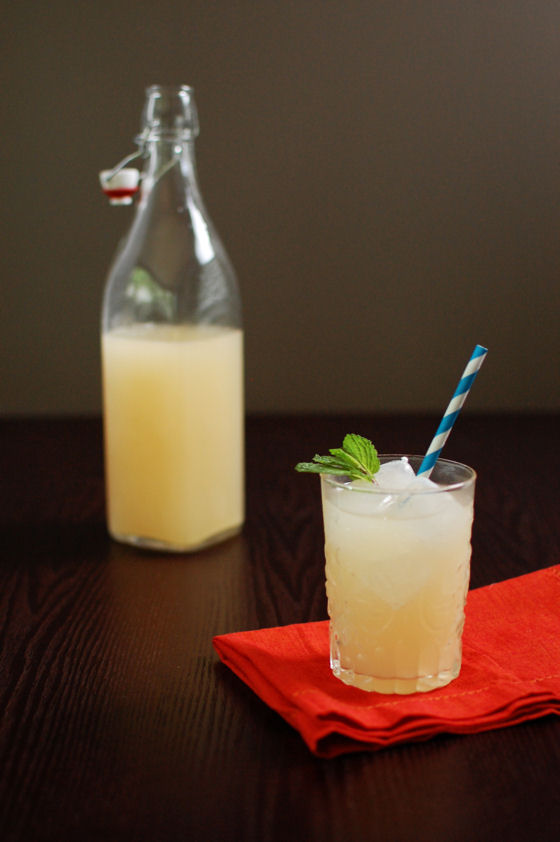
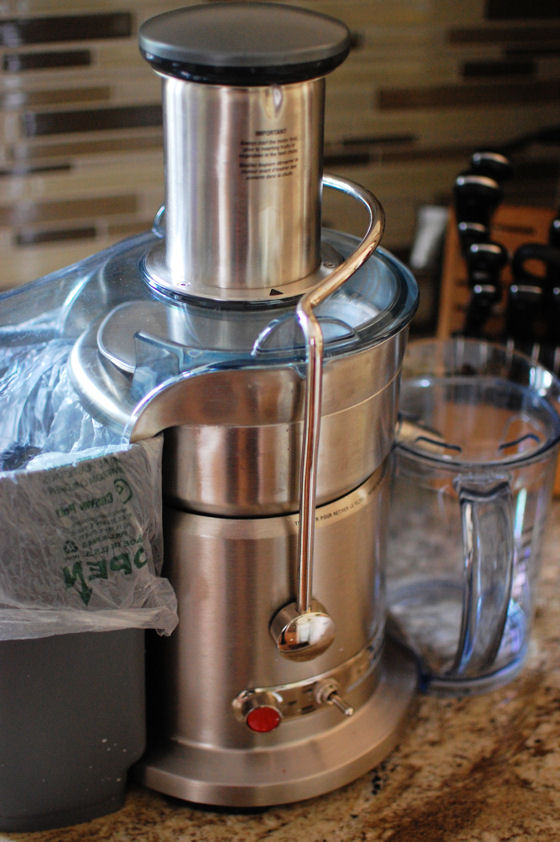
After reading Lindsay’s post, I decided to go with Jeffrey Morgenthaler’s recipe for homemade ginger beer. Since I have my beloved Zeus, I knew I’d have no issue procuring the fresh ginger juice. The only things I needed to purchase was a bottle to brew the ginger beer in and the champagne yeast used in the recipe. I decided to go with this 32 oz bottle with a flip top lid. I decided it would be perfect for the ginger beer and later for serving water out of when we have guests over.
Once the bottle and yeast arrived from Amazon, I set out to start my first batch of ginger beer. Since Jeff’s recipe was for 16 oz, I simply doubled it. However, I had underestimated how much ginger I would need for the 2 oz of ginger juice… I also realized at that point how difficult it was to count out 50 granules of yeast. And how SMALL of an amount of yeast that was. Deflated, I decided to try again in a few days.
While the days were passing, I started reading more of the comments on Jeff’s post with the recipe. Multiple people had commented that counting yeast granules was absurd and even if you did, it didn’t usually give the fizziness expected from ginger beer. Somewhere deep down in the comments, Jeff mentioned that he uses ~1/16 tsp of yeast per 16 oz bottle instead of counting out granules of yeast.
So I set out again to make homemade ginger beer. This time, I made sure I had plenty of ginger on hand for juicing. I topped my mixture with the 1/8 tsp of yeast for my 32 ounces of ginger beer, shook it, put a lid on it and took it to the basement. Jeff mentioned that you can have bottles explode, so I wanted to store my ginger beer in a safe place while it fermented.
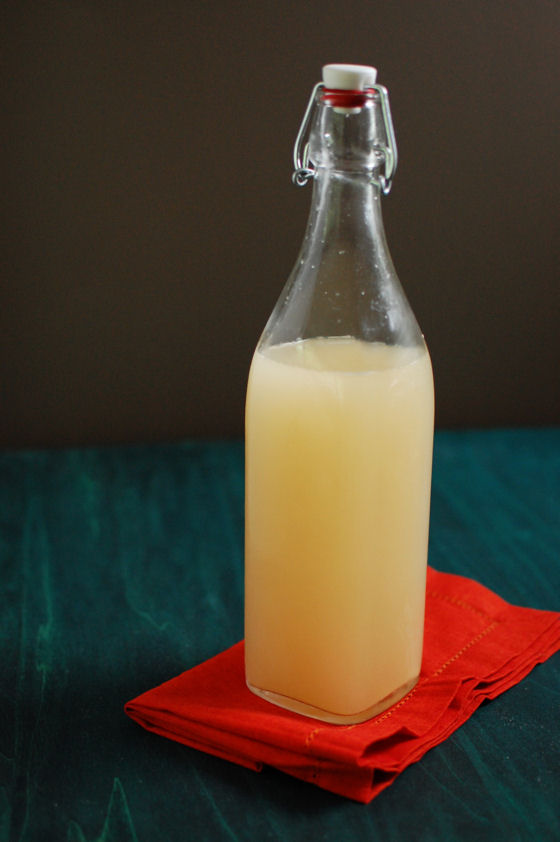
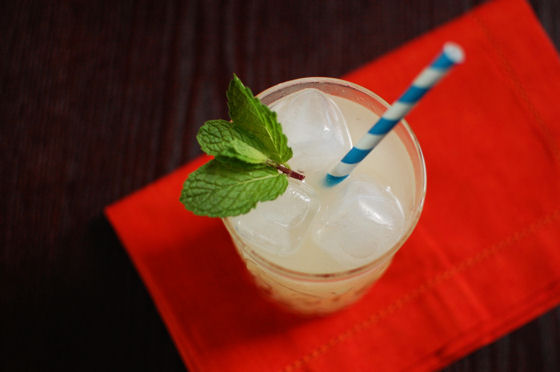
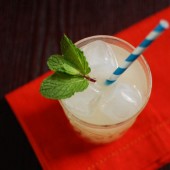
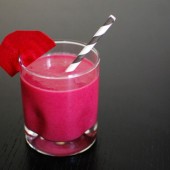
Exactly 48 hours later, I moved the ginger beer to the fridge and we tried it the next day. The verdict? Definitely worth making at home. Hands down, amazing. 32 ounces only made a couple Dark and Stormys so I look forward to making this again and playing around with the amount of lemon juice in the recipe. Some of the commenters on Jeff’s page even had ideas of adding honey or herbs like thyme.
Thanks Lindsay for challenging me to make something at home that I never would have thought to make on my own! Be sure to check Lindsay’s blog to see how everyone else did.
One Year Ago: Raspberry Rhubarb Muffins and American Potato Salad
Two Years Ago: Chipotle Pork Stew
Three Years Ago: Chocolate and Peanut Butter Pops and Homemade Ding Dongs
Four Years Ago: Rhubarb Rolls
Five Years Ago: Chocolate Cupcakes with Cream Cheese Frosting


Homemade Ginger Beer
Ingredients:
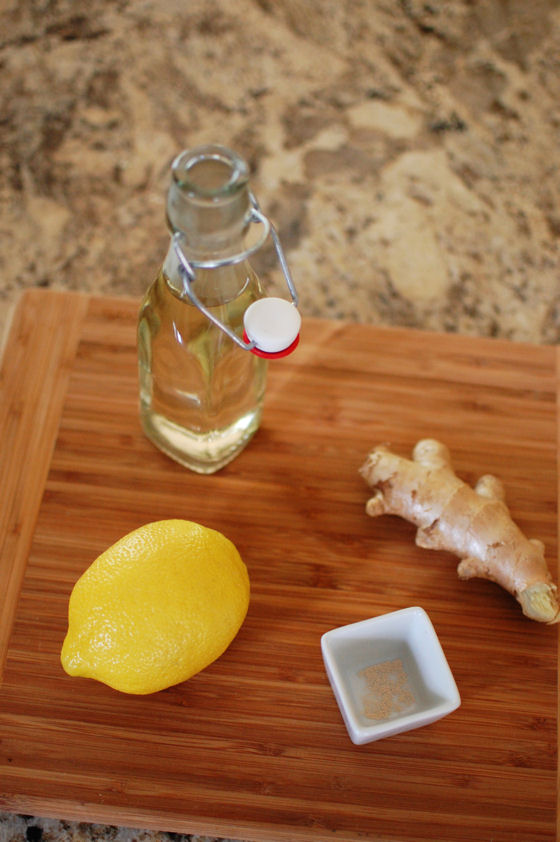
2 ounces ginger juice
4 ounces fresh lemon juice, finely strained
6 ounces simple syrup
20 ounces warm water
1/8 tsp champagne yeast
Directions:
In your bottle, combine ginger juice, lemon juice, simple syrup, and water. Shake to combine.
Top mixture with yeast. Seal the cap securely, shake well, and store for 48 hours – no more, no less – in a warm, dark place.
After 48 hours have passed, refrigerate immediately to halt the process.
Recipe from Jeffrey Morgenthaler


 I am Jen the Beantown Baker. Engineer by day and baking maven by night. Hubby serves as my #1 fan and official taste tester. We got hitched back in 2006. Barefoot. In the sand. With the waves crashing behind us. It was one of the best decisions we’ve ever made.


Oh my gosh. Key lime curd sounds and looks SOOOOOOOOOOO good! mmm….
I’ve not had lime curd before, but I think I’ll give it a go after seeing this – it looks delicious Jen!