


Dairy Free Vanilla Bean Ice Cream
When it comes to ice cream, they say men prefer vanilla and women prefer chocolate. That is definitely true in our household. Hubby would always choose vanilla over chocolate and I would always pick chocolate. That’s why the first ice cream that I made with my new ice cream maker was chocolate.
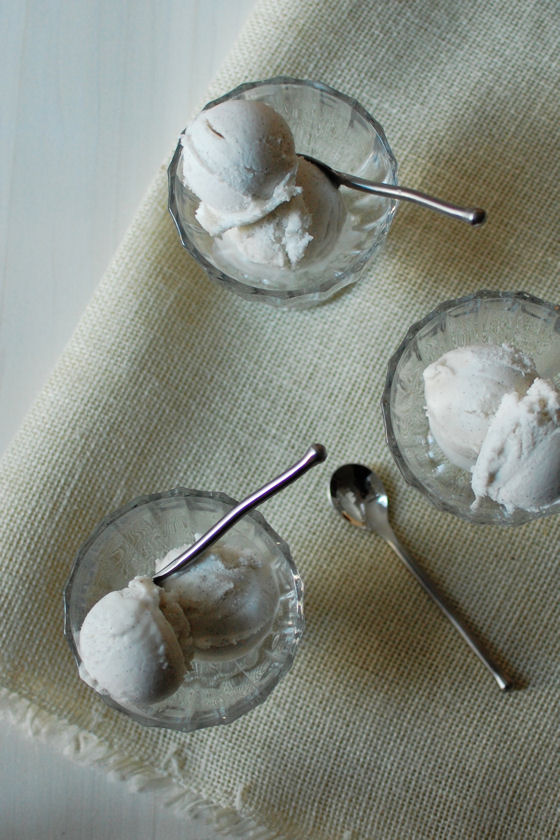
But soon enough, I decided to make some vanilla ice cream. I threw in more vanilla than the recipe called for because I wanted it to be really vanilla-ey and have the signature speckles that can only come from using fresh vanilla beans.
For this ice cream, I used coconut milk again, but I used half low fat and half full fat. I knew that the low fat coconut milk might affect the texture of the ice cream. Since it has more water in it, it can produce a more icy texture since the water crystals turn to ice.
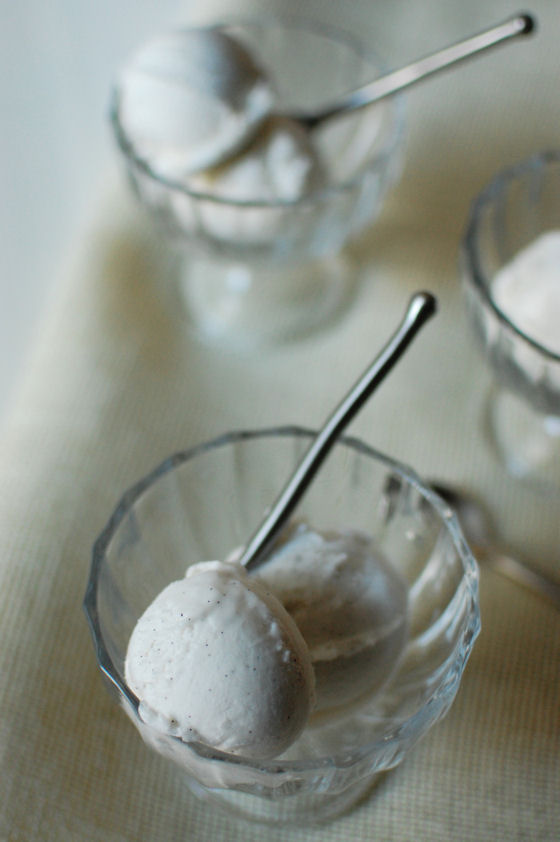
While the texture was a bit icy, the ice cream was Hubby approved as delicious dairy free vanilla bean ice cream. I enjoyed it with sprinkles on top because I love sprinkles.
One Year Ago: Blackberry Cheesecake Swirled Brownies and Purple Potato, Tomato, and Goat Cheese Bruschetta
Two Years Ago: Cranberry Raisin Almond Banana Bread and Cinnamon Chip Scones
Three Years Ago: Not So Newlywed Map and Black Bean and Bell Pepper Cous Cous Salad
Four Years Ago: Spicey Orange Shrimp and Alton Brown’s The Puffy
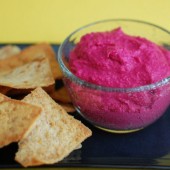
Five Years Ago: Roasted Red Pepper Hummus and Shrimp Scampi with Mushrooms and Asparagus


Vanilla Dairy Free Ice Cream
Ingredients:
2 cans coconut milk (I used one can of light and one can of regular)
3/4 cup sugar
2 vanilla beans
1 Tbsp vanilla extract
Directions:
In a medium saucepan, combine coconut milk and sugar.
Make a slit in the vanilla beans along the length of the bean. Scrape seeds out of pod into milk mixture. Add pods to pan.
Warm the milk mixture over medium heat until the sugar has completely melted. Do not boil milk.
Remove from heat and whisk in vanilla extract.
Pour mixture into a bowl and allow to cool in the fridge, at least 4 hours and up to overnight.
Process the ice cream in your ice cream maker according to the manufacturer's instructions. Place ice cream in a freezer safe continue and freeze for 4 hours before serving.
Recipe by Beantown Baker


 I am Jen the Beantown Baker. Engineer by day and baking maven by night. Hubby serves as my #1 fan and official taste tester. We got hitched back in 2006. Barefoot. In the sand. With the waves crashing behind us. It was one of the best decisions we’ve ever made.


Is there any way to make this without an ice cream maker? I love the idea of this chocolate sorbet and was totally on board until the last part. Now I’m very curious and might have to do some googling after my daughter goes to bed.
beantownbaker — April 22nd, 2013 @ 5:32 pm
I just started making ice cream after getting the ice cream attachment for my mixer. So I don’t personally have any experience making ice cream without an ice cream maker. I’m sure it’s been done. If you do make this without an ice cream maker, let me know how it turns out!
Great idea! Love chocolate ice cream and I love you don’t need cream or eggs! Going to try this recipe!
beantownbaker — April 23rd, 2013 @ 7:44 am
Let me know what you think of it. We really enjoyed it!
I added 1/4 tsp salt and 1 tsp vanilla. It was delicious.
beantownbaker — May 12th, 2014 @ 4:53 pm
So glad you enjoyed it! I love adding salt to desserts. I will definitely have to do the same next time I make this.