


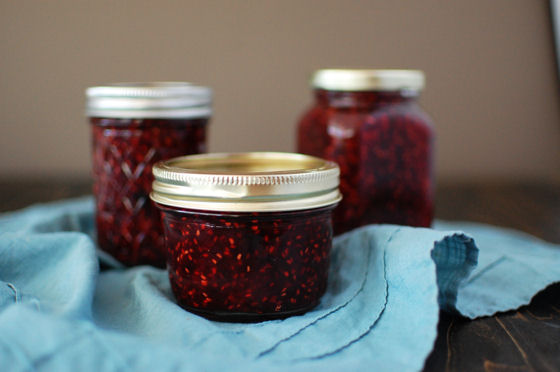
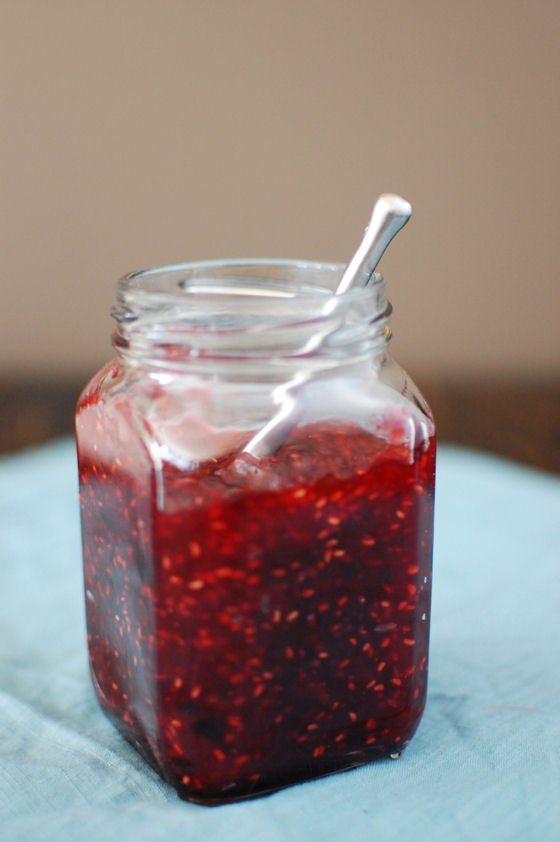
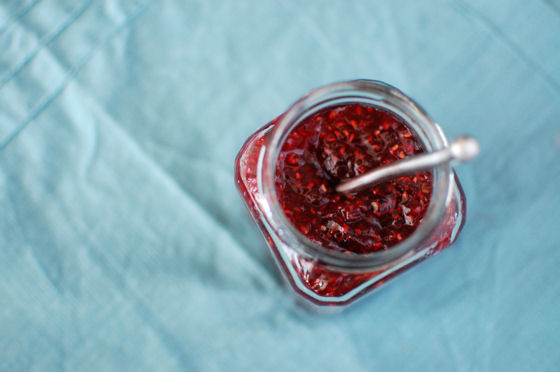
Raspberry Chipotle Jam
Raspberries and chipotles provide the perfect balance of sweet and spicy in this versatile jam.
I’ve been dabbling in canning ever since I was contacted by Ball to participate in their Can it Forward campaign last summer. It’s been a lot of fun experimenting with new flavors. I’m still pretty new to canning and had an itch to make some jam the other day.
I browsed the recipes on www.freshpreserving.com to find something to make. I was intrigued at the idea of the sweet and spicy combination of raspberries and chipotles and decided to give it a shot.
Since my chipotles had been frozen in their sauce, I used 3 chipotles instead of the 2 called for in the recipe. I’m glad I did this. The resulting jam was sweet with a subtle heat that the chipotles bring to the party.
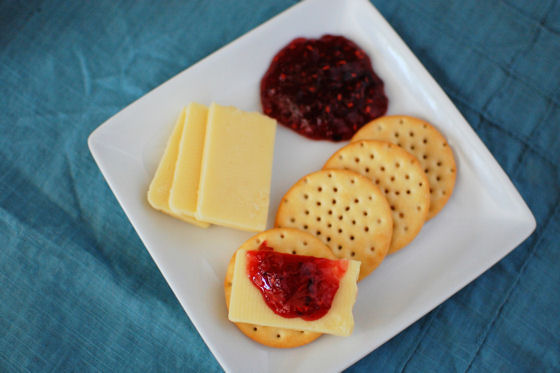
Hubby and I enjoyed eating this with some cheese and crackers right after I made it. I’m thinking it would make an amazing grilled cheese sandwich. I might try slathering some on some chicken too. Any other ideas on how I can use this stuff?
Two Years Ago: White Chocolate Frito Popcorn
Four Years Ago: Gingerbread Apple Upside Down Cake
Six Years Ago: Clam Chowder and White Chocolate Mocha Cupcakes


Raspberry Chipotle Jam
Raspberries and chipotles provide the perfect balance of sweet and spicy in this versatile jam.
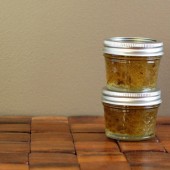
Yield: Four 8-oz jars
Prep Time: 4 minutes
Cook Time: 21 minutes
Total Time: 25 minutes
Ingredients:
2 2/3 cups crushed raspberries (about four 6-oz containers)
3 chipotle peppers in adobo sauce, chopped
1 Tbsp adobo sauce
3 Tbsp Ball® RealFruit® Classic Pectin
1/2 tsp butter
3 1/3 cups sugar
Directions:
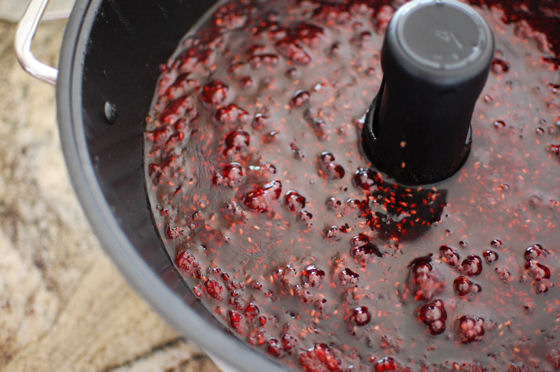
Crush raspberries with a potato masher. Combine with chipotles and sauce.
If using a jam maker, sprinkle pectin over bottom of pot with the stirrer attached. Add raspberries and chipotles over pectin. Add butter to reduce foaming. Press the JAM button, then ENTER.
When the machine beeps after 4 minutes, gradually add the sugar. Place the lid on the pot.
Place 4 sterilized jars in a stock pot set to high heat. Once the water starts to boil, reduce to a simmer.
When the Jam maker beeps again, the jam is done. Using a pot holder, remove the stirrer and skim any foam.
Remove hot jars from water and ladle the jam in to the jars. Allow jars to come to room temperature before storing in the fridge or freezer.
Recipe adapted from Ball Canning


 I am Jen the Beantown Baker. Engineer by day and baking maven by night. Hubby serves as my #1 fan and official taste tester. We got hitched back in 2006. Barefoot. In the sand. With the waves crashing behind us. It was one of the best decisions we’ve ever made.


Hello. This post is likeable, and your blog is very interesting, congratulations :-). I will add in my blogroll =). If possible gives a last there on my blog, it is about the Impressora e Multifuncional, I hope you enjoy. The address is http://impressora-multifuncional.blogspot.com. A hug.
This look AMAZING! I LOVE plums and these look so delicious it’s crazy. I’m totally starring this recipe to use soon! Thanks!
Jen – This looks decadently yummy. You did a fabulous job on your rolls.
Natalie @ Gluten a Go Go
These look so good! We had the best plums here last summer, I wish I had frozen some. I’ll have to save this recipe for when they come back in season.