


Raspberry Cream Cheese Stuffed French Toast
Every weekend, Hubby and I eat eggs for breakfast. Some days it’s on a sandwich with bacon, sometimes, just scrambled with toast, and other times, we just eat them over easy. It’s our standard breakfast Saturday and Sunday each weekend. We rarely go for sweets for breakfast even considering the amount of sweets that are always in the house.
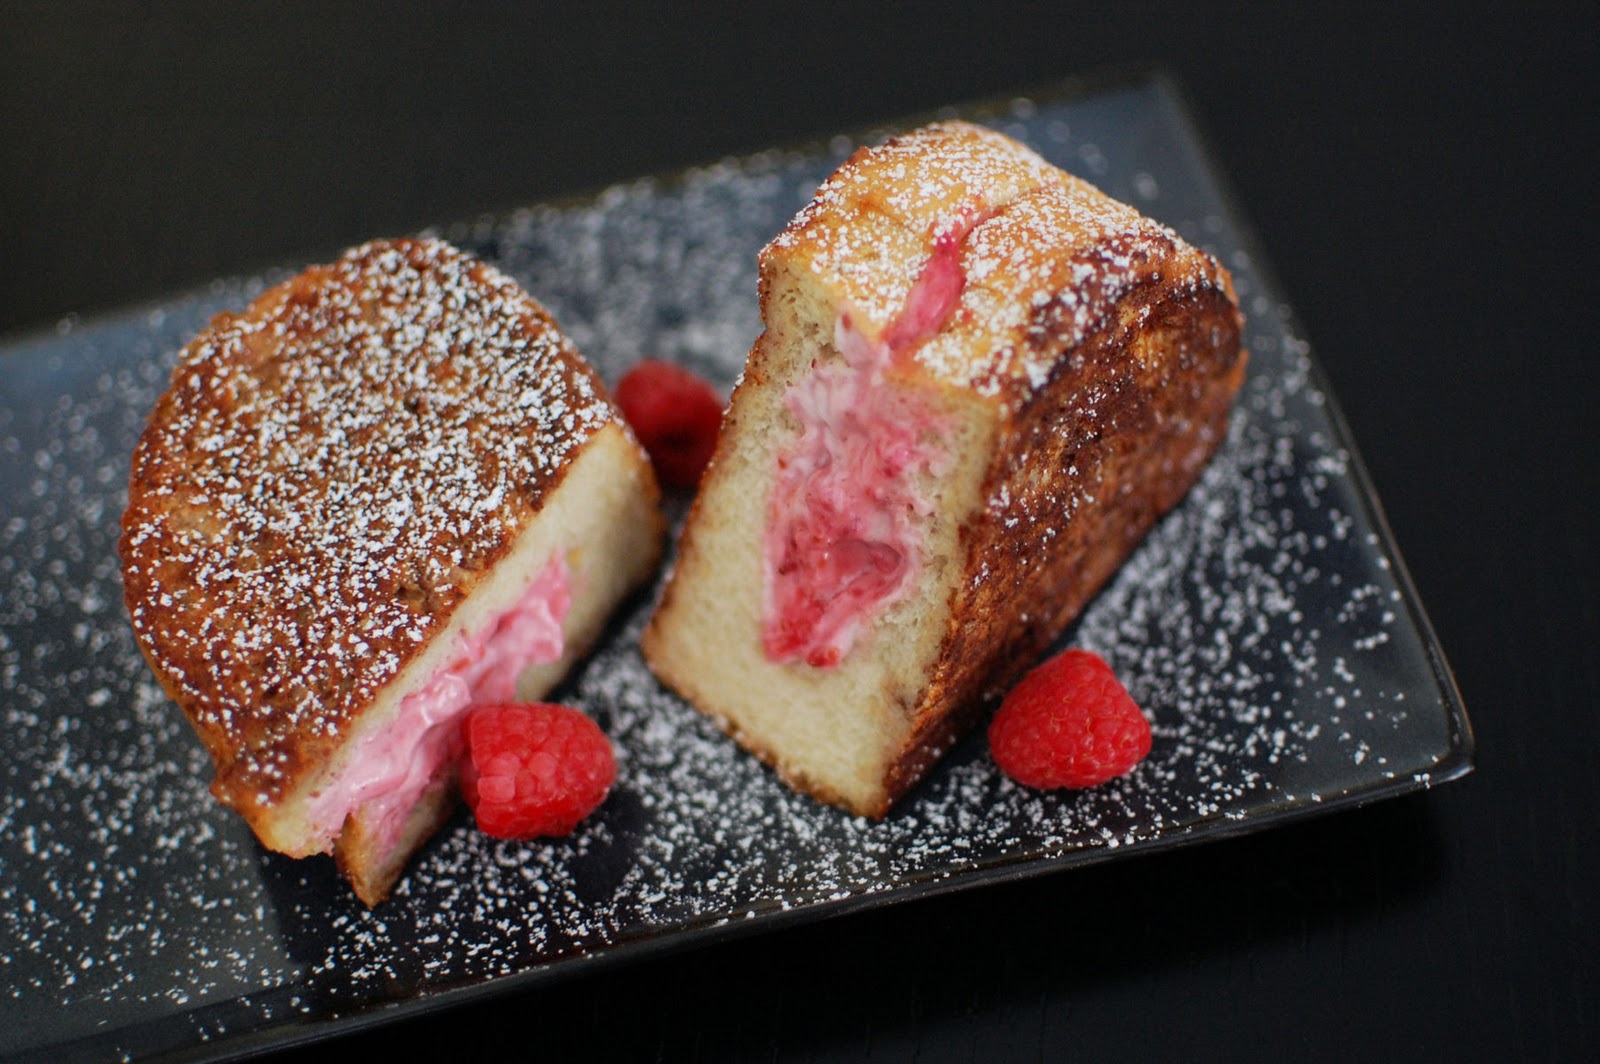
I decided to mix things up with this Raspberry Cream Cheese Stuffed French Toast. We were both very excited for the change of pace. This recipe raises french toast to a whole new level.

Every bite includes the delicious sweetness that french toast always provides. Then it throws in some delicious fruit and berry cream cheese. Literally nothing is better than a bite of this french toast topped with powdered sugar and maple syrup.

One Year Ago: White Chocolate Cranberry Mousse
Two Years Ago: Pumpkin Cranberry Muffins and Pumpkin White Chocolate Chip Bars
Three Years Ago: Pumpkin Pie Dip

Don’t forget about my Power of Pink Challenge – make something PINK by the end of the month to raise Breast Cancer Awareness!


Raspberry Cream Cheese Stuffed French Toast
Yield: Serves 6
Ingredients:
1-2 loaves French bread
1/2 cup cream cheese
1/4 cup berry cream cheese (or use another 3 Tbsp cream cheese and 2 Tbsp jam)
~1 cup raspberries
1 Tbsp sugar
2 eggs
1 Tbsp cinnamon
1/2 cup milk
2 Tbsp butter
powdered sugar
Directions:
Cut the bread into slices, approximately 2 inches thick. Make a long, deep cut into the middle of the bread slice, entering from the top.
Sprinkle the raspberries with sugar, and allow them to sit while you mix the filling. Spoon berry cream cheese and sweetened berries into the bread pocket. Try and seal the edges if possible.
Combine the eggs, cinnamon and milk.
Heat up your griddle or skillet. Once hot, add butter and let it melt.
Soak each side of the stuffed toast in the egg mixture, about 30 seconds on each side. Fry the french toast, about three minutes on each side (or until golden brown). You can try and give the edges a little heat as well, as the bread is very thick.
Cut the stuffed French toast in half, and garnish with powdered sugar and more raspberries, if desired.
Recipe as seen on Blueberries and Cream


 I am Jen the Beantown Baker. Engineer by day and baking maven by night. Hubby serves as my #1 fan and official taste tester. We got hitched back in 2006. Barefoot. In the sand. With the waves crashing behind us. It was one of the best decisions we’ve ever made.







yumm! they look good. mini muffins always look so irresistible!