


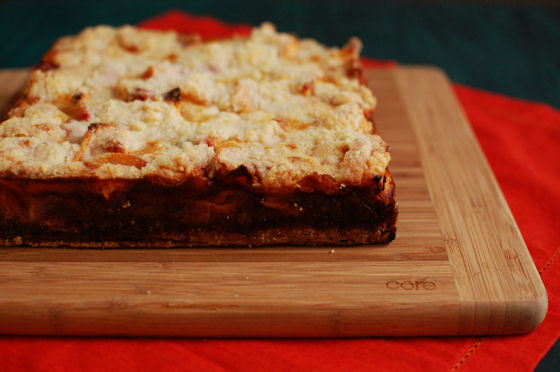
Peach Pie Bars
I rarely remake recipes. Even more unheard of is if I were to make a recipe twice within one week. That’s exactly what I did with these bars. This is the THIRD time I’ve made them, and second time within a week.
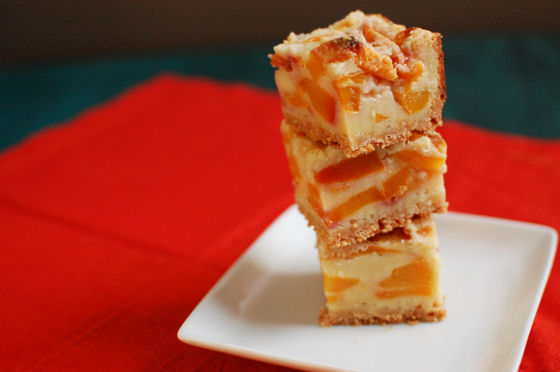
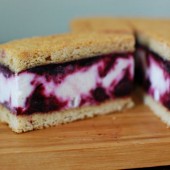
After taking these blueberry bars to some friends house the other day, I found myself with half of a bushel of peaches in the house. They were ripening fast and I needed to use them up as soon as possible. I decided to make these bars but with chopped peaches.
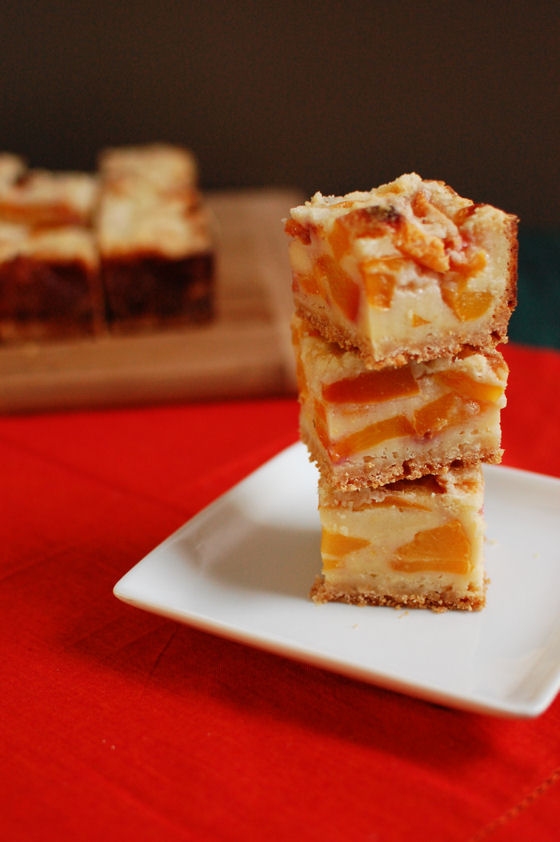
When I looked in the fridge, I didn’t have any plain yogurt, but I had some vanilla yogurt that I package up for us to take for breakfast at work every day. Since the vanilla yogurt has sugar in it already, I cut down the amount of sugar in the recipe. It worked like a charm and these bars were not too sweet.
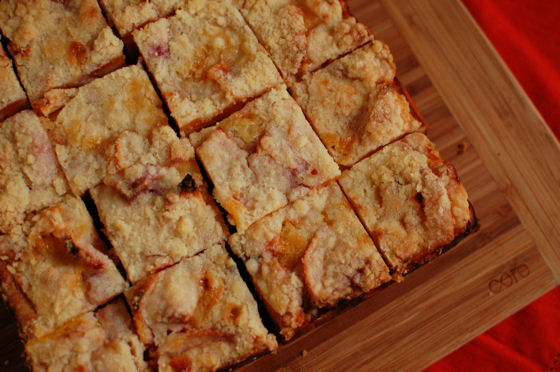
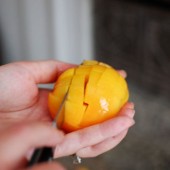
I left the skin on the peaches for two reason. For one, it makes the recipe a whole lot easier. Second, the skin provides a subtle tartness that you lose when you peel peaches. I baked these on a Thursday night, cut them up and put them in a tupperware container to take to work. Then, wouldn’t you know it, I left the container on the counter. So my coworkers didn’t get to try them. These bars are a great way to highlight any fruit that you have in season.
One Year Ago: Peach, Bacon, and Avocado Sandwich
Two Years Ago: Blueberry Cinnamon Rolls
Three Years Ago: Black Bean Burgers and California Turkey Burgers
Four Years Ago: Caramel Almond Chocolate Cupcakes and Strawberry Peach Basil Cupcakes


Peach Pie Bars
Yield: 16 bars
Ingredients:
Crust and Topping
1 1/2 cups flour
3/4 cup sugar
pinch salt
12 Tbsp unsalted butter, chilled
Fruit Filling
2 eggs
3/4 cup sugar
1/2 cup plain Greek yogurt
6 Tbsp flour
pinch salt
1/2 tsp vanilla
~3.5 cups fresh peaches, chopped (~4 peaches)
Directions:
To make the crust and topping, preheat the oven to 350 degrees. Grease a 8x8 inch baking pan.
Combine the flour, sugar, and salt in a bowl. Cut the butter into 1/2-inch cubes, and add to the flour mixture. Use a pastry cutter to cut the butter into the flour mixture until the butter is evenly distributed but the mixture is still crumbly.
Reserve 3/4 cup of the mixture to use as the topping. Press the remaining mixture into the bottom of the pan, and bake 12-15 minutes. Cool for at least 10 minutes.
To make the filling, whisk the egg in a large bowl, then add the sugar, yogurt, flour, salt, and vanilla. Gently fold in the peaches and spoon the mixture over the crust. Sprinkle the remaining flour mixture evenly over the filling, and bake 60-75 minutes until the top is starting to brown.
Cool at least 1 hour before cutting into bars, or scoop out of the pan to serve cobbler-style.
Recipe adapted from The Pastry Queen


 I am Jen the Beantown Baker. Engineer by day and baking maven by night. Hubby serves as my #1 fan and official taste tester. We got hitched back in 2006. Barefoot. In the sand. With the waves crashing behind us. It was one of the best decisions we’ve ever made.


I guess they would be hard to bite into, but if you made them thinner you wouldn’t have such a beautiful swirl of blueberry in there. They look fabulous.
Those look amazing! Totally on my list!
These look delicious. I love lemon and blueberries.
Mimi
These look great! Maybe a little thinner would be better but either way they must have tasted fantastic!
Yum, I think your idea of a cheesecake ice cream brillant. I agree those swirls are gorgeous!
~ingrid
mmmmm i’d love to have a batch of those sitting in front of me right now!
These are too pretty to eat! I love the blueberry/lemon combo.
These look outstanding! I love the swirls and the combo of lemon and blueberry is always a winner!
Looks delicious! Gorgeous photos.
Those look great! What a beautiful photo!
very nice! look just exactly like the ones in the magazine!
eliza
http://fooddiary.blogsome.com
These are amazing! I didn’t know they were dairy free… We just found our little nephew is allergic to dairy, I’ll have to make these for him.
Just as gorgeous as they were on the cover of Gourmet. Saw these on tastespotting and knew I recognized them! Yum!
Just as gorgeous as they were on the cover of Gourmet. Saw these on tastespotting and knew I recognized them! Yum!
This looks ……… WOW!!!!
What a great idea! One of the best looking desserts I’ve seen in a long time – irresistable!