


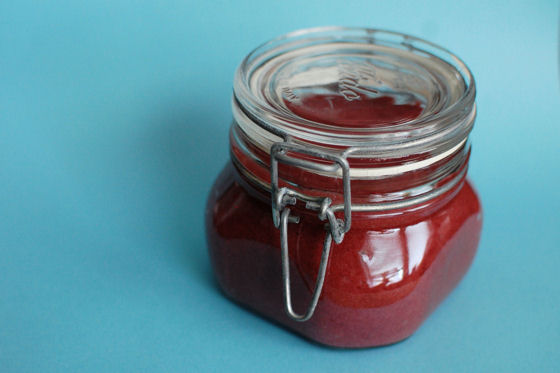
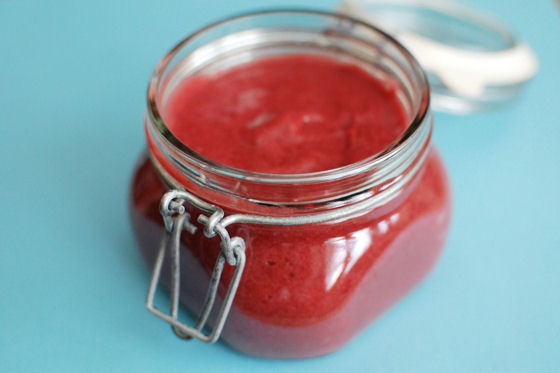
Blackberry Lime Curd
Fruit curds are awesome. And there’s no reason not to make them at home. Not only are they easy to execute, the available options for fruit curds are endless. Why limit yourself to just lemon curd? I have made passion fruit curd, raspberry curd, and blueberry curd in the past.
Most of them went in to layer cakes, but the leftovers were always put to good use as well. Whether we ate them just spread on some toast or a graham cracker, or threw some on an egg sandwich, a good fruit curd is something I always say I want to make more frequently.
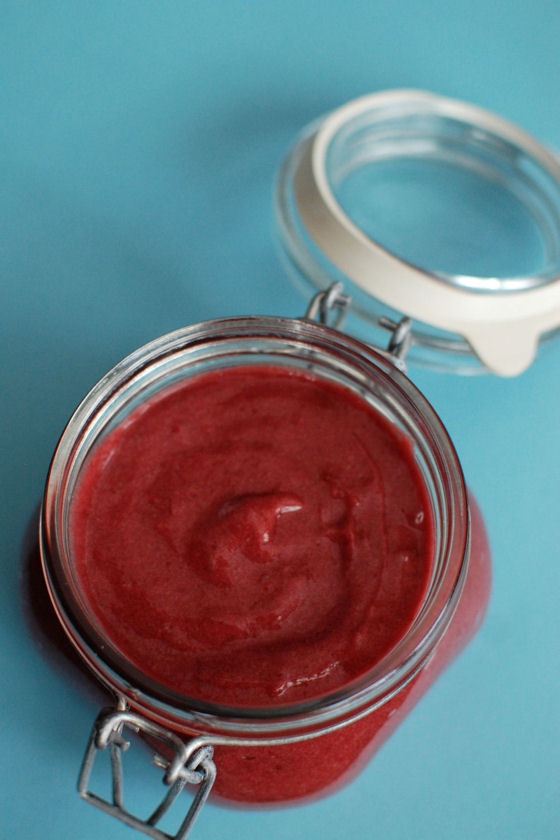
This blackberry lime curd is no different. It started with the intention of going into a layer cake. But the cake didn’t use all of the curd, so we had some in our fridge for a few glorious days. Blackberry and lime work so harmoniously together, it is no wonder this curd was addictive and disappeared in a few short days.
One Year Ago: Homemade Garlic Pizza Sauce
Three Years Ago: Cilantro Chicken Burgers
Four Years Ago: Creme Brulee Again


Blackberry Lime Curd
Ingredients:
1/2 tsp granulated gelatin
12 ounces frozen unsweetened blackberries
10 large egg yolks
1 cup sugar
1/4 cup lime juice
Grated zest of 1 lime
1/2 cup (1 stick) unsalted butter, cut into pieces and softened
Directions:
In a small bowl, mix together gelatin and 1-1/2 teaspoons warm water; set aside.
Thaw blackberries. Puree in a blender; then strain to remove seeds and set puree aside.
Set up a double boiler and bring water to a boil.
In a separate bowl, whisk together blackberry puree, egg yolks, sugar, lime juice, and zest.
Transfer mixture to the top of the double boiler; cook until mixture starts to thicken, stirring continuously with a whisk.
When mixture resembles loose pudding, whisk in softened butter in three stages. Add gelatin and continue whisking 2 minutes.
Remove from heat and transfer mixture to a clean bowl. Press plastic wrap onto the surface of the curd to prevent skin from forming. Refrigerate until completely cool, about 1 hour.
Recipe adapted from Yankee Magazine


 I am Jen the Beantown Baker. Engineer by day and baking maven by night. Hubby serves as my #1 fan and official taste tester. We got hitched back in 2006. Barefoot. In the sand. With the waves crashing behind us. It was one of the best decisions we’ve ever made.


I made this for my family get-together and everyone loved it. It came out pretty soggy, though, so I’ll need to try to get the extra juices out of the fruits before cooking. I also didn’t pre-heat the baking pan under the pie dish so that may have contributed too. Thanks for this recipe!
beantownbaker — August 12th, 2013 @ 7:40 pm
So glad you guys enjoyed it!
Outstanding! We were able to use our fresh peaches and sweet cherries to make this wonderful pie. I did make the following adjustments: I only used half cup of sugar in the pie filling, and in the crumble topping I used 1/4 brown sugar and 2 tbsp. sugar, and I reduced the butter to 3 tbsp. melted. I used a fork to press the crumble ingredients together (in pastry cutter style) until it became crumbly. It was absolutely delicious and I know I’ll be making it again and again.
beantownbaker — September 2nd, 2014 @ 7:24 pm
So glad you liked this recipe. I’m making it again myself this week.
I have noticed you don’t monetize beantownbaker.com, don’t waste your traffic, you can earn additional bucks
every month with new monetization method. This
is the best adsense alternative for any type
of website (they approve all sites), for more details simply search in gooogle: murgrabia’s tools