


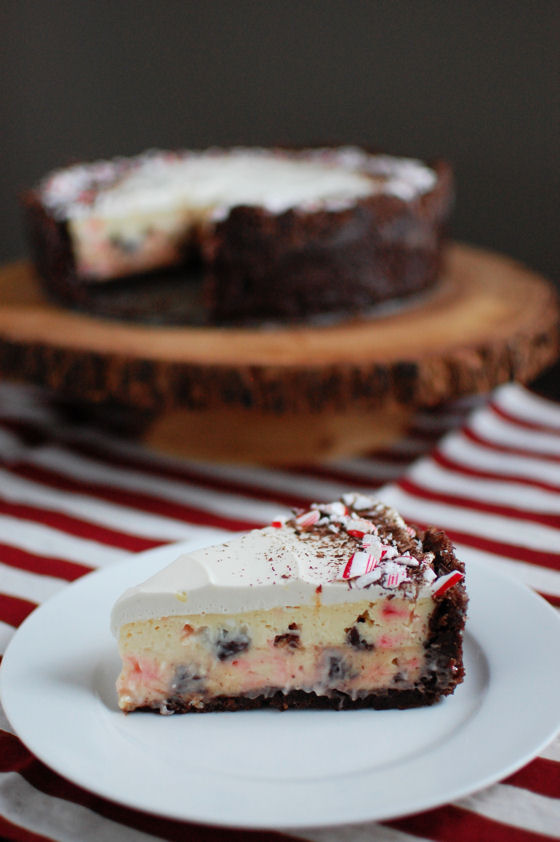
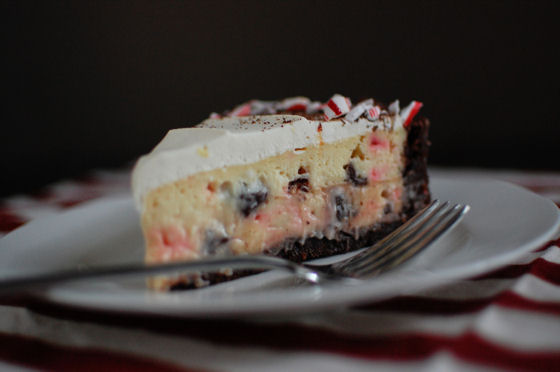
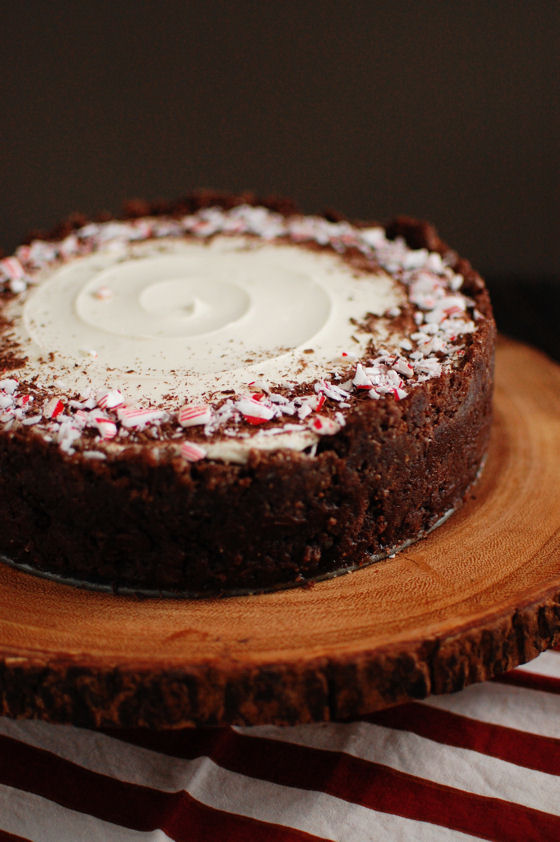
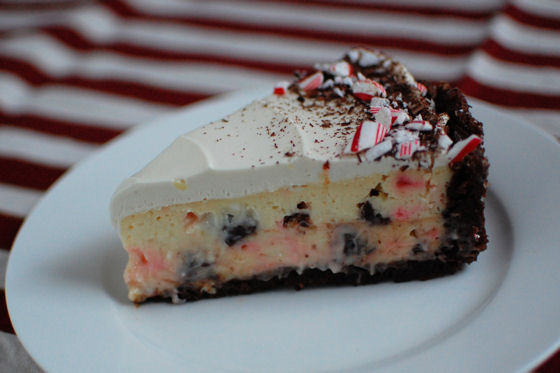
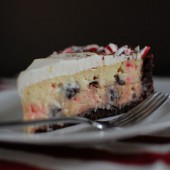
Peppermint Bark Cheesecake
Peppermint Bark Cheesecake is a festive holiday dessert perfect for this time of year. Use store bought peppermint bark if you’re short on time!
When I made that Swirled Peppermint Bark the other day, it wasn’t to simply have peppermint bark in the house. I made it with the intention to make this Peppermint Bark Cheesecake.
For the December birthday celebration at work, the one guy with a birthday requested peppermint bark. I’m happy to oblige and decided to kick things up a notch by throwing the peppermint bark in to a cheesecake. And since the cheesecake didn’t use the entire batch of peppermint bark, there was peppermint bark for him to enjoy along side his cheesecake.
It’s no surprise this cheesecake was a huge hit. It uses my favorite flavor combination – mint and chocolate with a festive tone from the candy cane garnish. I did run in to a minor issue with this cake, which was completely my fault. I apparently didn’t latch my springform pan properly prior to putting it into the water bath. As a result, some water seeped in to the cake, even though I had wrapped the pan with two layers of foil. This made the crust a little soggy, but other than this minor issue with the texture, it wasn’t a big deal at all.
Oh and the birthday boy we were celebrating went back for seconds and then thirds of this cheesecake.
One Year Ago: Five Homemade Gift Ideas
Three Years Ago: Caramel Corn
Four Years Ago: Eggplant Parmesan and Green Bean Casserole
Five Years Ago: Peppermint Chocolate Cookies and Snickerdoodles
Six Years Ago: Spinach Tomato Chicken Pasta


Peppermint Bark Cheesecake
Peppermint Bark Cheesecake is a festive holiday dessert perfect for this time of year. Use store bought peppermint bark if you're short on time!
Yield: One 9" cheesecake
Ingredients:
For the Chocolate Crumb Crust
3 cups or 10 ounces finely ground cookies such as chocolate wafers or Chocolate Teddy Grahams
10 Tbsp unsalted butter, melted
2/3 cup sugar
1/4 tsp salt
For the Filling
4oz white chocolate, melted
3 - 8oz containers or blocks cream cheese, softened
1 cup sugar
1 1/2 Tbsp flour
1 1/2 Tbsp heavy cream
1/4 tsp salt
1 Tbsp peppermint extract
3 eggs
1 1/2 cups peppermint bark chunks, storebought or homemade
For the Mousse
1/2 cup cool whip, softened
4oz cream cheese, softened
2 oz white chocolate, melted
1 1/2 Tbsp sugar
1/2 tsp vanilla
Directions:
For the Chocolate Crumb Crust
Stir together crust ingredients and press onto bottom and 1 inch up side of a buttered 9-inch springform pan. Fill right away or chill up to 2 hours.
For the Filling
Preheat oven to 325 degF.
Begin melting 4oz white chocolate. Using a double boiler or heat safe bowl, melt over simmering water. Stir until fully melted. Using the microwave, in a heat safe bowl microwave for 30 seconds at 50% power until fully melted. Stir well after each interval.
In a large bowl or stand mixer, beat cream cheese until smooth. Add sugar. Mix well. Scrape bowl well prior to each new addition and as needed. Add melted chocolate, flour, whipping cream, salt and peppermint extract. Mix well. On medium/low speed, add one egg at a time. Mix until smooth and blended well.
Add peppermint bark pieces, stir by hand.
Transfer spring-form pan to a larger pan, such as a large roasting pan. Pour filling into crust. Add enough hot water to reach half way up the sides of your spring-form pan. Carefully place in center of oven. Bake at 325 degrees for 1 hour. Turn off the oven. Keeping the door shut, leave the cheesecake in the oven for an additional 45 minutes. Remove and allow to sit for at least 1 hour before chilling.
Chill 4 hours or overnight before adding the mousse.
For the Mousse
In a medium bowl beat softened cream cheese, melted white chocolate, cool whip, sugar and vanilla until smooth and slightly thickened.
Carefully remove side of spring-form pan. Spread mousse mixture evenly over cheesecake. Chill for 4 hours or overnight before serving.
Garnish with crushed candy canes and shaved chocolate.
Store covered in the refrigerator.
Cheesecake and white chocolate mousse recipe from Baked by Rachel, crust from Smitten Kitchen


 I am Jen the Beantown Baker. Engineer by day and baking maven by night. Hubby serves as my #1 fan and official taste tester. We got hitched back in 2006. Barefoot. In the sand. With the waves crashing behind us. It was one of the best decisions we’ve ever made.


This is brilliant! Combining two of my favorite treats 🙂
beantownbaker — July 30th, 2013 @ 5:48 pm
I know, right!
These sound delicious!!