


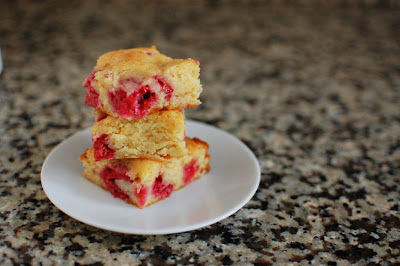
White Chocolate Raspberry Blondies
I’m definitely a chocolate girl. The darker the better. But recently, I’ve been appreciating the sweet subtle taste of white chocolate. It’s been quite a shock that I’ve enjoyed white chocolate so much in the recent past.
I wanted to find a recipe that would highlight some fresh raspberries I had in the house. When I saw a recipe on The Way the Cookie Crumbles for a white chocolate blondie with strawberries, I knew raspberries would be a perfect substitution.

I also swapped the vanilla extract and replaced it with almond extract. I think it really enhanced the nuttiness from the white chocolate.
I took these to a get together with friends. There were multiple comments about these white chocolate blondies. I think they would be great with any fruit in them. I’m thinking blueberries or blackberries would be delicious.

White chocolate should not be under-estimated. If you’re looking for a recipe to help convince you of this argument, I recommend these blondies. I liked them best served cold over room temperature.

One Year Ago: Balsamic Roasted Vegetables and Neapolitan Cheesecake Cake
Two Years Ago: Caramelized Apple Grilled Cheese
Four Years Ago: M&M Cookies
Five Years Ago: Open Faced Chicken Salad Club

Don’t forget about my Power of Pink Challenge – make something PINK by the end of the month to raise Breast Cancer Awareness!


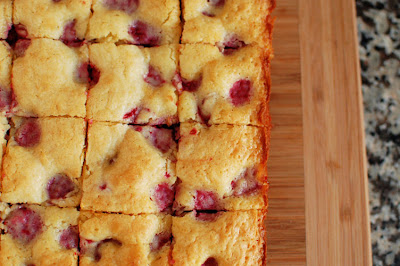
White Chocolate Raspberry Blondies
Raspberries, almond, and white chocolate combine in these blondies
Yield: 16 bars
Ingredients:
1 cup (4.8 ounces) flour
1/4 tsp baking powder
1/3 tsp salt
5 ounces white chocolate, chopped fine
5 Tbsp butter, cut into 1/2-inch cubes
1/2 cup (3.5 ounces) sugar
3/4 tsp almond extract
2 eggs
6 oz raspberries
Directions:
Adjust a rack to the middle position and heat the oven to 350 degrees. Line the bottom and sides of an 8×8 baking pan with parchment paper, leaving a slight overhang. In a medium bowl, whisk the flour, baking powder, and salt together.
Set a heatproof bowl over a saucepan containing one inch of simmering water. Add the chocolate and butter; stir frequently until the mixture is melted and smooth, then remove from the heat. Whisk in the sugar (the mixture will appear curdled), then add almond extract and the eggs one at a time, whisking constantly.
Switch to a rubber spatula and add the flour mixture, stirring until just combined. Gently fold in the berries. Pour the batter into the prepared pan, spreading it into an even layer.
Bake the brownies for 25 to 30 minutes, or until the top is lightly golden and a toothpick inserted near the center comes out clean. Transfer the pan to a wire rack; cool completely. Use the parchment paper to lift the bars out of the pan and cut into 2-inch squares. (The brownies can be stored in an airtight container in the refrigerator for up to 3 days.)
Recipe adapted from Love and Olive Oil, as seen on The Way the Cookie Crumbles


 I am Jen the Beantown Baker. Engineer by day and baking maven by night. Hubby serves as my #1 fan and official taste tester. We got hitched back in 2006. Barefoot. In the sand. With the waves crashing behind us. It was one of the best decisions we’ve ever made.


