


S’mores Fudge Bars
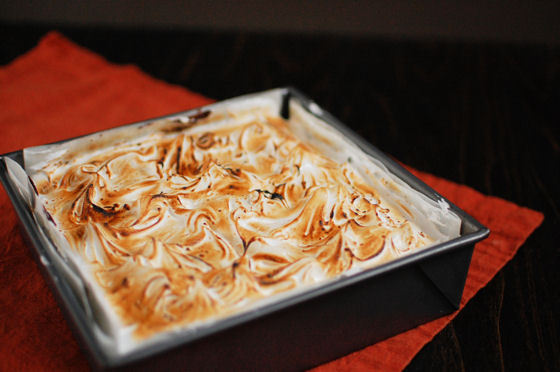
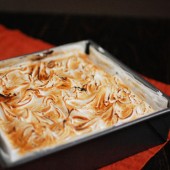
If making fun swirls with the marshmallow topping then toasting them with your kitchen torch isn’t enough of a reason to make these S’mores Fudge bars, I don’t know what is…
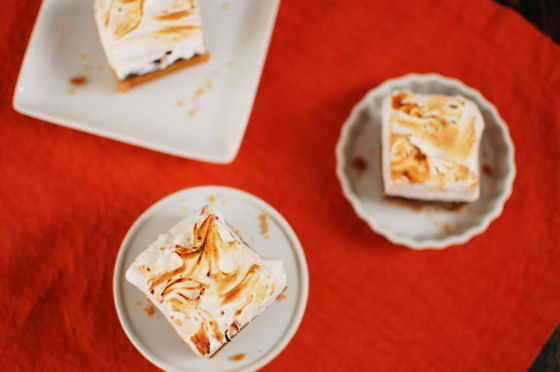
A couple weeks ago, some girlfriends and I had a slumber party. It had all the components of a great slumber party. Cheesey movies (Mean Girls and Bridesmaids), girly cocktails (pink champagne and jelly donut shots), gossip, sleeping bags, and food. We ordered pizza, threw together a salad, and I was in charge of bringing a dessert.
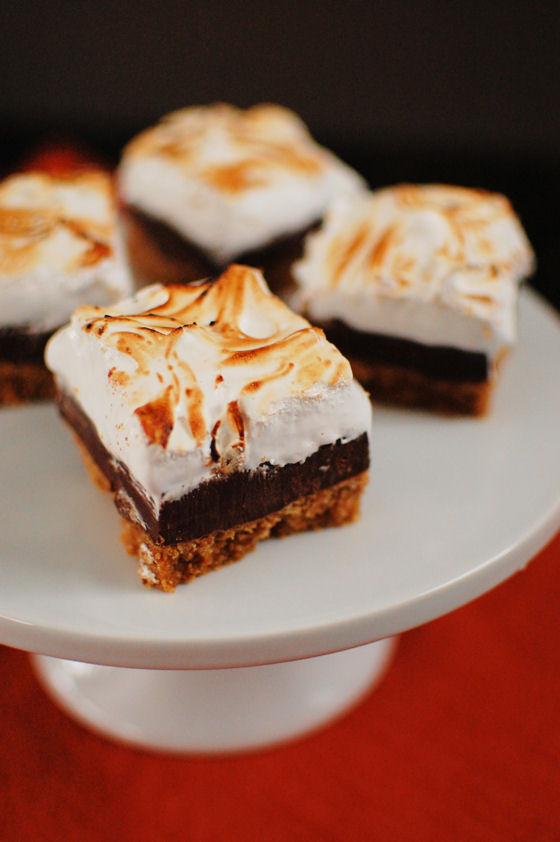
I wanted something portable that could be made in advance since I would be going straight from work. These Smore’s Fudge Bars fit the bill. They are sweet enough that an 8×8 pan was more than enough for all of us, with a few leftover for Hubby to taste.
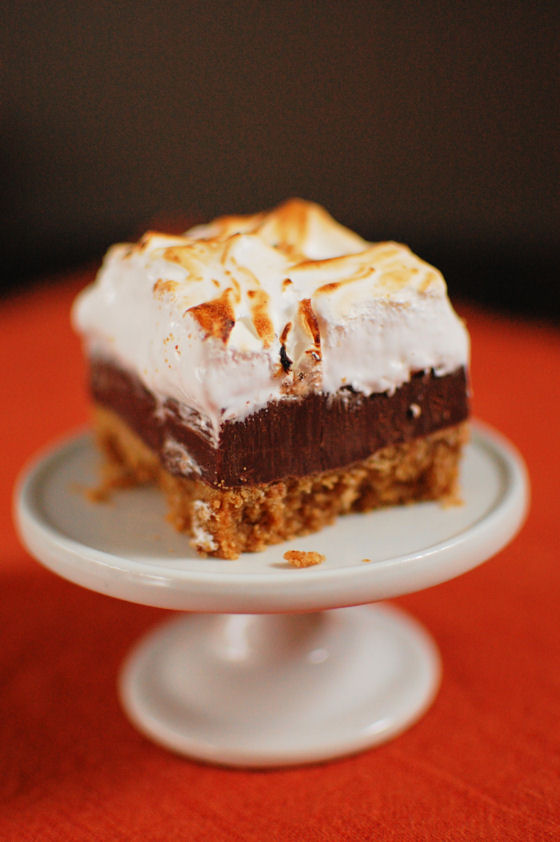
These bars start with a graham cracker crust, which is topped with a thick fudge layer, and lastly topped with some homemade marshmallow frosting that is then toasted to perfection. Now I’ve made quite a few S’mores treats in my day, including cupcakes, brownies, cookie bars, rice krispies treats, and cookies, and I think these might be my favorite yet.
Of course, that won’t stop me from making more S’mores treats in the future… I definitely need to make some S’mores ice cream this summer. What other S’mores treats should I consider?


Smores Fudge Bars
If making fun swirls with the marshmallow topping then toasting them with your kitchen torch isn't enough of a reason to make these S'mores Fudge bars, I don't know what is...
Ingredients:
For the Crust:
20 full graham crackers
1/4 cup sugar
1/2 tsp salt
12 Tbsp unsalted butter, melted
For the Fudge Filling:
2 cups semisweet chocolate chips
1 (14 ounce) can sweetened condensed milk
For the Marshmallow Topping:
2 large egg whites
1/4 tsp cream of tartar
3/4 cup sugar
1/2 cup light corn syrup
1/4 cup water
1/4 tsp salt
1 1/2 tsp vanilla
Directions:
For the crust:
Preheat the oven to 350°F. Line an 8x8-inch baking pan with parchment paper.
Place the graham crackers, sugar, and salt in the bowl of a food processor and pulse until finely ground. Add the melted butter and pulse until the mixture is moistened. Press the mixture into the bottom of the prepared baking pan. Bake for 12 minutes. Remove to a cooling rack and let cool completely.
For the Fudge Filling:
In a small saucepan set over medium-low heat, combine the chocolate chips and condensed milk. Heat until the mixture is melted, thick, and smooth, stirring constantly. Pour over graham cracker crust. Place in the refrigerator while making the marshmallow topping.
For the Marshmallow Topping:
In the bowl of an electric mixer fitted with the whisk attachment, beat the egg whites and cream of tartar until soft peaks form.
Meanwhile, in a small saucepan set over medium-high heat, combine the sugar, corn syrup, water, and salt. Bring the mixture to a boil and continue to cook until a candy thermometer registers exactly 240°F. Immediately remove from heat. Turn the mixture on low speed and carefully and gradually drizzle the syrup into the egg whites. Increase speed to medium-high and beat until the mixture is thick and glossy and looks like marshmallow fluff, about 7 minutes longer. Add in the vanilla and beat until combined.
Spread the marshmallow topping evenly over the chocolate fudge layer. Make a fun design with swirls using the back of a spoon. Use a kitchen torch to gently torch the marshmallow layer until lightly golden. Alternatively, place the pan under the broiler and broil for 1 minute, or until lightly golden.
Refrigerate the pan for at least 1 hour before cutting into squares and serving. The squares can be stored in an airtight container in the refrigerator for up to 5 days.
Recipe seen on Handle the Heat


 I am Jen the Beantown Baker. Engineer by day and baking maven by night. Hubby serves as my #1 fan and official taste tester. We got hitched back in 2006. Barefoot. In the sand. With the waves crashing behind us. It was one of the best decisions we’ve ever made.


Yum! I love those flavors together. They look great!