


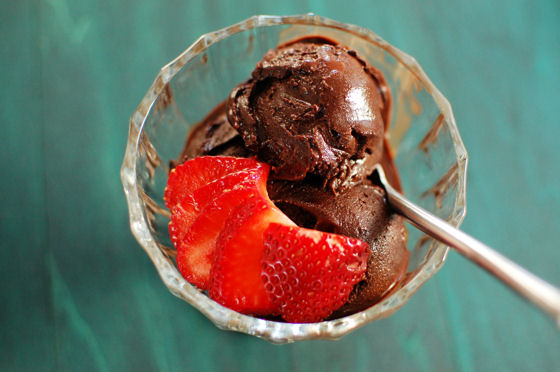
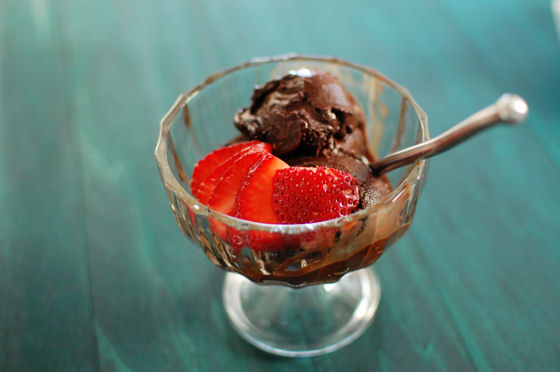
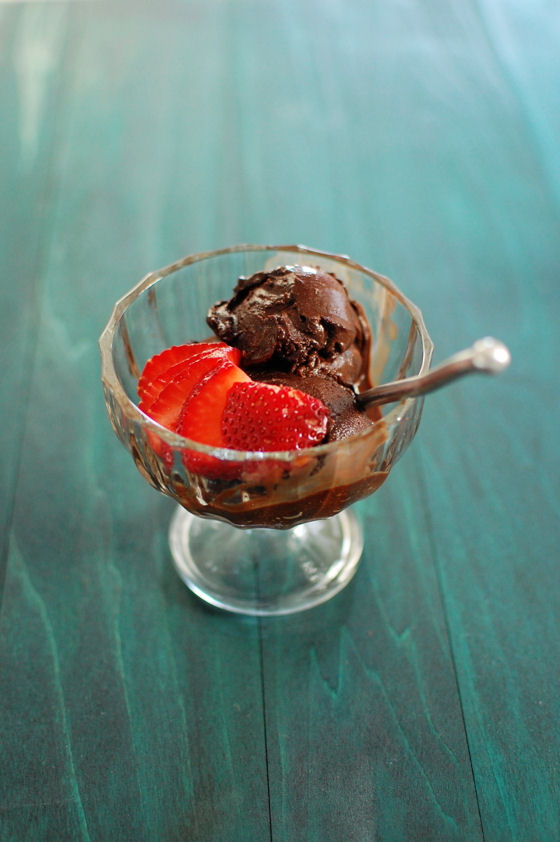
Chocolate Sorbet
As I mentioned last week, I have quite a few posts in draft phase just waiting for me to carve out some time to write them up. One thing I’ve been making a lot of this year is ice cream. I’ve only posted two recipes at this point, but I have another 4 waiting to be published.
I have been trying all different kinds of ice cream treats. Full-fat custard based ice creams, milk based ice creams without eggs, and of course some sorbets. I was drawn to this recipe because it only uses three ingredients. There’s no dairy and no eggs, just water, sugar, and cocoa powder.
Be sure you use a great cocoa powder here because that’s where all of your flavor is coming from. While I was unpacking my kitchen a couple weeks ago, I discovered that I had 7 different kinds of cocoa powder. I might have a problem…
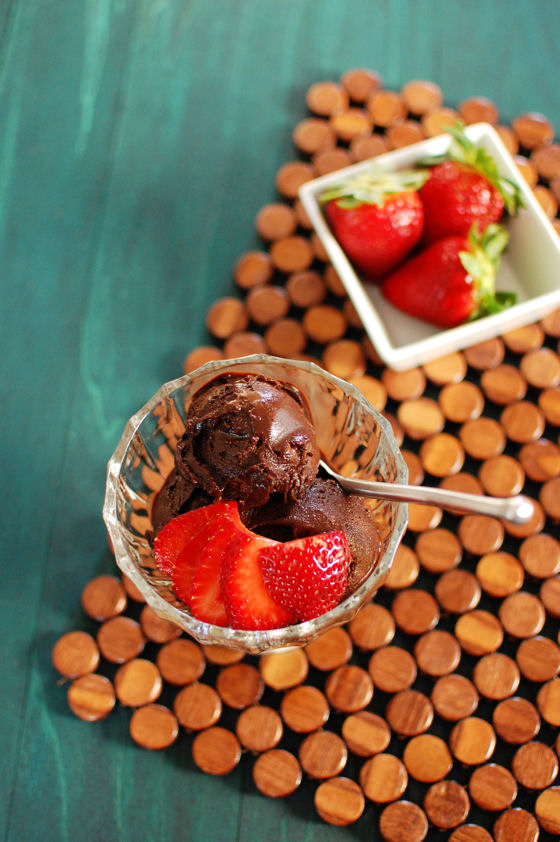
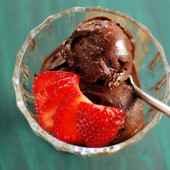
This sorbet is creamy and light with an intense chocolate flavor. Hubby commented that it tasted like frozen chocolate syrup. I enjoyed it best with some fresh berries mixed in or some whipped cream dolloped on top. Hubby asked me to make this again, but I told him there were too many ice cream recipes on my to-make list right now. I am sure this will get made again because of the intensely chocolate results for such an easy recipe.
One Year Ago: Homemade Yeast Doughnuts and Browned Butter Cream Cheese Chocolate Chip Cookies
Two Years Ago: Chocolate Chip Cookie Dough Cupcakes and Pina Colada Cupcakes
Three Years Ago: Lemon Cilantro Potato Salad and Homemade “Instant” Pancake Mix
Four Years Ago: Cinnamon Biscuits
Five Years Ago: Dorie’s Perfect Party Cake


Chocolate Sorbet
Cook Time: 10 minutes
Ingredients:
2 cups water
1 cup sugar
1 cup dutch-processed cocoa powder
Directions:
Combine water and sugar in a pan over medium heat. Stir until sugar is completely dissolved.
Add the cocoa powder and whisk until smooth. Bring to a simmer. Simmer for 3 minutes, whisking continuously.
Remove from heat and strain into a bowl. Allow to cool on the counter for a few minutes then move to the fridge for 2 hours or overnight.
Stir mixture and process in ice cream maker according to manufacturer's instructions. Press plastic wrap on to surface of sorbet and freeze until hard.
Recipe from The Ultimate Ice Cream Book


 I am Jen the Beantown Baker. Engineer by day and baking maven by night. Hubby serves as my #1 fan and official taste tester. We got hitched back in 2006. Barefoot. In the sand. With the waves crashing behind us. It was one of the best decisions we’ve ever made.


LOL Now I have that song in my head 🙂 This is stunning! Such a great color!
beantownbaker — July 3rd, 2013 @ 5:05 pm
Sorry about that!
Your food photos are amazing. You can share your mouth watering photos with us at foodienewz.com. foodienewz.com is a new food sharing site and we actually try our best to promote your food photos. At foodienewz.com all your food photos will be published without any editorial review so I really hope you come and join us.
Now you’ve got raspberry beret stuck in my head 😉 this looks fantastic, I love raspberries!
beantownbaker — July 16th, 2013 @ 8:37 am
Sorry about getting that song stuck in your head 🙂