


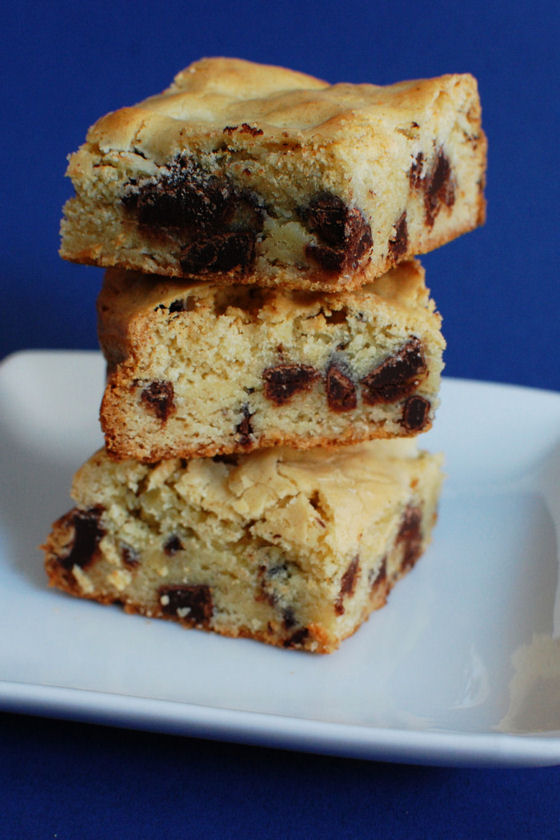
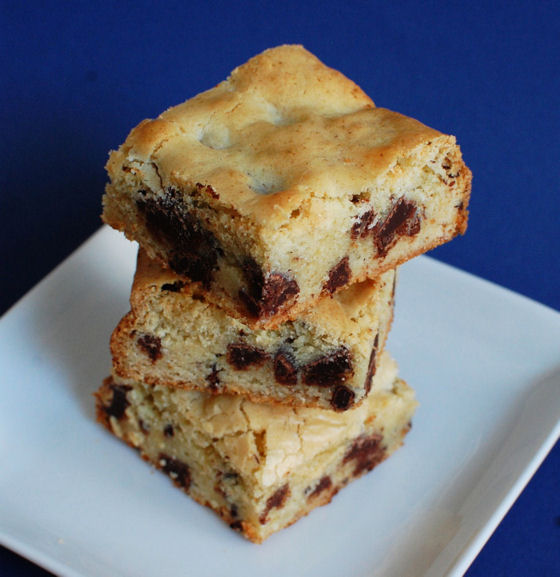
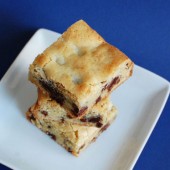
Black & White Blondies
I have slowly but surely become a huge fan of white chocolate. Have you guys noticed? I’ve definitely been posting a lot more recipes featuring white chocolate than usual. Dark chocolate is what I am historically drawn to, but there’s something about the subtle smooth flavor of white chocolate that has me hooked lately.
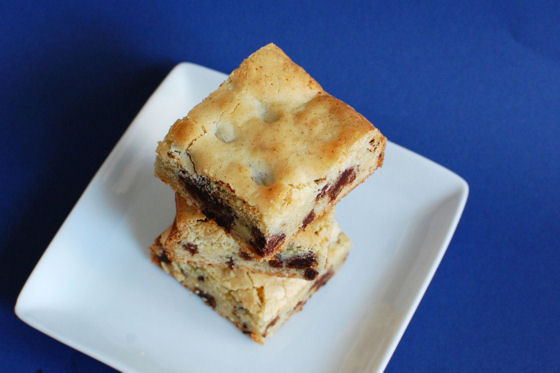
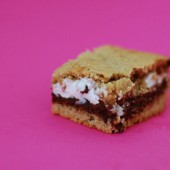
Similar to these White Chocolate Raspberry Blondies, these are buttery and rich without being heavy. The chunks of bittersweet chocolate give a great kick of chocolate.
Everyone seemed surprised that these weren’t standard old cookie bars. A couple of our friends couldn’t quite place what the white chocolate flavor was, but it was one of those situations where once I told them, it made complete sense. For an out of the box blondie, give these a shot!
One Year Ago: Lobster Mac and Cheese and Blueberry Curd
Two Years Ago: Roasted Carrots with Thyme and Goat Cheese
Five Years Ago: Butternut Squash Risotto
Five Years Ago: Cinnamon Cookies


Black and White Blondies
Blondies made with bittersweet and white chocolate
Yield: 16 bars
Ingredients:
1 cup chopped white chocolate
1/4 cup (4 Tbsp) butter
3/4 cup sugar
2 tsp vanilla
1/4 tsp freshly ground nutmeg
1/4 tsp salt
2 large eggs
1 1/4 cups flour
1/2 tsp baking powder
1 cup bittersweet chunks or chopped chocolate
Directions:
Preheat the oven to 350F. Lightly grease a 9″ square pan.
Place the white chocolate, butter, and sugar in a heatproof bowl. Heat at low power in the microwave at 1-minute intervals, or over simmering water, until the chocolate softens; white chocolate is sensitive to scorching, so be careful.
When the butter is melted and the white chocolate looks soft, stir in the vanilla, nutmeg, and salt. Let the mixture cool to lukewarm. Beat in the eggs.
Whisk together the flour and baking powder, and stir into the egg mixture.
Stir in 3/4 cup of the chocolate chunks. Spoon the batter into a greased 9″ square pan, and sprinkle the remaining chocolate chunks over the top.
Bake the brownies for 25 minutes, until they’re light golden brown and the edges pull just slightly away from the pan.
Cool completely and serve.
Recipe from Pass the Sushi


 I am Jen the Beantown Baker. Engineer by day and baking maven by night. Hubby serves as my #1 fan and official taste tester. We got hitched back in 2006. Barefoot. In the sand. With the waves crashing behind us. It was one of the best decisions we’ve ever made.


I love it! Where did you get the jars? Now I totally wanna do this for xmas gifts!
/Clara
I looked everywhere and just couldn’t find them. I ended up ordering them from Amazon. They weren’t very cheap so that was a bummer…
Ah bummer. What size are the jars? I wonder if Ikea would have them? Whats the amazon link?
/Clara
I ordered them from here. You want the wide mouth jars so the cupcakes fit and the 1/2 pint size is perfect.
The yellow cupcakes didn’t rise much so I added more frosting to fill the jar and the chocolate ones rose quite a bit so they had less frosting. My sister said that the chocolate one had the perfect amount of frosting or could use a smidge more, so you want a cupcake that has at least a small dome.
haha, i’ve never seen that before 🙂 love it!
OH FUN! I’ve seriously always thought about doing this and never did. I’m starring this post to remind myself at Christmas. Too cute!!
I have been dying to try this ever since I saw it last year on someone else’s blog. They actually baked the cake in the jar and then iced it like a cupcake. I am going to have to order some of those iddy jars! Too cute!
Hmmm…might have to do this for Christmas instead of those “ingredients in a jar” thing we were thinking of.
I really want to try this, but I keep reading online that you shouldn’t put frosting in the jar because it will get moldy by the time it reaches its destination. I’m sure you would have heard if it was moldy when it got to your friend right? I would just be so embarrassed if that happened. Any help?
Renee – I’ve done this twice and both times haven’t heard of any mold. I froze the cupcakes/frosting in the jars prior to shipping them. I also shipped in the winter. My one sister even didn’t go get her package from the office until a week after it arrived and it was still good. I would guess she ate her cupcakes about 10 days after I sent them. I’m not sure if shipping in warm weather will have an impact on potential mold…
Alright I’ll definitely give it a try then. It will make for a very good Easter present for my faraway friends =)
Oh that’s a good idea!! I might have to order some more jars and do the same myself…
What a clever idea! I would love to get a cupcake in the mail! 🙂 Maybe I’ll send out Valentine’s Day Cupcakesnext year!
This comment has been removed by the author.
Love these!! We have featured you on our blog. http://cutecupcakesallthetime.blogspot.com
Did you freeze them before shipping? The jars looked frosted…
beantownbaker — February 24th, 2013 @ 10:21 am
I did freeze them. They defrosted as they were shipped. I’ve done it with and without the freezing depending on the weather and whatnot.
What shipping method did you use? Overnight or Express???