


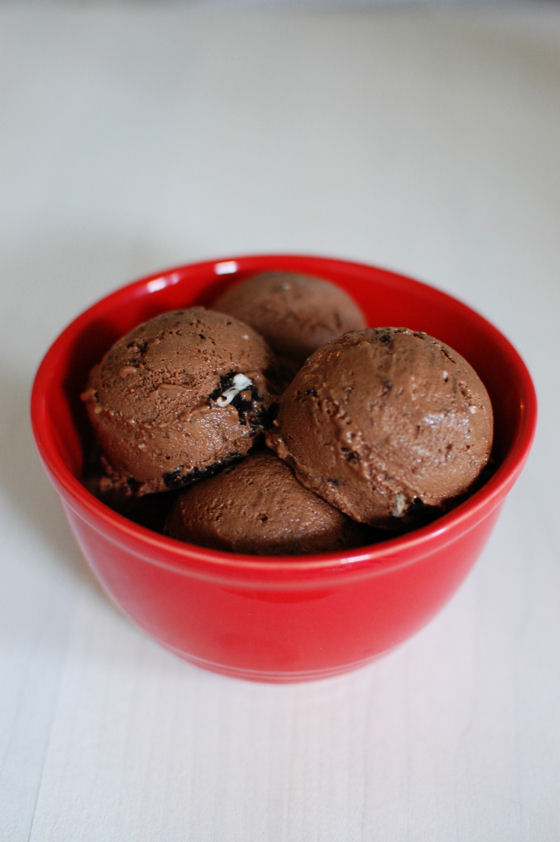
Dairy Free Chocolate Cookies ‘N Cream Ice Cream
Yes, I am going to talk about ice cream in January. I can’t help myself. You see my dad and stepmom got me the KitchenAid ice cream attachment for Christmas. This ice cream maker is one of the things I have been looking forward to most about moving to Cincinnati.
You might be asking how those two things are related… Remember those before and after pic from our kitchen renovation? See that little fridge tucked in the corner there? It’s one of the smallest fridges you can get in the US. It’s footprint is 2’x2′. The freezer is made up of three drawers. None of those drawers are big enough to hold the bowl of an ice cream maker.
So I’ve been waiting… As someone who can’t eat most ice cream available on the market, I have been anxiously awaiting the day I had a freezer big enough to hold an ice cream maker bowl. And believe me, I’ve tried soy-based, coconut-based, and tofu-based ice creams. They’re just not the same.
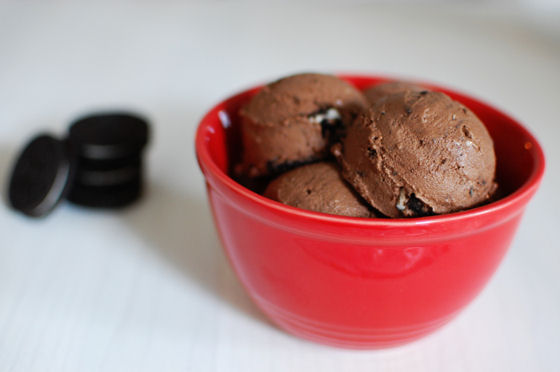
For my first homemade dairy free ice cream, I decided to go with a classic. Chocolate. At the last second, I decided to throw in some Oreos I had in the cabinet. Can you blame me? This ice cream is decadent. And creamy. And oh-so-indulgent. And I can eat it. It’s basically perfect. Hubby and I polished this ice cream off in fewer sittings than I’d like to admit. Even if you can eat dairy, you should make this ice cream.
One Year Ago: Roasted Pumpkin and Squash Soup with Sage
Two Years Ago: Spinach with Pan Roasted Red Peppers and Goat Cheese
Three Years Ago: Overnight French Toast
Four Years Ago: Raspberry Meringue Cookies


Chocolate Dairy Free Ice Cream
Yield: 1 quart
Ingredients:
28 fl ounces (2 cans or 800 ml) full-fat coconut milk
1/2 cup (110 grams) sugar
1/2 cup (45 grams) unsweetened cocoa powder
1/4 tsp salt
3 egg yolks
1 Tbsp vanilla
6-8 Oreos, cut into large chunks
Directions:
In a large saucepan, warm coconut milk over medium heat. Do not allow to boil.
Meanwhile, in a medium bowl, whisk together the sugar, cocoa powder, and salt. Add about 1 cup warmed coconut milk and whisk until the mixture forms a thick, smooth paste. Whisk in the egg yolks one at time, mixing well between additions. Slowly add cocoa mixture to the warmed coconut milk, whisking quickly to incorporate.
Simmer over medium heat until coconut milk base thickens enough to thickly coat the back of a spoon, about 8 to 10 minutes. Stir in vanilla and transfer to a heat-proof container and refrigerate until cold.
Freeze mixture in ice cream maker, following the manufacturer's instructions. Transfer ice cream to a plastic airtight container and freeze for 2-3 hours before serving.
Recipe from Pastry Affair


 I am Jen the Beantown Baker. Engineer by day and baking maven by night. Hubby serves as my #1 fan and official taste tester. We got hitched back in 2006. Barefoot. In the sand. With the waves crashing behind us. It was one of the best decisions we’ve ever made.


What a fabulous idea! I’m trying to cut down on my carbs as well and this looks like a fabulous, healthy dish. Thanks for sharing this 🙂
Yea it was so good. The texture is very similar to noodles. Hubby even loved it.