


The Food Lab Chocolate Chip Cookies
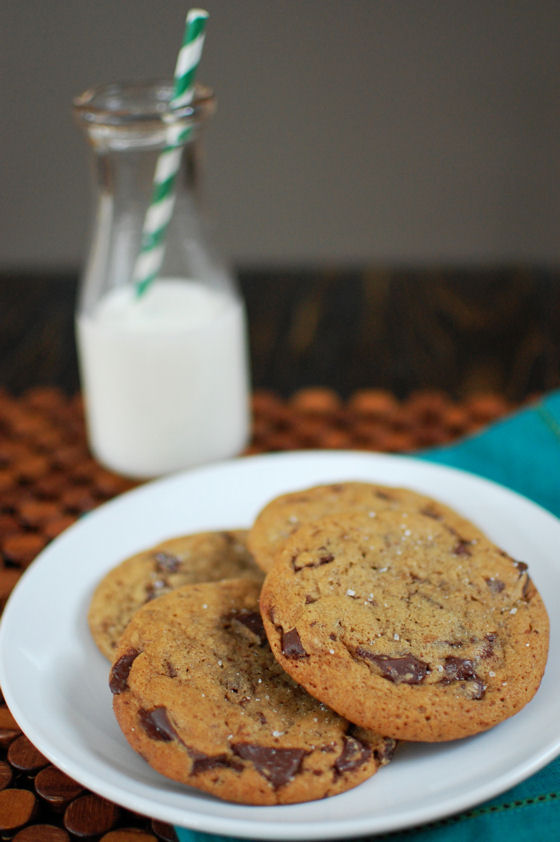
The Food Lab set out to make the best chocolate chip cookie. With crisp edges and a chewy center, these cookies are no joke.
It’s been a month since I posted about why I had been away for so long and how I was going to be back soon with more recipes. I guess “soon” is a relative term so maybe a month qualifies as soon, but I still feel like it’s been to long.
Instead of dwelling on that, let’s get to this recipe. We all know that I have a go-to chocolate chip cookie recipe that I’ve made time and time again. No matter what combination of mix-ins I use, they’re always a hit. Sure, they’re a bit fussy with browned butter and a 24+ hour chill time. But they’re worth every minute of effort.
So when I saw this post pop up on Serious Eats, I was initially only intrigued at the science behind developing the perfect chocolate chip cookie. After reading through the (lengthy) article, I was more than intrigued. I knew I’d be baking a batch of these guys at some point soon.
An opportunity presented itself a couple weeks later (and by opportunity, I simply mean a day when I was craving something sweet and didn’t have much else going on). I set out to bake up the supposed best chocolate chip cookie ever.
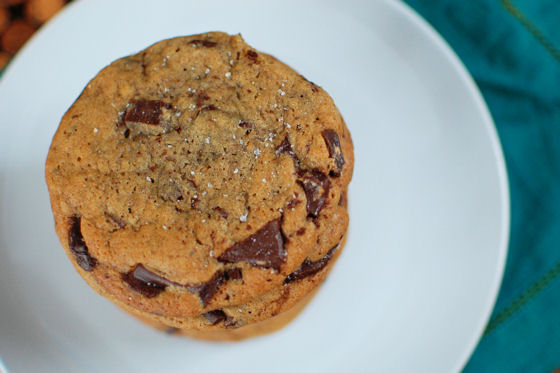
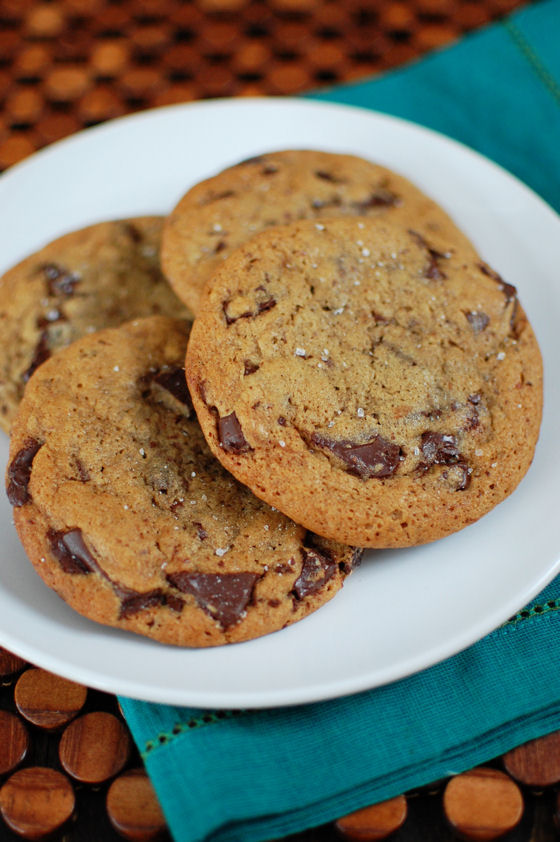
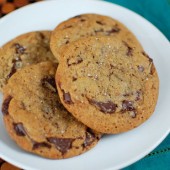
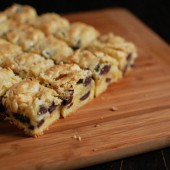
The verdict? These are some really good cookies. They have a great texture from the chopped up chocolate instead of chocolate chips. One thing I always do is add multiple different flavors of chips since they all have a little different shape. This gives cookies more texture. Going forward, I’m going to chop up some of those chips or use chocolate chunks as well.
You also get this great chocolate-ness in every bite from the shards of chocolate floating around in the batter.
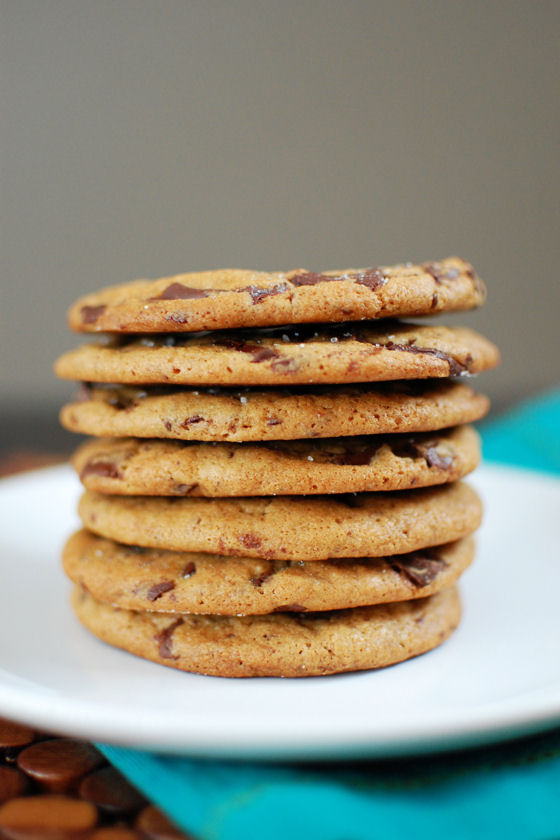
These cookies come out chewy in the center and just crispy enough without being overly crispy on the edges. And of course, sprinkling sea salt on the top of cookies is ALWAYS the right answer.
Overall, this is a solid chocolate chip cookie recipe. I prefer a thicker chewier cookie myself, so I’ll probably stick with my go-to recipe I mentioned above, but incorporate the idea of chopping some of the chocolate. Hubby made it clear that if I’m making cookies for him though, it has to be this recipe. Give it a shot and let me know what you think.
Also, just wanted to mention that today is my 7th blogiversary! 7 years ago today, I hit publish for the first time. While it’s been slow around there these last few months, I’ve loved bringing recipes to you guys, documenting my growth in the kitchen, having a creative outlet, all while developing this little online community. So thanks for reading! I hope you continue to stick with me!


The Food Lab Chocolate Chip Cookies
The Food Lab set out to make the best chocolate chip cookie. With crisp edges and a chewy center, these cookies are no joke.
Yield: 2 dozen large cookies
Ingredients:
8 ounces (2 sticks) unsalted butter
1 ice cube (about 2 tablespoons frozen water)
10 ounces (about 2 cups) flour
3/4 tsp baking soda
2 tsp kosher salt
5 ounces (about 3/4 cup) sugar
2 large eggs
2 tsp vanilla
5 ounces (about 1/2 tightly packed cup plus 2 tablespoons) dark brown sugar
4 ounces semi-sweet chocolate, roughly chopped with a knife into 1/2- to 1/4-inch chunks
4 ounces bittersweet chocolate, roughly chopped with a knife into 1/2- to 1/4-inch chunks
Coarse sea salt for garnish
Directions:
Melt butter in a medium saucepan over medium-high heat. Cook, gently swirling pan constantly, until particles begin to turn golden brown and butter smells nutty, about 5 minutes. Remove from heat and continue swirling the pan until the butter is a rich brown, about 15 seconds longer. Transfer to a medium bowl, whisk in ice cube, transfer to refrigerator, and allow to cool completely, about 20 minutes, whisking occasionally. (Alternatively, whisk over an ice bath to hasten process).
Meanwhile, whisk together flour, baking soda, and salt in a large bowl. Place granulated sugar, eggs, and vanilla extract in the bowl of a stand mixer fitted with the whisk attachment. Whisk on medium high speed until mixture is pale brownish-yellow and falls off the whisk in thick ribbons when lifted, about 5 minutes.
Fit paddle attachment onto mixer. When brown butter mixture has cooled (it should be just starting to turn opaque again and firm around the edges), Add brown sugar and cooled brown butter to egg mixture in stand mixer. Mix on medium speed to combine, about 15 seconds. Add flour mixture and mix on low speed until just barely combined but some dry flour still remains, about 15 seconds. Add chocolate and mix on low until dough comes together, about 15 seconds longer. Transfer to an airtight container and refrigerate dough at least overnight and up to three days.
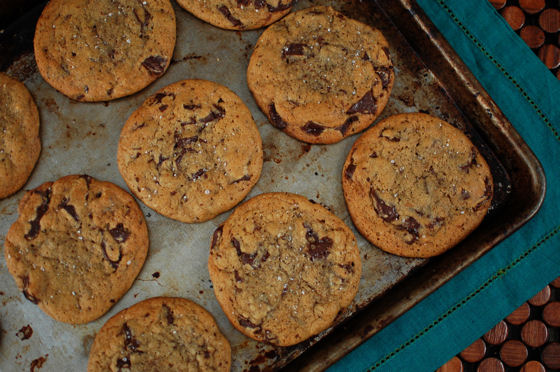
When ready to bake, adjust oven racks to upper and lower middle positions and preheat oven to 325°F. Portion dough into 1.75 oz balls. If you don't have a kitchen scale, use an ice cream scoop to scoop the dough out. Place scoops of cookie dough onto a non-stick or parchment-lined baking sheet. Only put 6 or 8 balls of dough on each cookie sheet, as they will expand quite a bit. Transfer to oven and bake until golden brown around edges but still soft, 13 to 16 minutes, rotating pans back to front and top and bottom half way through baking.
Remove baking sheets from oven. While cookies are still hot, sprinkle very lightly with coarse salt and gently press it down to embed. Let cool for 2 minutes, then transfer cookies to a wire rack to cool completely.
Repeat steps 3 and 4 for remaining cookie dough. Allow cookies to cool completely before storing in an airtight container, plastic bag, or cookie jar at room temperature for up to 5 days.
Recipe from The Food Lab on Serious Eats

 I am Jen the Beantown Baker. Engineer by day and baking maven by night. Hubby serves as my #1 fan and official taste tester. We got hitched back in 2006. Barefoot. In the sand. With the waves crashing behind us. It was one of the best decisions we’ve ever made.


Yum! I love coconut 🙂 this recipe is fantastic!
Do these need to be stored in the fridge??
beantownbaker — April 16th, 2014 @ 5:56 pm
They’re probably fine outside of the fridge. I tend to like my bars cold, so I put everything in the fridge.