


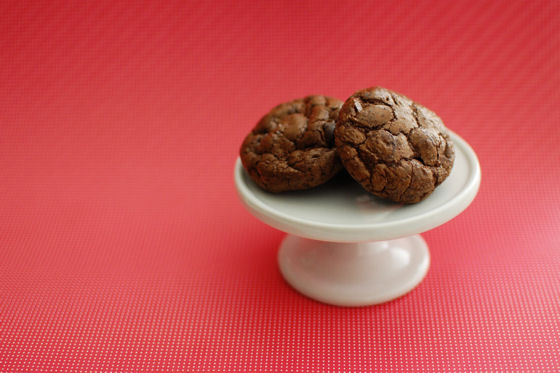
Salted Dark Chocolate Truffle Cookies
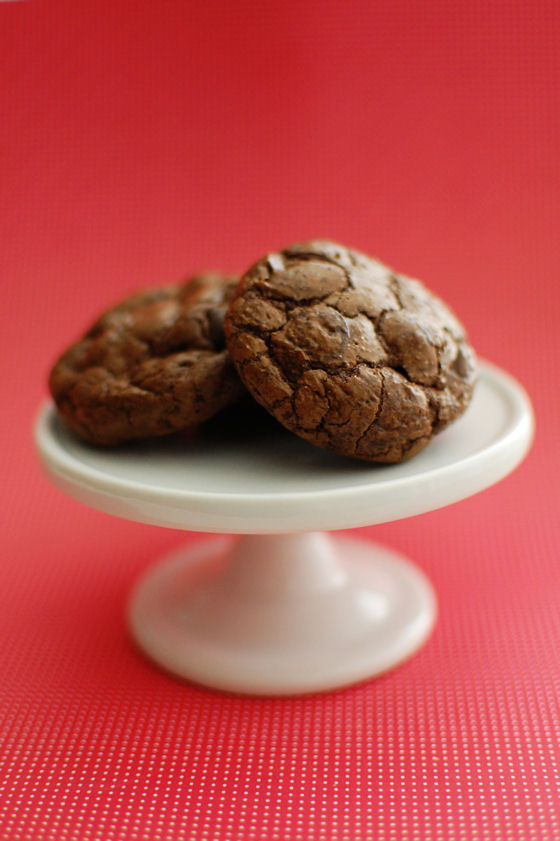
Anyone out there a fan of truffles? You know, the indulgent dark chocolates that have a smooth texture enroabed in a chocolate shell? Now imagine that truffle got baked so it had the texture of a fudgey chocolate cookie on the outside instead of a chocolate shell. Add a sprinkling of sea salt on the top and you have these cookies.
I can’t even explain to you guys how good these cookies are. Honestly. You are going to want to make these the next time you need a chocolate fix. Or you want to impress your friends. Or you just want to do something for yourself.
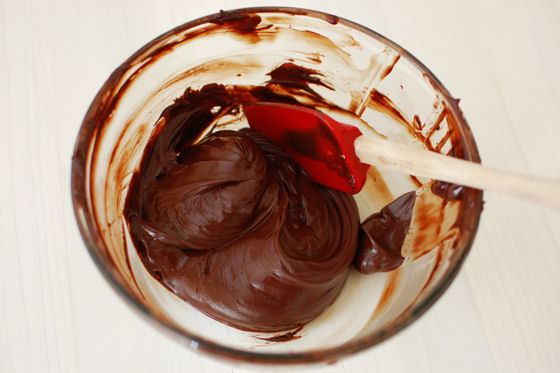
I made these on a whim because we were having friends over. I was glad I broke my own rule about always using my cupcake scoop for cookies. These were very rich and indulgent – I mean look at that batter, it looks just like ganache!
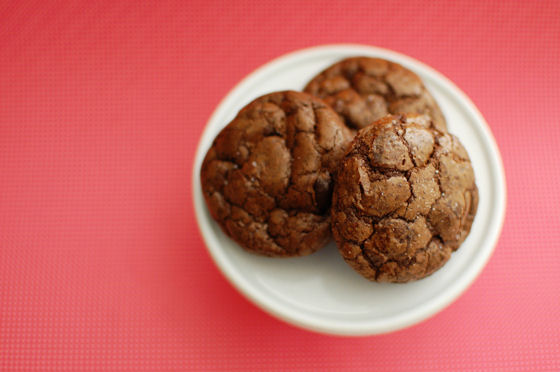
You know, Hubby keeps telling people that he’s not a chocolate guy. I think he’s lying through his teeth. Maybe I’ve converted him and he’s still in denial about it. I watched him gobble up quite a few of these without thinking twice. They were so good I had to get them out of the house so I sent a dozen home with our friends. I was glad I did it and then sad the next day when we didn’t have any cookies in the house. You win some and you lose some I guess…
One Year Ago: Purple Ombre Cake and How to Pipe a Rose (with Video)
Two Years Ago: Cinnamon Banana Bread
Three Years Ago: Cornish Hens with Garlic and Rosemary
Four Years Ago: Homemade Oreos
Five Years Ago: Mini chocolate-chocolate Cupcakes with Raspberry and Caramel Filling and Peanut Butter Chocolate Chip Cookies


Salted Dark Chocolate Truffle Cookies
Chocolate cookies with a truffle-like interior and a sprinkling of sea salt
Yield: 3.5 dozen cookies
Ingredients:
6 Tbsp unsalted butter
4 oz bittersweet chocolate, chopped
2 cups dark chocolate chips
1/2 cup + 2 Tbsp flour
2 Tbsp dark chocolate/dutch process cocoa powder
1/4 tsp salt
1/4 tsp baking powder
3 eggs
3/4 cup sugar
2 tsp vanilla
coarse sea salt for sprinkling
Directions:
In a large bowl, melt butter, bittersweet chocolate and 1 cup of chocolate chips in the microwave, beginning with 30 second increments and stirring until totally melted. Set aside and let cool completely.
In a small bowl, combine flour, cocoa powder, salt and baking powder. Set aside.
In the bowl of your electric mixer, add sugar and eggs, beating on high until light and fluffy, about 2 minutes. Add in vanilla extract and melted chocolate/butter, beating for another 1-2 minutes until combined.
Scrape down the sides of the bowl and the whisk or beater attachment, then remove it and stir in the dry ingredients with a large spatula until thoroughly dispersed by just combined.
Fold in remaining chocolate chips. Cover the cover with plastic wrap and place in the fridge for at least 4 hours.
Preheat oven to 350 F. Place parchment paper (or a silpat!) on an ungreased baking sheet. Wet your hands with water then begin to roll the dough into 1-inch balls, placing them about 2 inches apart. Do this quickly and if you are doing the cookies in batches, refrigerate the dough in between rounds.
Sprinkle a bit of salt on top of each dough ball, then bake for 9-10 minutes. Remove, sprinkle a tiny bit of salt again, and let cool for at least 10 minutes on the baking sheet. The should be completely cool before removing them.
Once removed, place on wax or parchment paper to cool completely.
Recipe from How Sweet It Is


 I am Jen the Beantown Baker. Engineer by day and baking maven by night. Hubby serves as my #1 fan and official taste tester. We got hitched back in 2006. Barefoot. In the sand. With the waves crashing behind us. It was one of the best decisions we’ve ever made.


This comment has been removed by the author.
M&Ms were an inspired idea! And honestly, I think 3 layers was a better size. 5 layers is just too much as I ended up splitting the layers in half when I served it because they were just so big.
Thank you for the post-back!
This looks SO good. I just bookmarked it and I hope to try it in the next year since my bookmarked list is too long 😛 I think halving it is the way to go, it already looks pretty big. Mmm.
Wow, this looks pretty darn tasty! I love M&M’s.
Hey there! I’m at work surfing around your blog from my
new iphone! Just wanted to say I love reading through your
blog and look forward to all your posts! Carry on the fantastic work!