


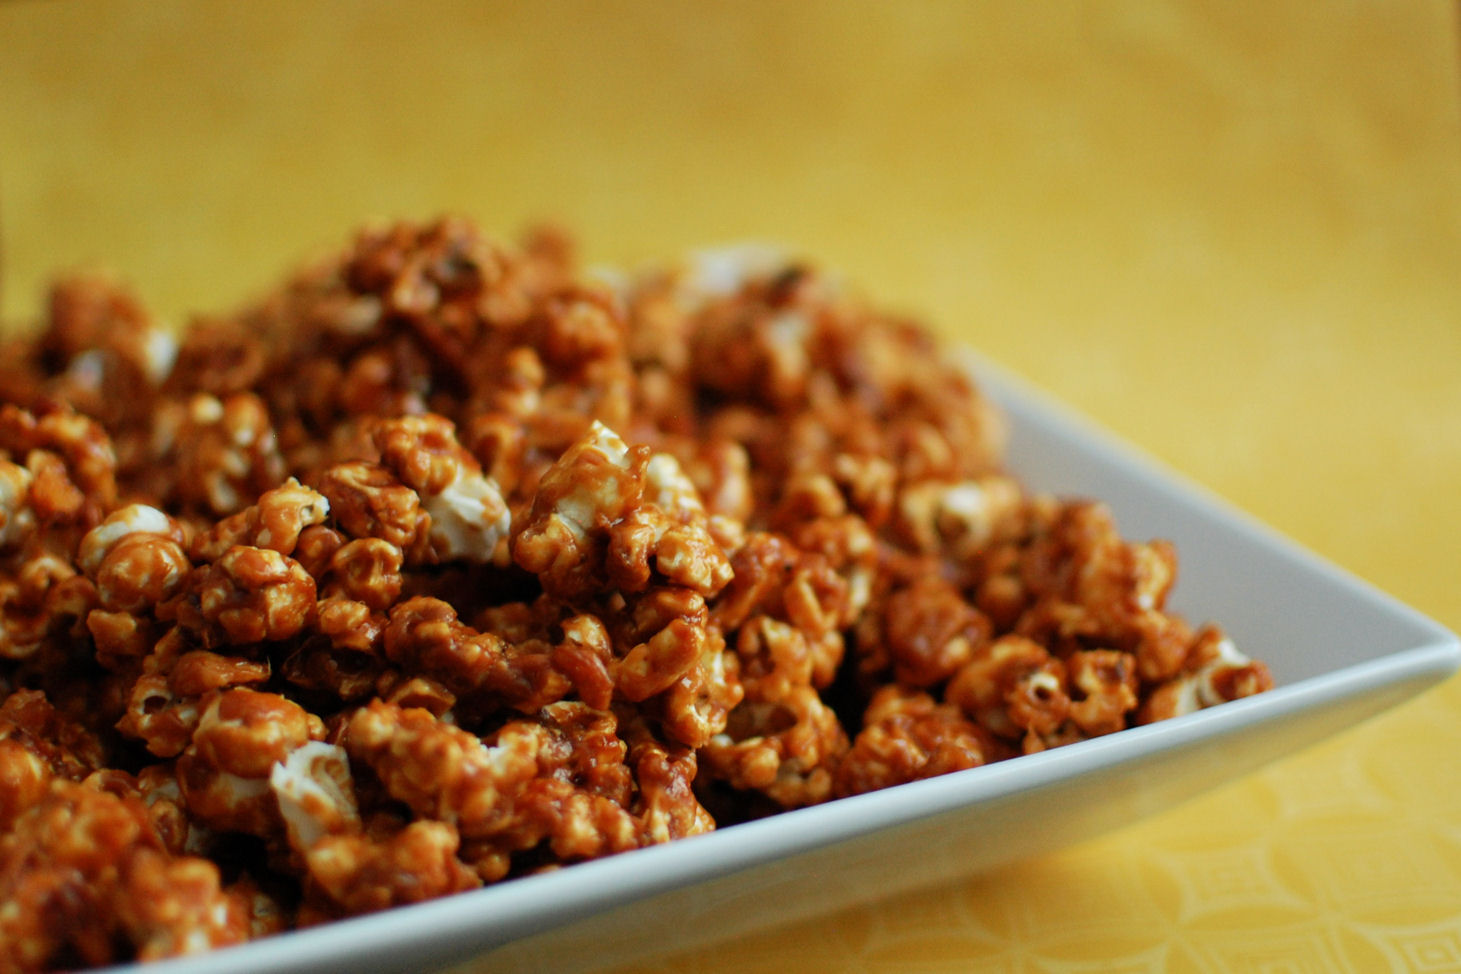
Peanut Butter Caramel Corn
Caramel corn is one of my favorite snacks. I can eat my way through more than I should in one sitting. Because of this, I rarely make it at home. I whipped up this Peanut Butter Caramel Corn for hanging out with some friends a couple weeks ago. Everyone really enjoyed it.
I used Peanut Butter and Co’s White Chocolate Wonderful peanut butter. I think it has a hint of caramel flavor in it and figured it would pair well with the caramel. I think this would be delicious with regular old peanut butter, but I really enjoyed the flavor using the white chocolate PB.

Two Years Ago: M&M Cookies
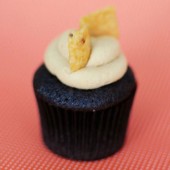
Three Years Ago: Vegan Chocolate Banana Caramel Cupcakes


Peanut Butter Caramel Corn
Caramel corn kicked up a notch with peanut butter thrown into the mix.
Yield: Serves 8
Ingredients:
2 Tbsp canola oil
1/2 cup unpopped popcorn kernels
1/2 cup sliced almonds
2/3 cup packed brown sugar
2/3 cup light corn syrup
2 1/2 Tbsp unsalted butter
1/2 tsp salt
1/2 cup creamy peanut butter
1 tsp vanilla
Directions:
Preheat oven to 250 F. Line a rimmed baking sheet with parchment paper and spray with cooking spray.
Heat the oil in a large Dutch oven set over medium-high heat. Add the popcorn kernels and cover. Cook, shaking the pan frequently, for about 4 minutes, or until the popping almost completely stops. Remove the pan from the heat and when the popping stops, remove the cover and add the almonds.
In a medium saucepan, combine the brown sugar, corn syrup, butter and salt. Bring to a boil over medium heat, then continue cooking for 3 minutes, stirring occasionally. Remove the pan from the heat and mix in the peanut butter and vanilla. Drizzle over the popcorn and use a rubber spatula to toss to coat.
Spread the popcorn on the prepared pan. Bake for 1 hour, stirring every 15 minutes. Let cool completely before serving.
Recipe from Tracey's Culinary Adventures


 I am Jen the Beantown Baker. Engineer by day and baking maven by night. Hubby serves as my #1 fan and official taste tester. We got hitched back in 2006. Barefoot. In the sand. With the waves crashing behind us. It was one of the best decisions we’ve ever made.


Well, I know you made the awesome Nutella cupcakes for me this past year – so that has to be the other cupcake recipe!! What a great 6 years here at BB!! Keep making those cupcakes because I’m still drooling over all of them!!
beantownbaker — September 5th, 2013 @ 8:58 am
Yep, those were the other ones I made in the last year! Every time I make cupcakes, I’m reminded how great they are, they just don’t excite me like they used to so I don’t think to make them. It could have something to do with my obsession with ice cream this summer though…
I love all of your cupcakes, they are so pretty and the perfect flavors 🙂
beantownbaker — September 8th, 2013 @ 5:40 pm
Thanks! 🙂