


Lemon Curd
Lemon curd is one of those things that I forget how much I love until I have it in something. Then I’m reminded that I should make some soon. I feel like I saw a bunch of lemon curd recipes pop up recently in the blogs I read and was once again reminded that I should mix some up myself.

I have made lemon curd before but I wanted to find a simpler recipe. I found this one and while it was simpler than the one I had tried before, it didn’t go completely smoothly.
To start things off, the mixture was all curdled at the beginning of the cooking process.
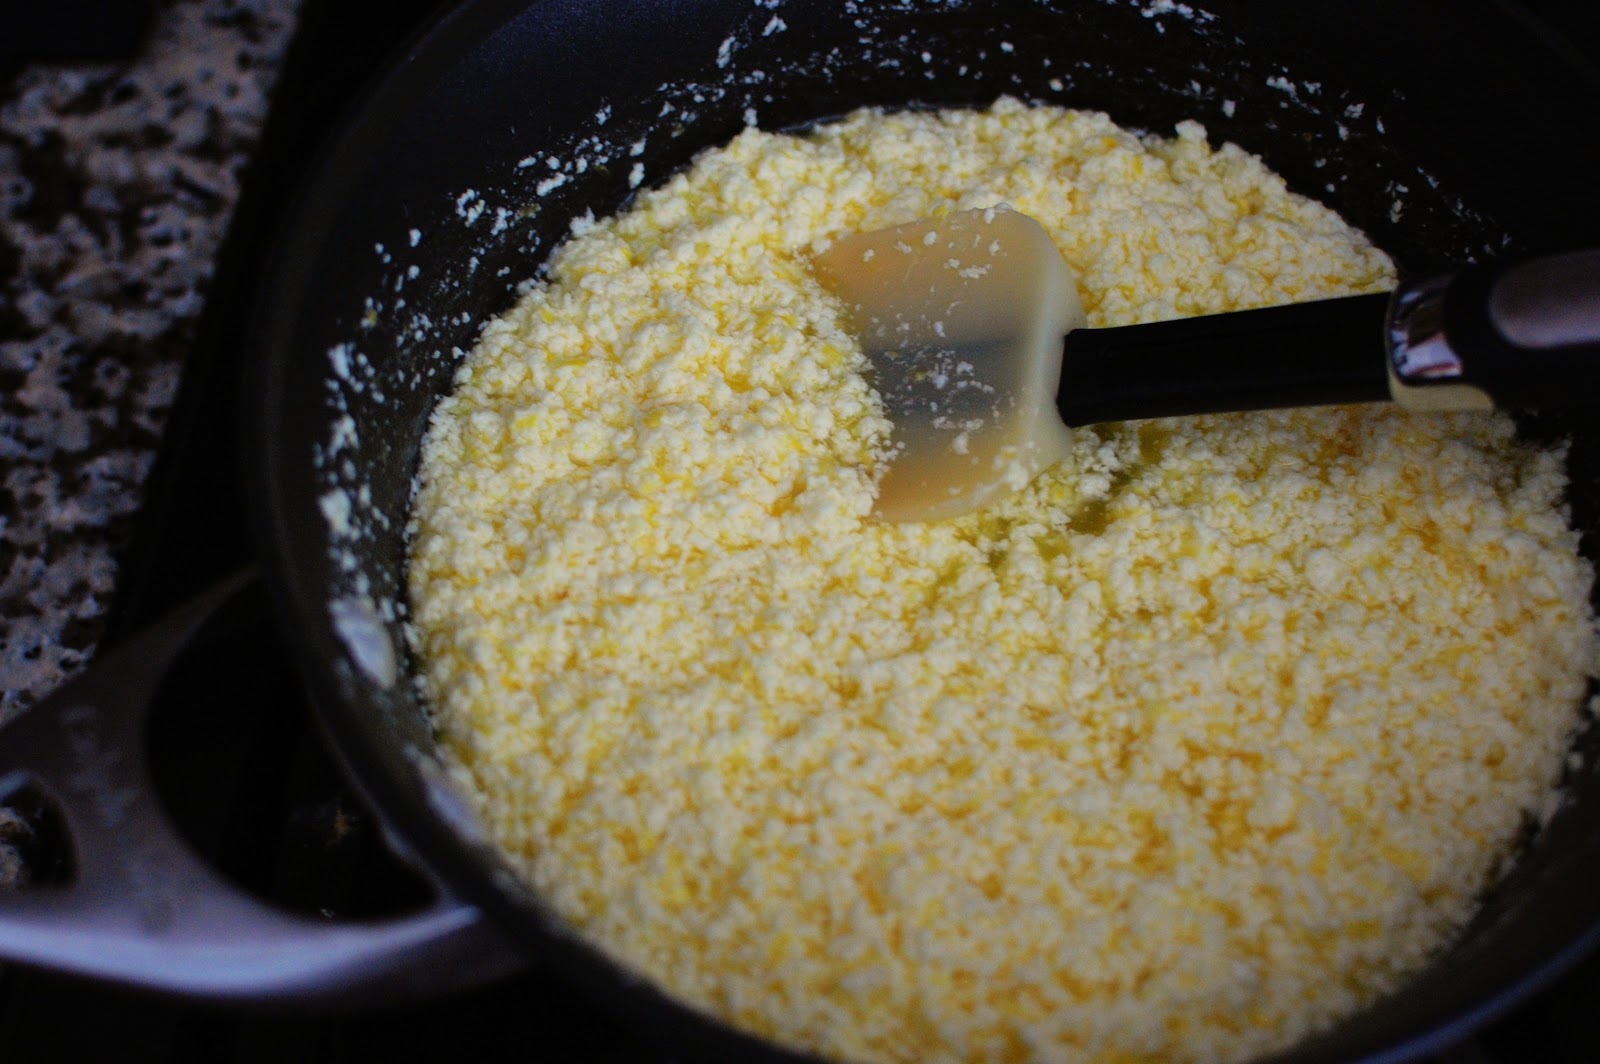
I figured the butter would melt into the mixture as it heated and sure enough, it did. But then I had issues getting the curd to thicken. After 24 minutes of stirring, I added a tablespoon of cornstarch to the mixture. Another 6 minutes and the curd had thickened to my liking. Since the recipe said 10 minutes total, that was a bit frustrating. It did thicken up more as it cooled so that was a good thing.

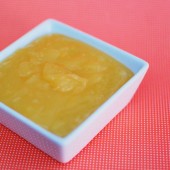
This recipe yielded a great lemony curd and with the modifications I made below, it definitely will be made again. Hopefully sooner rather than later!
One Year Ago: Stovetop Macaroni and Cheese
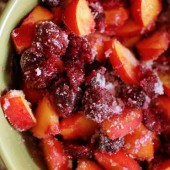
Three Years Ago: Fake Apple Pie A La Mode


Lemon Curd
Yield: 3 cups
Ingredients:
3 lemons
1 1/2 cups sugar
8 Tbsp butter, room temperature
4 eggs
1/2 cup lemon juice (3 to 4 lemons)
1/8 tsp salt
1 Tbsp cornstarch
Directions:
Remove the zest of 3 lemons, being careful to avoid the white pith. Put the zest in a food processor fitted with the steel blade. Add the sugar and pulse until the zest is very finely minced into the sugar.
Cream the butter and beat in the sugar and lemon mixture. Add the eggs, 1 at a time, and then add the lemon juice, salt and cornstarch. Mix until combined.
Pour the mixture into a 2 quart saucepan and cook over low heat until thickened (about 10 minutes), stirring constantly. The lemon curd will thicken at about 170 degrees F, or just below simmer. Remove from the heat and cool or refrigerate.
Recipe adapted from Ina Garten


 I am Jen the Beantown Baker. Engineer by day and baking maven by night. Hubby serves as my #1 fan and official taste tester. We got hitched back in 2006. Barefoot. In the sand. With the waves crashing behind us. It was one of the best decisions we’ve ever made.


I made this for my family get-together and everyone loved it. It came out pretty soggy, though, so I’ll need to try to get the extra juices out of the fruits before cooking. I also didn’t pre-heat the baking pan under the pie dish so that may have contributed too. Thanks for this recipe!
beantownbaker — August 12th, 2013 @ 7:40 pm
So glad you guys enjoyed it!
Outstanding! We were able to use our fresh peaches and sweet cherries to make this wonderful pie. I did make the following adjustments: I only used half cup of sugar in the pie filling, and in the crumble topping I used 1/4 brown sugar and 2 tbsp. sugar, and I reduced the butter to 3 tbsp. melted. I used a fork to press the crumble ingredients together (in pastry cutter style) until it became crumbly. It was absolutely delicious and I know I’ll be making it again and again.
beantownbaker — September 2nd, 2014 @ 7:24 pm
So glad you liked this recipe. I’m making it again myself this week.
I have noticed you don’t monetize beantownbaker.com, don’t waste your traffic, you can earn additional bucks
every month with new monetization method. This
is the best adsense alternative for any type
of website (they approve all sites), for more details simply search in gooogle: murgrabia’s tools