


Herbed Bread baked in a Dutch Oven
Literally every time I make bread at home, I tell myself to do it more frequently. It’s really not difficult at all and the results are always AMAZING. This bread was no exception. In fact, the four of us devoured this entire loaf along with our Roasted Garlic and Chicken Soup in one setting. The bread was still warm when we sat down for dinner.
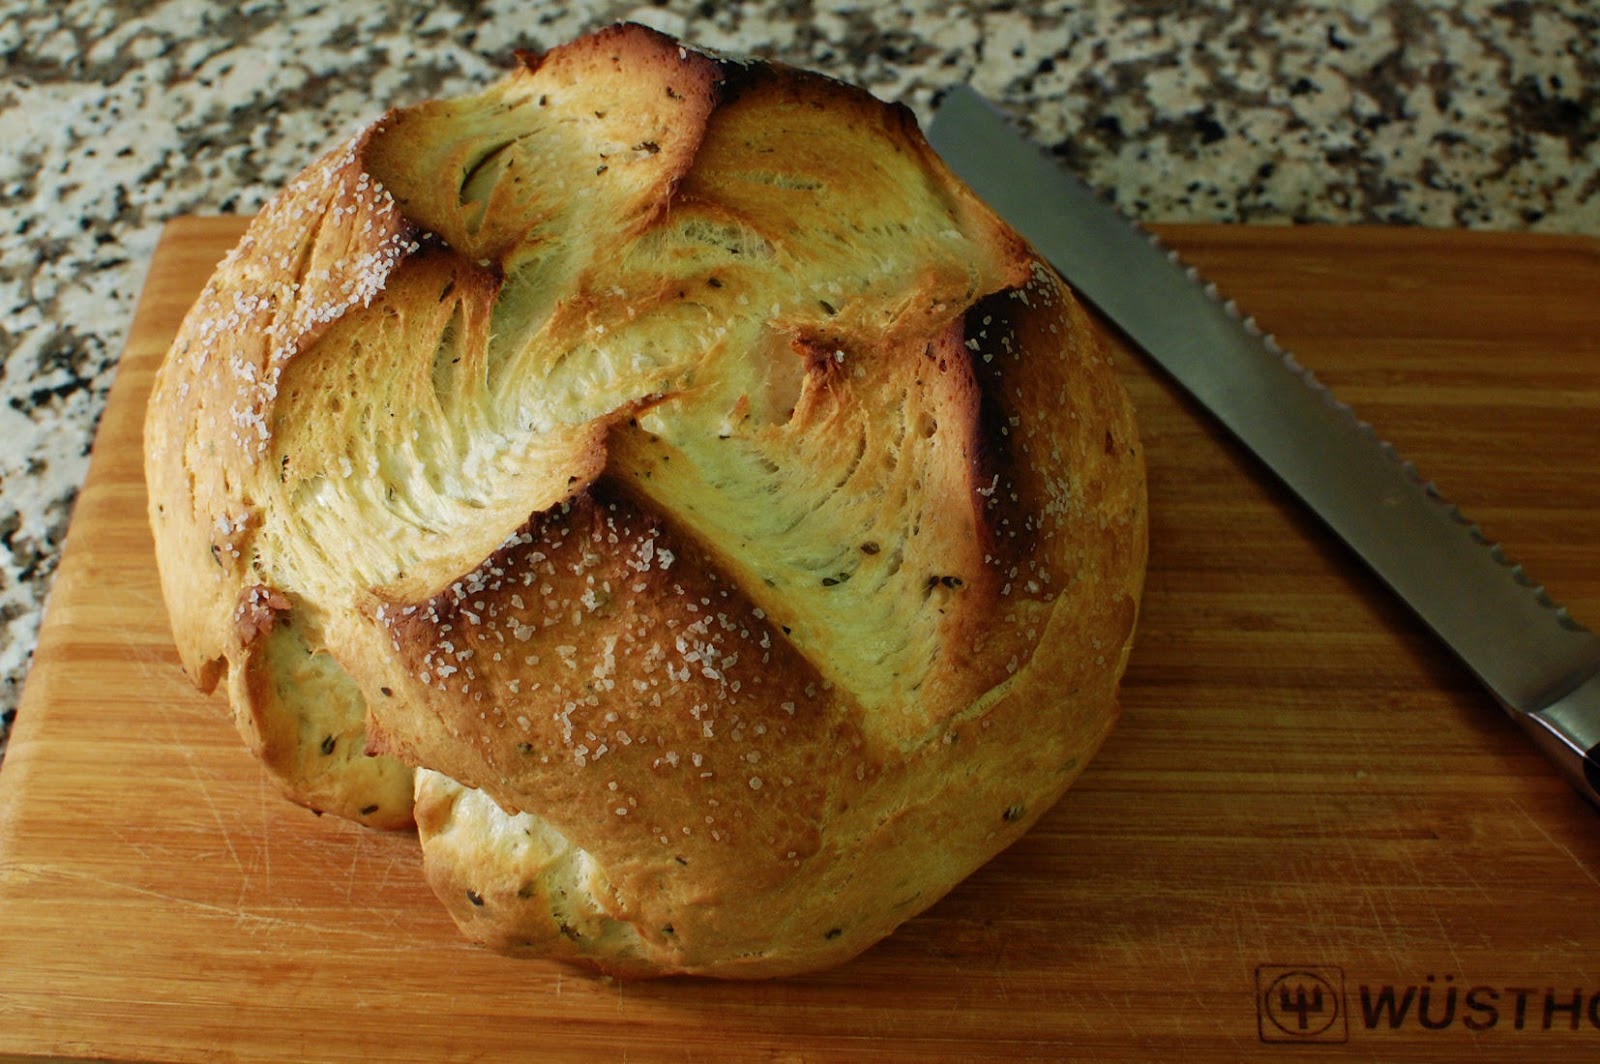
Last year, when my mom gave me my new dutch oven, this bread was one of the things I new I would be making with it. I read the instruction manual that came with my dutch oven and it indicated that the black plastic knob was only safe in the oven up to 350 degrees. Since most things that you cook in a dutch oven are low-and-slow, that won’t cause an issue. However, this bread gets baked at 450 degrees F, so I instantly ordered a new knob for my dutch oven. If you’re going to make this bread, just be sure to check how hot your bakeware can handle.
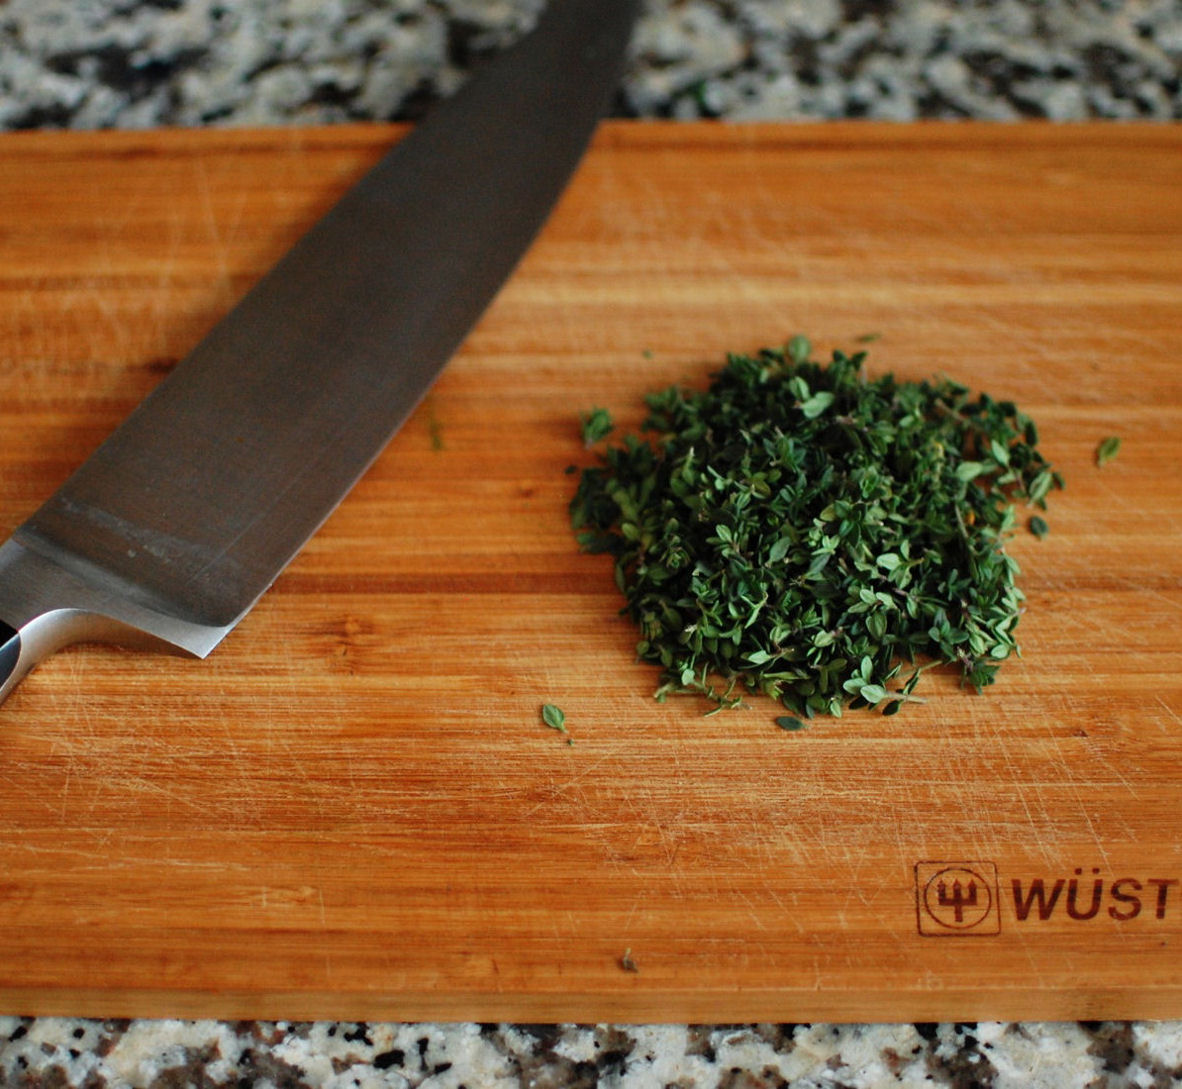
I was a bit worried when I threw this bread into the oven because it hadn’t risen very much. Luckily, it rose quite a bit while it was baking. I used thyme in my bread since there was thyme in the soup, but I’m sure any herbs that you have on hand would be delicious.


Herbed Bread baked in a Dutch Oven
This herb studded bread comes together quickly and is baked in a dutch oven!
Yield: 1 loaf
Ingredients:
20 ounces, weight bread flour (~4 cups)
8 ounces, water
4 ounces, melted butter
1.5 Tbsp chopped thyme
2 tsp salt
1 tsp active or instant yeast (if using active yeast, sprinkle yeast over the water to let it start to work before mixing it in)
Directions:
Combine all ingredients together in the KitchenAid stand mixer with the dough hook (it can be done by hand…it just takes longer).
I mixed them together for about 10 minutes or so until I could successfully achieve a windowpane with the dough. This is where you can pull off a small chunk of the dough you’re kneading and stretch it gently to see if it is somewhat translucent. If you can do this without it tearing, it’s ready.
Preheat oven to 450 degrees.
After the dough starts rising, it should be kneaded for a minute or two so that the yeast can redistribute. Form it into a dome and place in a covered cast iron pan after coating it with olive oil and a sprinkling of kosher salt. Cut a large ‘X’ into the surface of the bread dough so it can bloom!
Bake on the center rack of your over for 30 minutes with the lid on, them remove the lid to finish it off for another 15 to 30 minutes.
Recipe adapted from The Pioneer Woman


 I am Jen the Beantown Baker. Engineer by day and baking maven by night. Hubby serves as my #1 fan and official taste tester. We got hitched back in 2006. Barefoot. In the sand. With the waves crashing behind us. It was one of the best decisions we’ve ever made.







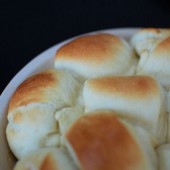
These rolls are delishous…thank you, ciao Flavia
These rolls look fantastic and I love the idea of using honey to sweeten them. By the way, I’m holding a giveaway on my blog for Orglamix Organic makeup and you’re welcome to come by and enter. http://sweet-as-sugar-cookies.blogspot.com/2010/12/orglamix-organic-mineral-makeup-review.html
gosh, i can just taste them, hot out of the oven. Please come and cook them at my house!
I would like one of these straight from the oven with a pat of butter. 🙂
These are my favorite rolls! We had them on Thanksgiving as well, and as usual, they were delicious!
what a delicious looking dinner rolls!
have a nice weekend!
Paula
ooh, wow, these look like a perfect accompaniment to a holiday meal 🙂
I made these exact same rolls for Thanksgiving! And I loved them – I hoarded all the leftover ones for myself – haha 🙂
They look like they melt in your mouth! I’ve bookmarked it and will definitely make some these days! Thanks so much for sharing the recipe! I can’t wait to try them! 🙂