


Roasted Blueberry Cupcakes
I have to admit, I never would have thought to roast bluberries. As much as I love roasting almost any kind of vegetable, the thought literally never crossed my mind. Then I saw this recipe for Roasted Blueberry Cupcakes and was instantly intrigued.

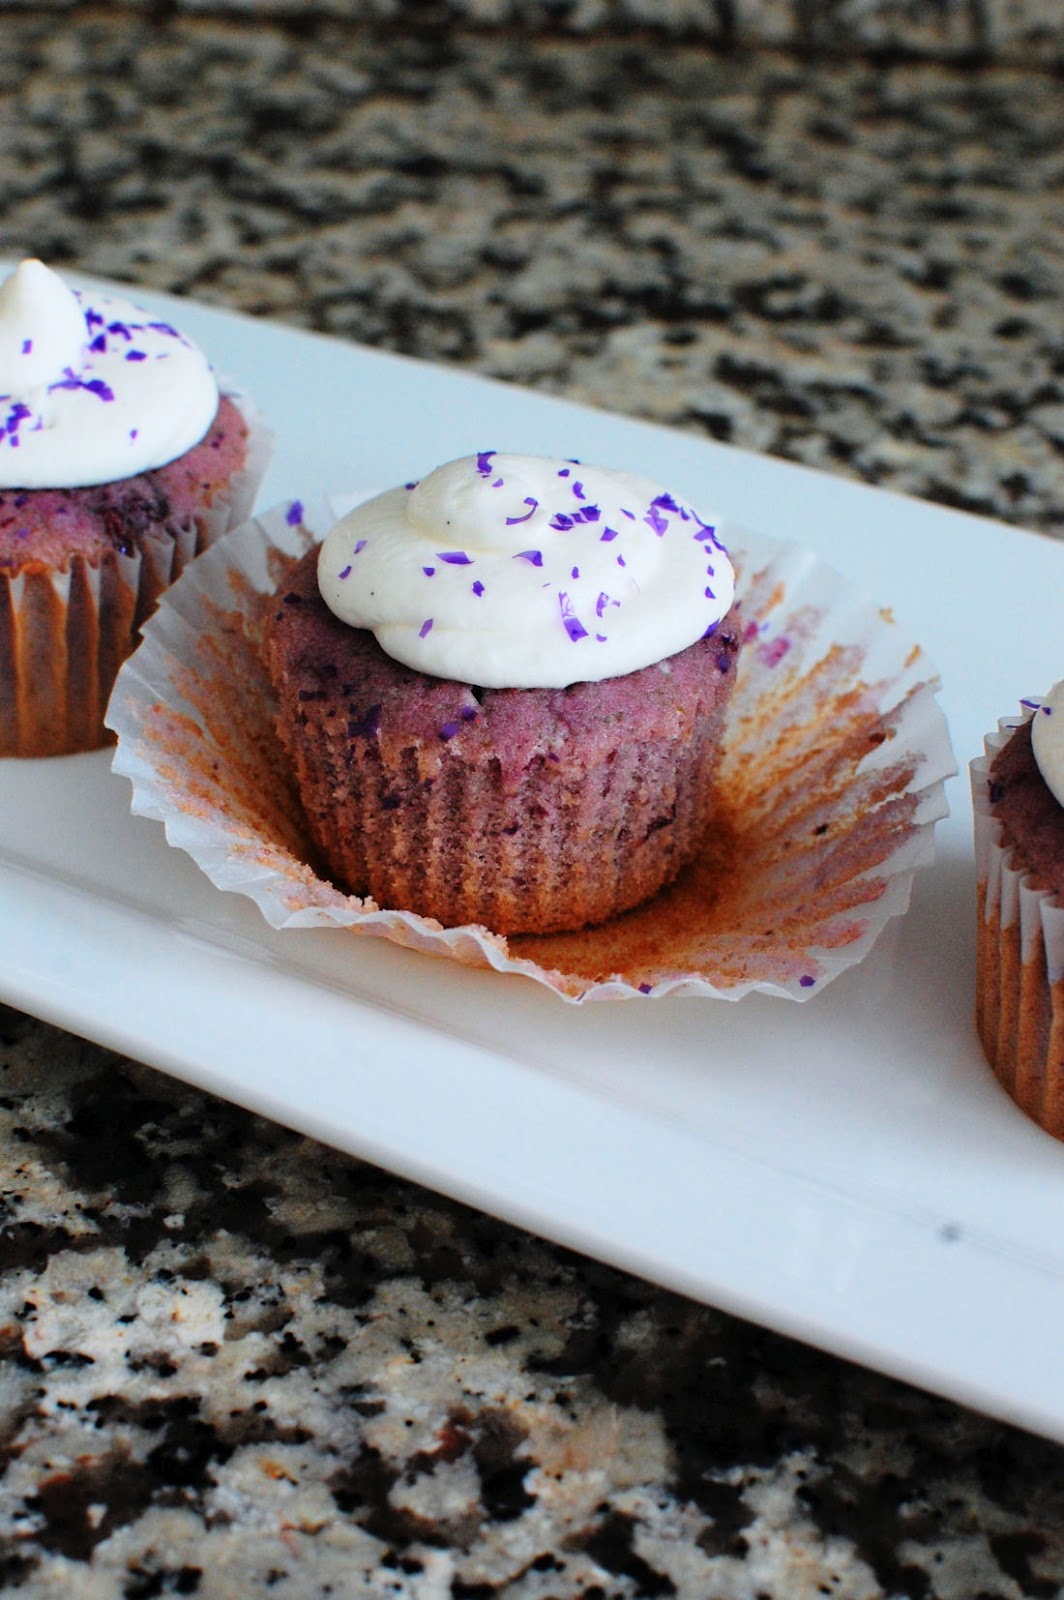
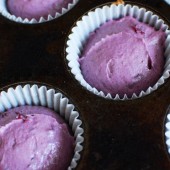
The batter of these cupcakes is a very pretty purple and it tastes amazing. Roasting blueberries brings out their sweetness and heightens that flavor. I probably ate a whole cupcake worth of just the batter, it was that delicious. After the cupcakes were baked, they still carried the strong roasted blueberry flavor that was evident in the batter.

I decided to top mine with cream cheese frosting and some purple edible glitter to dress things up for my 1000th Post Party. I am hoping to make these again with various other roasted fruits. I’m thinking raspberry or strawberry next…
Have you ever roasted fruit?
One Year Ago: Cinnamon Chip Scones and Hummingbird Cupcakes with Pineapple Flowers


Roasted Blueberry Cupcakes with Cream Cheese Frosting
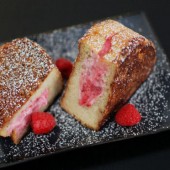
Roasted blueberries have a strong sweet flavor that comes through perfectly in these cupcakes
Yield: 16 cupcakes
Ingredients:
1 1/2 cups fresh blueberries
1 cup sugar
1/2 cup butter
2 eggs
2 tsp vanilla
1 3/4 cups flour
1 1/4 tsp baking powder
1/4 tsp salt
2-3 Tbsp milk
1 batch Cream Cheese Frosting
Directions:
Preheat oven to 350 degrees F.
Spread blueberries on a baking sheet (with sides) and roast for 10-15 minutes, or until berries start to burst. Remove from oven and let cool.
Beat butter and sugar together in the bowl of an electric mixer until fluffy, about 4-5 minutes.
Add eggs and vanilla and mix until combined, another 2-3 minutes.
Add flour, baking powder and salt with the mixer on low speed, then gradually increase speed.
Scrape in blueberries and beat on medium speed until the berries break down – about 2-3 minutes. At this point, the berries most likely have enough liquid that you only need to add a small amount of milk to the batter.
Begin adding 1 tablespoon of milk at a time and beat with the mixer until the batter is smooth. You definitely want it to be cake batter and not dough. (My batter took 2 Tbsp of milk)
Pour into cupcake liners, filling 2/3 of the way full, and bake for 18-22 minutes or until cake is set. Let cool completely, then frost.
Recipe from How Sweet It Is

 I am Jen the Beantown Baker. Engineer by day and baking maven by night. Hubby serves as my #1 fan and official taste tester. We got hitched back in 2006. Barefoot. In the sand. With the waves crashing behind us. It was one of the best decisions we’ve ever made.


