


Browned Butter Cherry Bars
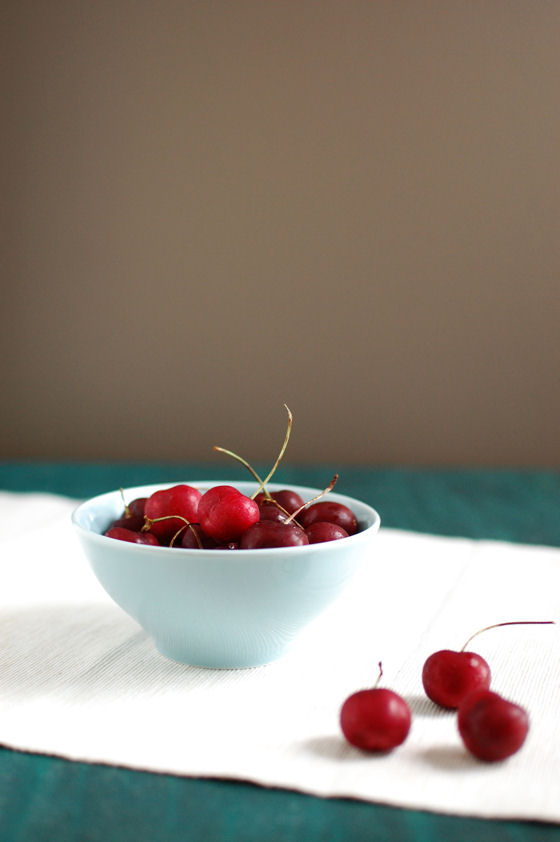
I’m having a hard time keeping up with all the beautiful produce this summer. Well, that might not be an accurate statement… We’ve been eating amazingly this summer. But I haven’t been baking very much. When I found a bag of cherries in my cart at the store, I knew I’d be baking with them.
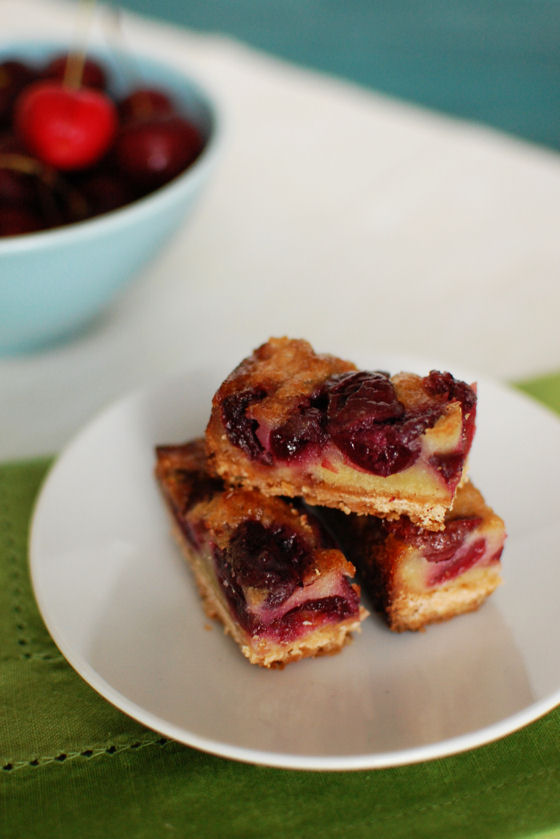
Hubby snacked on a quite a few of the cherries, but he didn’t get his way through all of them before I whipped up these Browned Butter Cherry Bars. As with anything you put browned butter in, these bars had a great caramely nuttiness from the browned butter.
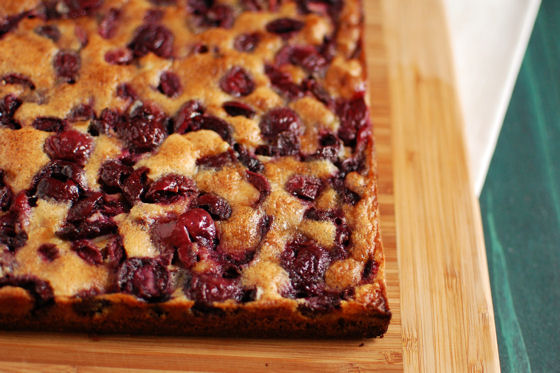
The cookie crust on these bars is buttery and crisp. the cherries really shine through their ripeness. I went ahead and cut them into smaller rectangles as opposed to regular sized squares. I honestly couldn’t stop snacking on these little bars.
Three Years Ago: Family Favorites Cookbook
Four Years Ago: Banana Nut Bread Mini Muffins and Breakfast Pizza
Five Years Ago: Blueberry Lemon Basil Cupcakes


Browned Butter Cherry Bars
Yield: 16 bars
Ingredients:
For the Crust
7 Tbsp unsalted butter, melted
1/3 cup sugar
1/4 tsp vanilla extract
1 cup plus 1 Tbsp flour
Pinch of salt
For the Filling
1/2 cup sugar
2 eggs
Pinch of salt
1/4 cup flour
1 tsp vanilla
1/2 cup (1 stick) unsalted butter, diced
1 pound sweet cherries
Directions:
For the Crust
Preheat over to 375°F. Cut two 12-inch lengths of parchment paper and trim each to fit the 8-inch width of an 8×8-inch square baking pan. Press it into the bottom and sides of your pan in one direction, then use the second sheet to line the rest of the pan, perpendicular to the first sheet. (It should look like this.) Congratulations! You’ve just faked a square tart pan.
Using rubber spatula or fork, mix melted butter, sugar, and vanilla in medium bowl, or if you’re Deb, in the bottom of the small saucepan you used to melt the butter. Add flour and salt and stir until incorporated. Transfer dough to your prepared pan, and use your fingertips to press the dough evenly across the bottom of the pan. Bake the crust until golden, about 18 minutes (it will puff slightly while baking). Transfer crust to rack and cool in pan. Maintain oven temperature.
Make the Filling
Cook butter in heavy small saucepan (a lighter-colored one will make it easier to see the color changing, which happens quickly) over medium heat until deep nutty brown (do not burn), stirring often and watching carefully, about six minutes. Immediately pour browned butter into glass measuring cup to cool slightly.
Whisk sugar, eggs, and salt in medium bowl to blend. Add flour and vanilla and whisk until smooth. Gradually whisk browned butter into sugar-egg mixture; whisk until well blended.
Arrange pitted cherries, or the berries of your choice, in bottom of cooled crust. Carefully pour browned butter mixture evenly over the fruit. Bake bars until filling is puffed and golden and tester inserted into center comes out clean, about 40 minutes (though, of course, this took less time in my hyperactive oven so please watch your baking times carefully). Cool bars completely in pan on rack.
Use the parchment paper overhang to carefully remove cooled bars from pan and place them on a cutting board and cut them into squares with a very sharp knife. The cherries, if they fall over your slicing lines, will want to give you trouble but if you saw a sharp knife into them slowly before pressing down, they’ll cut neatly and with minimum carnage.
Recipe from Smitten Kitchen


 I am Jen the Beantown Baker. Engineer by day and baking maven by night. Hubby serves as my #1 fan and official taste tester. We got hitched back in 2006. Barefoot. In the sand. With the waves crashing behind us. It was one of the best decisions we’ve ever made.


These look great as mini-cupcakes! I am so glad everyone liked them, and I like what you did to intensify the coconut flavor. Nicely done! 🙂
What a delicious flavor for cupcakes… and thank you for submitting it to this month’s Tasty Tools!
These look delicious! And thanks for the note about the coconut cream too!
What a great summery cupcake!
Those sound good and look even better! Love the lime zest you can see in the frosting!
That would have been cute to see the KA buckled in!
~ingrid
They’re so darn cute!
Thanks everyone! They were definitely a hit at the party
Yummers, I just made pina colada cupcakes, but these look amazing and I will try them someday. I have never gotten the stand alone foil cups to work for me.