


Almond Joy Brownies
Almond Joy’s got nuts, Mounds don’t. It’s impossible to think about those candy bars without singing the song. In fact, I can never remember which has the nuts without singing the song. Why doesn’t the Mounds have the nut since when you look at an Almond Joy, it has a mound? The mysteries of the universe…
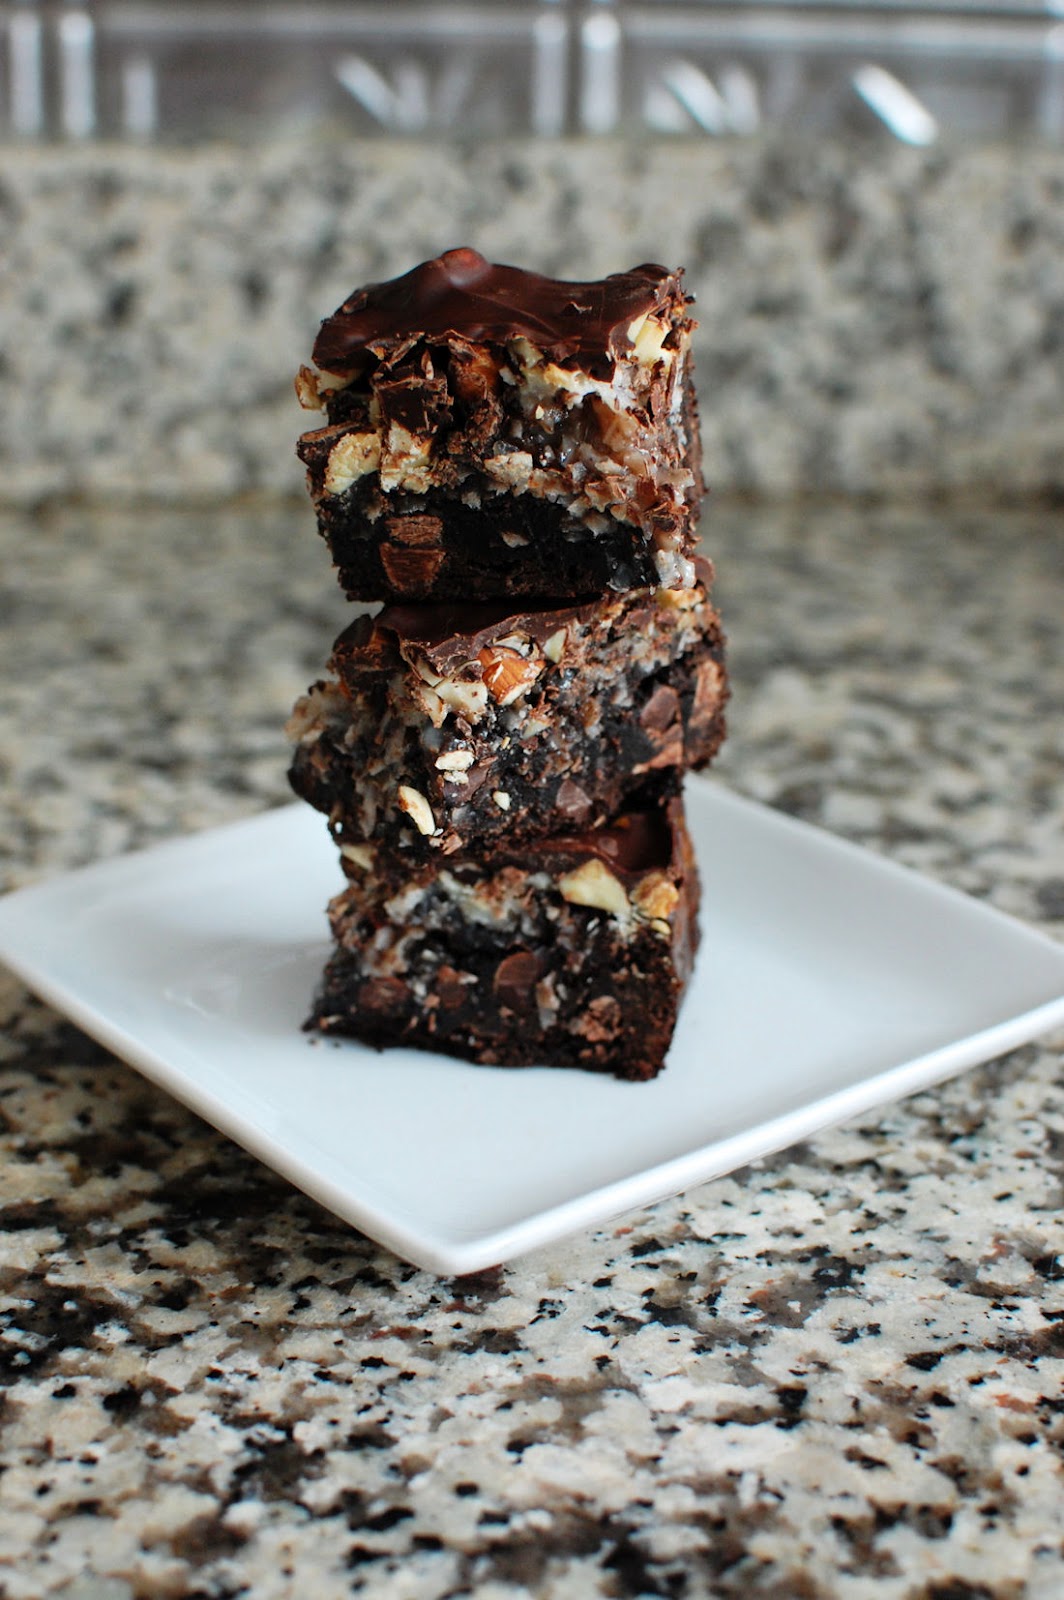
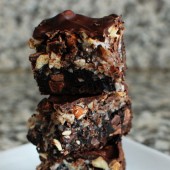
Sorry for my rambling, it happens. If you like chocolate and coconut, you’ll love these brownies. I had hoped that the coconut would be a solid layer that you’d be able to see from the side, but I guess that’s what I get for trying to swirl the brownies together.
You can see that there’s a lot going on in these brownies. There’s chocolate chips since my go-to brownie recipe includes them, there’s some coconut you can see on the edges there, there’s some chopped almonds, and of course the chocolate coating on the top.

As I said, there’s a lot going on in these brownies, but it’s a lot of awesomeness. I highly recommend letting these chill in the fridge overnight. It gives the brownies a chance to meld all those wonderful flavors together. I’d still serve them at room temperature or a bit cool, but definitely make them a day in advance.
One Year Ago: Chewy Fudgey Oatmeal Bars
Two Years Ago: Irish Car Bomb Cupcakes
Four Years Ago: Scallop Burgers


Almond Joy Brownies
Chocolate, almonds, and coconut are a perfect combination for a brownie!
Yield: 16 brownies
Ingredients:
For the Brownie
1/2 cup (1 stick) unsalted butter
1 cup + 2 Tbsp sugar
1/2 cup + 2 Tbsp cocoa
1/2 tsp salt
1/2 tsp baking powder
1/2 tsp espresso powder, optional
1/2 Tbsp vanilla
2 eggs
3/4 cups flour
1 cups chocolate chips
2 cups shredded, sweetened coconut
pinch salt
2/3 cup + 2 Tbsp sweetened condensed milk
1 cup whole almonds, chopped
For the Chocolate topping
3 oz bittersweet chocolate, chopped (or 1/2 cup bittersweet chocolate chips)
2 oz semisweet chocolate, chopped (or 1/3 cup semisweet chocolate chips)
Directions:
For the Brownies
Preheat the oven to 350°F. Lightly grease a 8"x8" pan
In a saucepan set over low heat, melt the butter, then add the sugar and stir to combine. Return the mixture to the heat briefly, just until it's hot, but not bubbling; it'll become shiny looking as you stir it. Heating this mixture a second time will dissolve more of the sugar, which will yield a shiny top crust on your brownies.
Transfer the sugar mixture to a medium-sized mixing bowl, if you've heated it in a saucepan. Stir in the cocoa, salt, baking powder, espresso powder, and vanilla.
Whisk in the eggs, stirring until smooth.
Add the flour and chips, again stirring until smooth.
Spoon the batter into a lightly greased 8"x8" pan.
In a medium sized bowl, combine the coconut, salt and condensed milk. Stir to combine. Dot the coconut mixture evenly over the brownie batter and use a knife to swirl the coconut mixture into the brownie mixture.
Sprinkle almonds over brownies.
Bake the brownies for about 30 minutes, until a cake tester inserted into the center comes out clean, or with just a few moist crumbs clinging to it. The brownies should feel set on the edges, and the center should look very moist, but not uncooked. Remove them from the oven.
For the Chocolate topping
Melt chocolate chips in the microwave by heating 20 seconds and stirring. Repeat until completely melted.
Spread melted chocolate on top of brownies (the brownies can be still warm or cool).
Refrigerate brownies overnight. This will allow all the flavors to meld together.
Recipe inspired by Baking and boys!


 I am Jen the Beantown Baker. Engineer by day and baking maven by night. Hubby serves as my #1 fan and official taste tester. We got hitched back in 2006. Barefoot. In the sand. With the waves crashing behind us. It was one of the best decisions we’ve ever made.


Mmmm. These look so good, and easy! Thanks for sharing.
I adore white chocolate and macadamia nuts!!! These look great, even better than the traditional cookie 🙂
I’m loving this “bar” week! These look great. I love white chocolate and macadamia nuts!
Sounds great. I’ve actually got a jar of macadamia nuts in the pantry too!
Those definitely sound great. I love white chocolate for a change sometimes. Can’t wait to see what else bars week has in store!
I love, love, love white chocolate and these look great!
This is my favorite flavour combo for cookies and it would be amazing in bar form as well!