


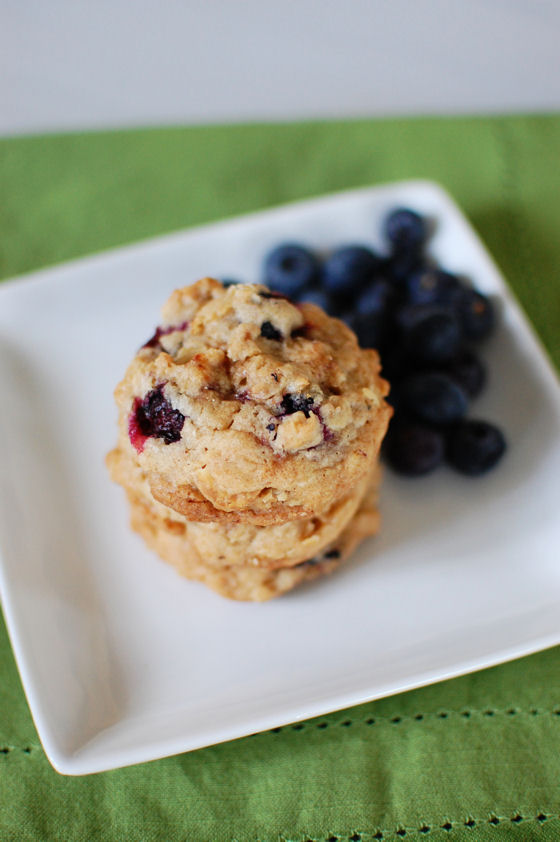
Blueberry White Chocolate Cookies
It’s here – one of Hubby’s favorite times of the year – blueberry season!! We’ll be getting up bright and early tomorrow to head up north a bit to go blueberry picking. I swear Hubby eats more than he puts in the bucket, but that’s between you and me.
We’ve already been getting blueberries in our CSA box which has been awesome. Mostly, we’ve been mixing them in our yogurt for breakfast, but I wanted to bake with them too. You guys might remember that I actually don’t like raw blueberries (or cherries, or grapes). I’d much rather have those fruits in something baked.
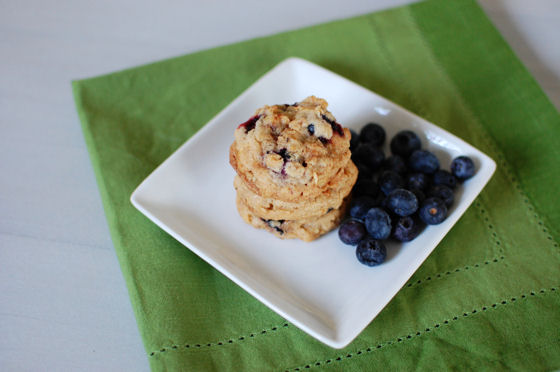
I stumbled upon this cookie recipe and loved the idea of white chocolate and oats playing along with the blueberries in a cookie. I’ve made cookies with fresh blueberries in them before (it was a long time ago, be sure to click through to check out the pictures I took of those cookies! It’s kind of awesome to see where I started all those years ago…) I remember loving how the little berries burst in your mouth releasing their ripe juice in every bite. These cookies do the same thing and got rave reviews when I took them to a friend’s house.
Two Years Ago: Cinnamon Rolls
Three Years Ago: Homemade Vanilla Extract and Homemade Taco Seasoning
Four Years Ago: Boston Cupcake Crawl


Blueberry White Chocolate Cookies
Yield: 2.5 dozen cookies
Ingredients:
1/2 cup butter, softened
3/4 cup sugar
1/4 cup brown sugar
1 tsp vanilla
1 egg
1 1/4 cups flour
3/4 cup rolled oats
1/8 tsp salt
1/2 tsp baking powder
1/8 tsp baking soda
1/2 tsp cinnamon
1/2 cup white chocolate chunks
1/2 cup fresh blueberries
Directions:
Preheat oven to 350F degrees. Line baking sheet with parchment paper or silicone baking mat and set aside.
In a large bowl, cream butter and sugars together. Stir in egg and vanilla. Whip until light and fluffy.
Stir in all dry ingredients until just incorporated. Carefully stir in chocolate chunks and blueberries.
Scoop onto baking sheet and press down lightly to flatten.
Bake 7-8 minutes or until the edges are golden brown and the centers are soft, but not shiny.
Cool 5 minutes on baking sheet and then transfer to cooling rack. Serve or store in airtight container for up to 4 days.
Recipe from Lauren's Latest


 I am Jen the Beantown Baker. Engineer by day and baking maven by night. Hubby serves as my #1 fan and official taste tester. We got hitched back in 2006. Barefoot. In the sand. With the waves crashing behind us. It was one of the best decisions we’ve ever made.


Great cupcake hero entry!!! yum!
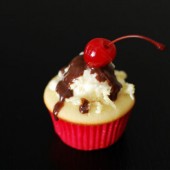
You’re right – it’s a freaking cute cupcake! I especially love that frosting and how you got it to look like a scoop of ice cream. Nicely done!
This is my first CH and I can’t wait till the voting begins! : )
Wow, what a yummy looking cupcake! Great idea!
This is ADORABLE!! I love it!
Gorgeous cupcake, Jen! I love how the cherry stands out. How do you get that black background if you don’t mind me asking? I’m pretty new to this food photography thing 8)
Yummmm!!!!!
Xiaolu – It’s actually just my black table. I’ve also had luck using a plain black piece of construction paper (most of my backgrounds are the 12×12 scrap-booking papers) or a black towel to get the background all black.
Here is an example using paper, and one using a towel.
Thanks! That’s really helpful.
Yum! Great idea 🙂
Awesome idea!
Very creative and it looks great!
What a cute idea! I love it!! And I know my nieces would be in love!
Great idea…they look delicious!
holy deliciousness! I NEED one of those! 🙂
How creative, I love them! So cute and tasty with that cherry on top!
Very cute looking! I like your idea.
~ingrid
These cupcakes are pure genius… you’ve definitely got my vote!
Cute idea! What a great entry!
Wow – super cute! A lot of work, I’m sure, but such a big payoff! Great job!
So stinkin’ cute!
Very cute, indeed and loving the pineapple in the frosting. I can just imagine how delicious this would taste. What a great idea.
MMM, it looks fantastic! I’ll have to try this one 🙂 xox
These cupcakes are precious besides, I am sure, being delicious. What a great idea.