


Giant M&M Cookies
Everyone loves a great cookie. Especially one that’s full of bright and colorful mini M&Ms. These cookies are as big as your hand and have a perfect crispyness around the edges and chewiness in the center. I’ve been on a big cookie kick recently. I think they’re my latest favorite dessert type. I decided to make a list of some of the things I love about cookies.
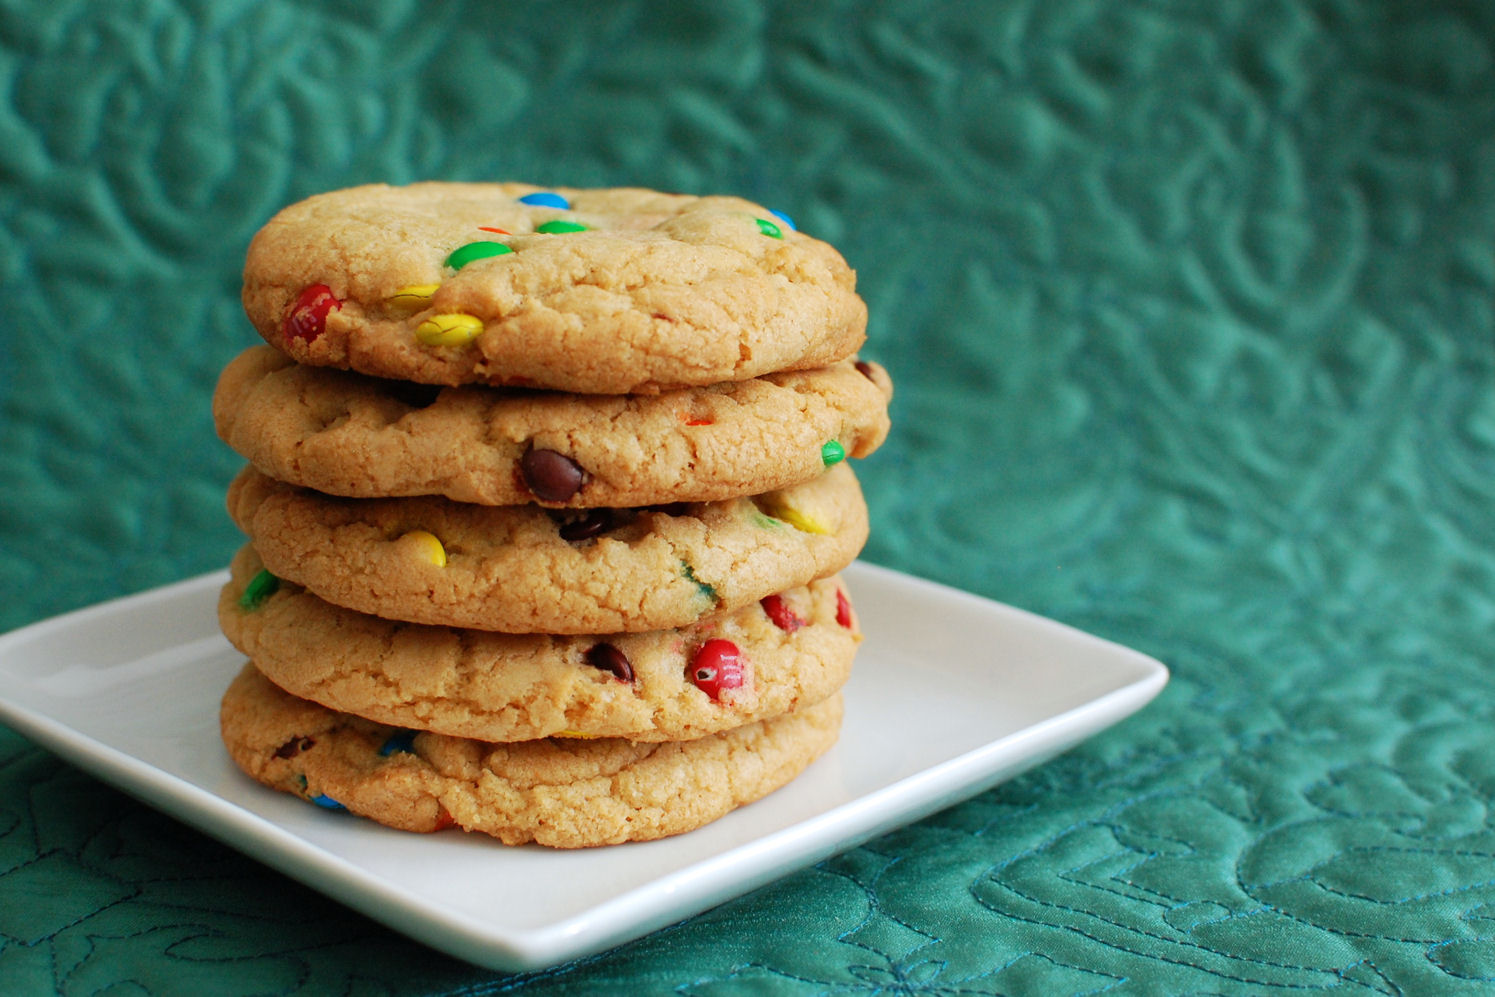
Cookies are portable. You can just grab a cookie and go. Or set them out and not have to worry about forks and plates or a knife to cut portions.

Cookies (or cookie dough) can be frozen. I like to make a double batch of cookies at a time. I figure while I’m making a mess, might as well make it worth the effort. One of my favorite things to do is portion out the cookie dough onto a cookie sheet and freeze them. Once they’re completely frozen, drop them into a ziplock bag. Then if you are craving a cookie, just pop one onto a tray and bake it up. Nothing beats a freshly baked cookie! You can also freeze most cookies after they’ve been baked.
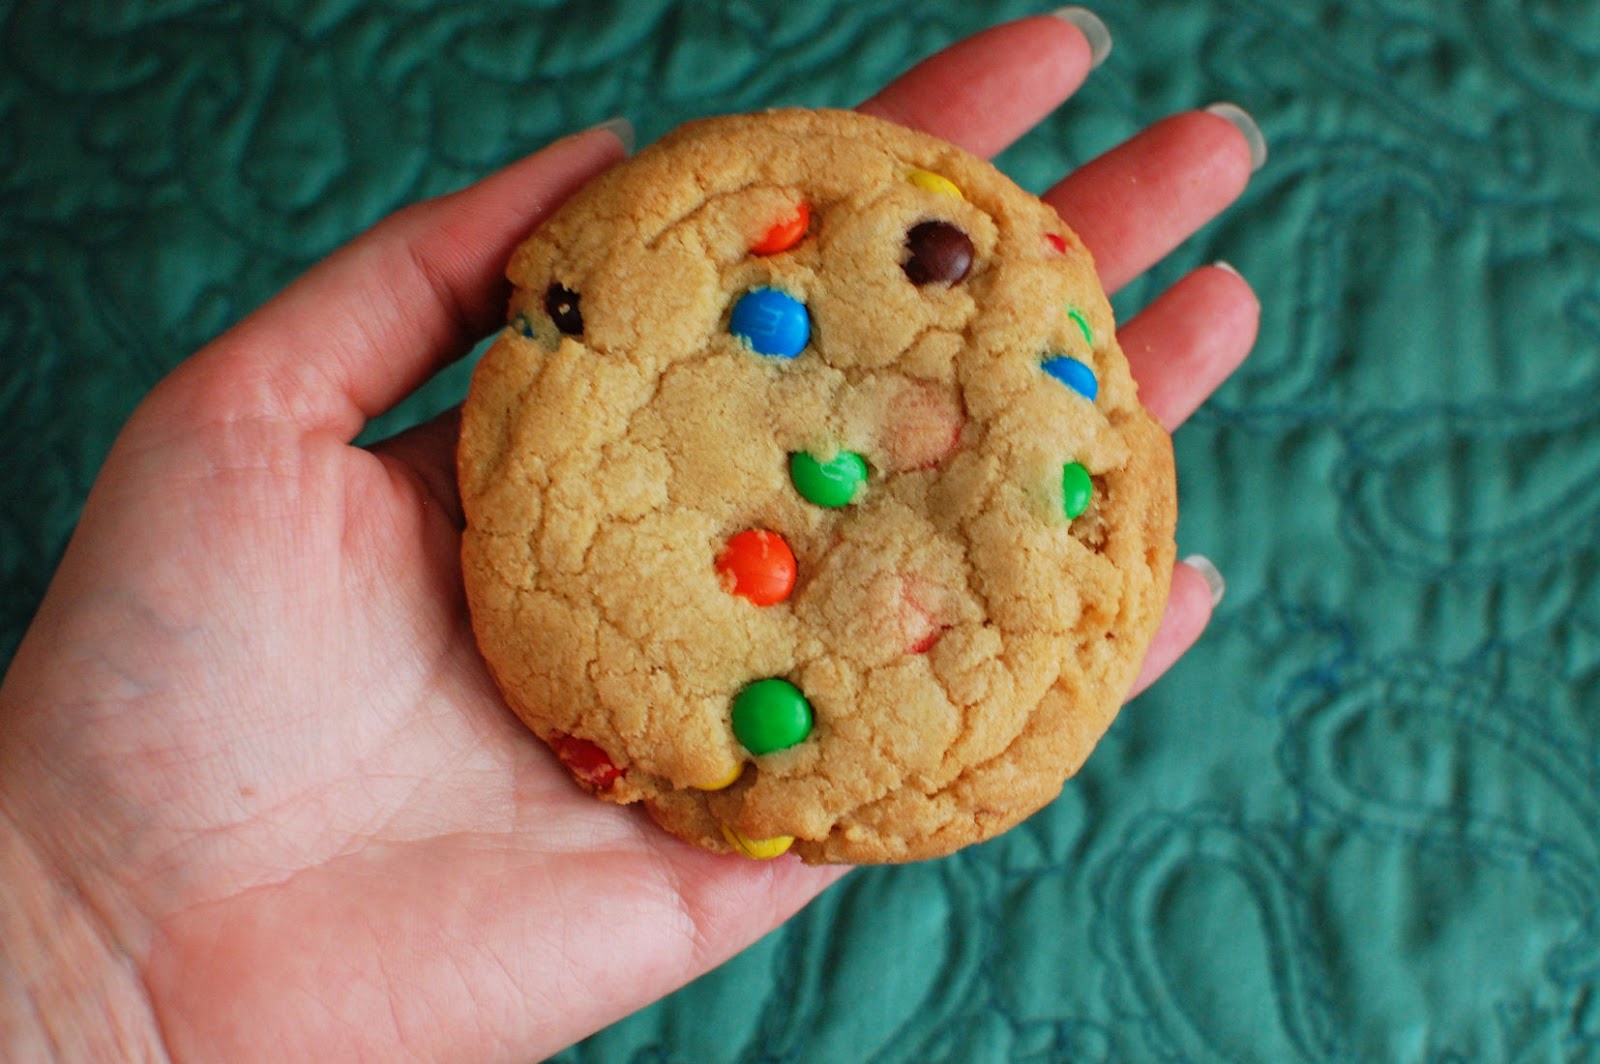
Cookies ship well. I live in Boston. Most of my family lives in the Midwest. I like to send them goodies every now and again and cookies are my go-to. I like to bake them, then freeze them, then ship them off to unsuspecting friends and family members. They defrost while traveling and are ready to be gobbled up when they arrive.
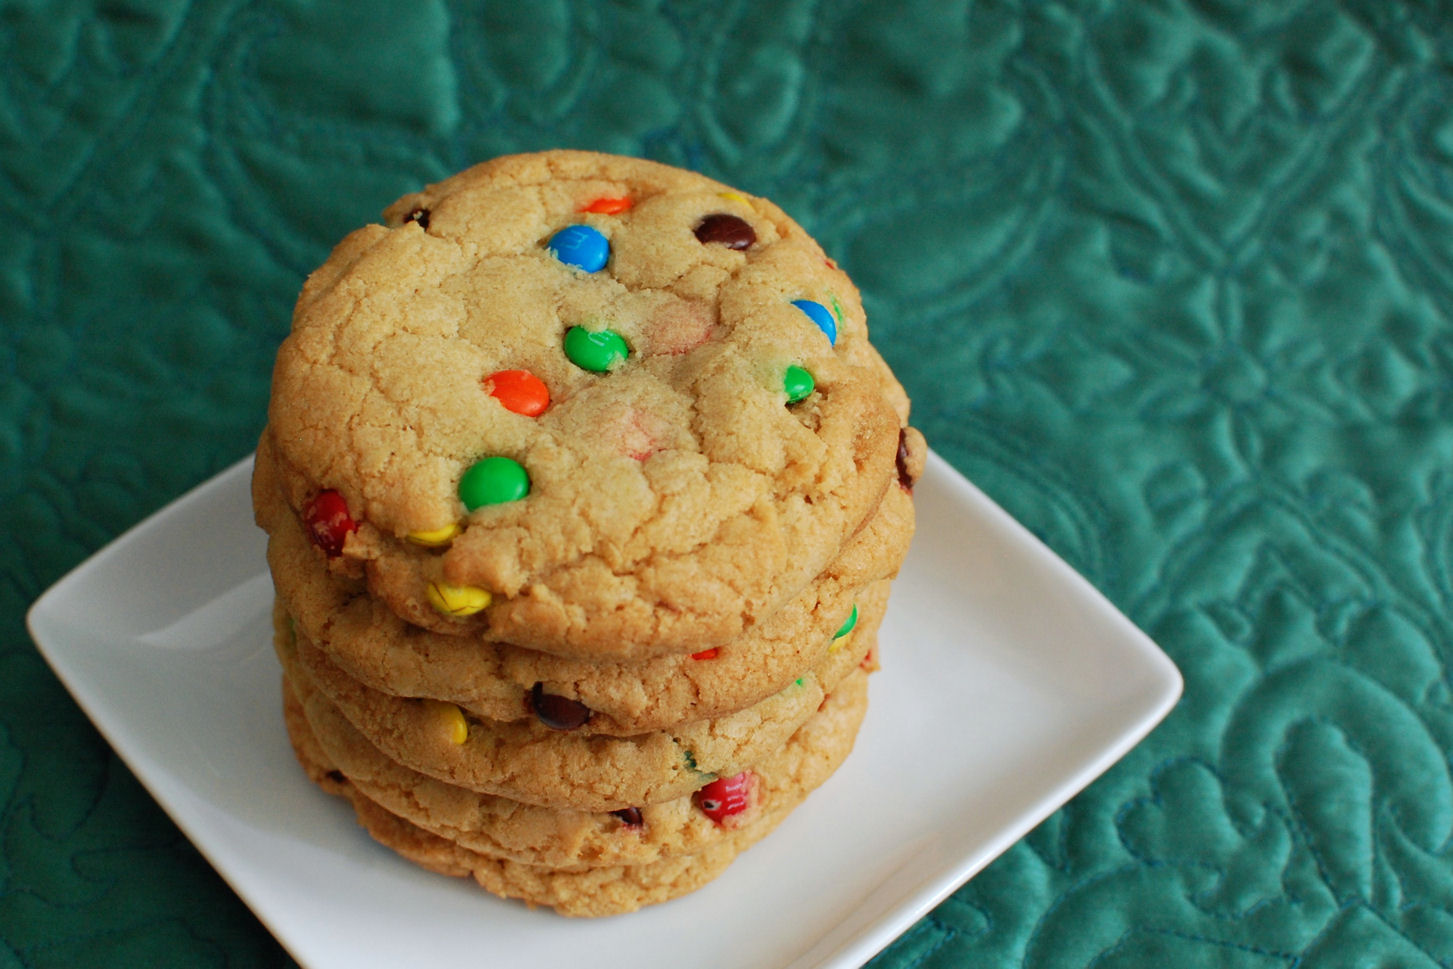
Cookie dough is AMAZING. I don’t think I have to explain this one. Everyone loves raw cookie dough. If you don’t, I don’t think we can be friends. In fact, until a recent Browned Butter and Cream Cheese Chocolate Chip Cookie came into our lives, Hubby always prefered chocolate chip cookie dough over a baked cookie.
What is your favorite thing about cookies?
One Year Ago: Crockpot Ham with Beer and Chutney Glaze, Funfetti Blondies, and Chipotle Pork Stew
Two Years Ago: Alton Brown’s Broiled, Butterflied Chicken
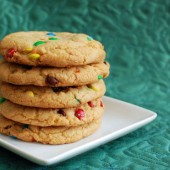


Giant M&M Cookies
These cookies are the size of your hand and chock full of colorful mini M&Ms
Yield: 18 large cookies (or 36 small cookies)
Ingredients:
2 cups + 2 Tbsp flour
1/2 tsp baking soda
1 1/2 sticks (12 Tbsp) of salted butter, melted and cooled
1 cup brown sugar
1/2 cup sugar
1 egg + 1 egg yolk, at room temperature
2 tsp vanilla
1 cup mini m&m’s
Directions:
Preheat oven to 325 degrees F.
Mix the flour and baking soda in a bowl and set aside. In another bowl, mix the butter and sugars until they are combined. Add the egg, egg yolk, and vanilla and stir until mixed. Gradually add flour and mix until a dough forms – it will look crumbly at first, but it will come together. Stir in the M&Ms.
Divide the dough how you choose (1/4 cup portions for 18 large cookies or 2 tablespoon portions for 36 smaller cookies). Shape each portion into a ball with your hands then flatten slightly on the cookie sheet.
Bake for 12-15 minutes (large cookies) or 8-12 minutes (small cookies) or until the edges are slightly brown. The centers should be soft and puffy. Do not over bake. Let cool completely.
Recipe from How Sweet It Is, originally adapted from Cook's Illustrated

 I am Jen the Beantown Baker. Engineer by day and baking maven by night. Hubby serves as my #1 fan and official taste tester. We got hitched back in 2006. Barefoot. In the sand. With the waves crashing behind us. It was one of the best decisions we’ve ever made.







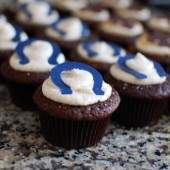
LOVE the decorated cupcakes! What recipe did you use? They look delicious. 🙂
It was nice meeting you yesterday. Your m&m cookies were yummy as well.
Thanks Elina! I used this recipe for Irish Car Bomb cupcakes from Smitten Kitchen. I’ll do a full post with the recipe and details later.
Super cute!! They look delicious too. 🙂
Thanks for the inspiration; I had seen the general idea elsewhere but never thought about doing it for sports logos for some reason. I made a few cupcake toppers this afternoon that I’ll be posting soon. (peasandcues.wordpress.com) Great idea!!
I love this! Im going to try to make some candy toppers for my cupcakes now.
They are so adorable! I don’t know why I do not do cupcakes more often. They are a such a crowd pleaser 🙂
They are so adorable! I don’t know why I do not do cupcakes more often. They are a such a crowd pleaser 🙂
I actually prefer the yellow sprinkles to the idea of yellow/gold frosting. It makes them look SO CHIC
I don’t know if the frosting or actually cupcake was my favorite part, so good I had to bring one to work with me on Monday.