


Canning Party and Jam Maker Peach Jam
Hope everyone had a great weekend. If you follow me on Twitter or Instagram, you probably noticed that I did some canning this weekend. I partnered up with Ball to host a canning party with some of my friends.
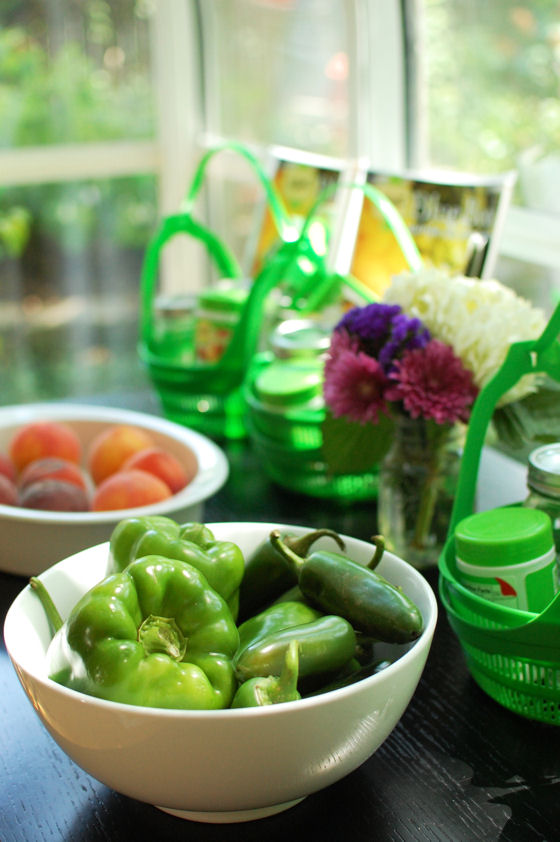
The first thing I had to decide on was what we were going to can. A friend of mine just brought me a half bushel of Georgia peaches, so I knew we’d be making some peach jam for sure. As I started hunting for other recipes to make, I decided on a red wine jelly and a green pepper jelly (recipes to come soon).
Next up, I gathered all of my supplies. Everyone at the party went home with a Ball Discovery Kit, Ball Classic Powdered Pectin, the Ball Blue Book Guide to Preserving, and printouts of the recipes that we made.
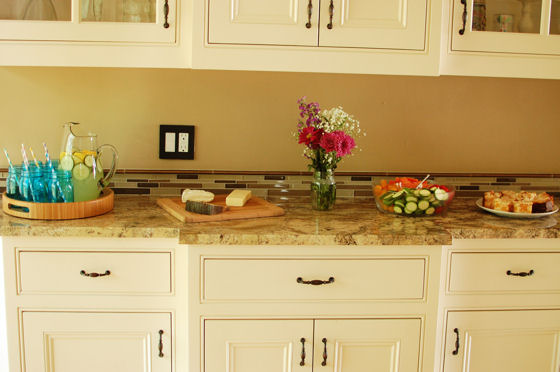
Since it was a girls afternoon in the kitchen, I prepared some snacks for us to enjoy. I set out a veggie and hummus dish, some peach pie bars, some cucumber lemonade cocktails, and some bread and cheese so we could taste our jellies as they were completed. I went ahead and washed all the jars and lids in the dishwasher on the sanitize cycle. I also decorated the kitchen with some fresh flowers in Ball jars instead of vases.
As we started getting going, we were talking about canning. No one at the party had ever canned anything themselves before, but most of us had stories of our parents or grandparents canning fresh produce from their gardens. One thing we learned as the afternoon went on was the importance of having a pot of boiling water on hand. We found our groove by keeping two large stockpots full of water on a burner at all times. That way we could keep jars warm in one pot and process jars in the other pot. I’m sure this is something more experienced canners know without even thinking about it. But it was definitely an “a-ha” moment for us.
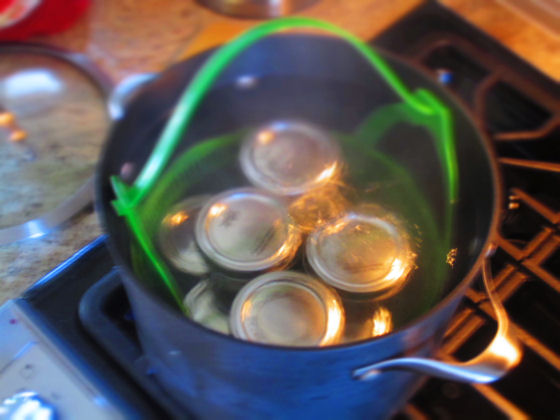
One comment that I kept hearing throughout the afternoon was how EASY this all was. The jellies and jams came together with just a few ingredients and little effort. And honestly, the intimidating “canning” process was nothing to be scared of at all.
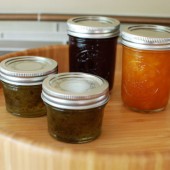
Everyone went home with a half pint of each of the jellies we made. Each of the recipes had enough extra for us to taste with our bread and cheese board. (By the way, on my cheese board, I had a sharp cheddar, a goat milk brie, and some manchego). It was really hard to choose a favorite. Everyone agreed that the peach jam was a classic fruit jam that will be great in the mornings on toast. The pepper jelly was very unique and quiet addictive. The red wine jelly had a great color and flavor.
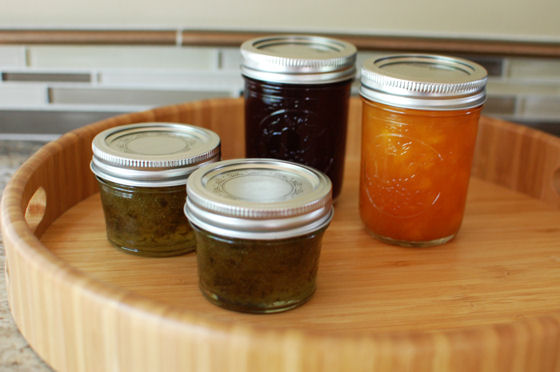
I’m including the peach jam recipe that we made below. We used the Ball FreshTECH Automatic Jam & Jelly Maker that Ball sent me for this recipe. It was super super simple. You really just pour everything in and let the machine do all the work. I posted a quick video the other day to show how simple it really is to use. I can see myself using this appliance in the future as I continue to make jams and jellies.
Thanks to Ball for helping me to face my fear of canning by asking me to participate in National Can It Forward Day. My friends and I learned a lot and I think you sparked a fire in my to try canning more produce this summer.
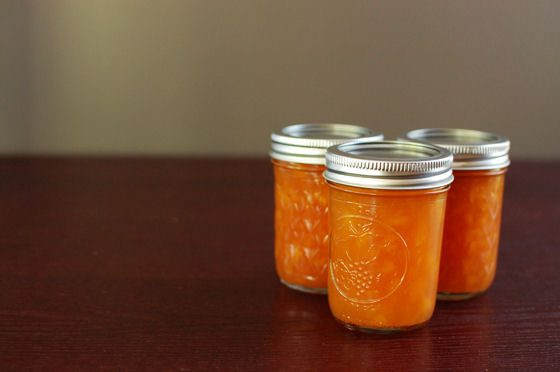


Jam Maker Reduced Sugar Peach Jam
Yield: Four 8 oz (half pint) jars
Ingredients:
3 1/4 cups crushed peaches (about 2 lbs or six medium)
3 Tbsp Ball® RealFruit® Classic Pectin
2 Tbsp lemon juice
1/2 tsp butter or margarine
2 cups sugar
Directions:
Wash, peel and pit peaches. Coarsely chop peaches, and then crush with a potato masher. Measure required quantity of crushed peaches and remaining ingredients for your recipe; set aside.
Sprinkle pectin evenly over bottom of the Pot fitted with the Stirrer. Add crushed peaches evenly over pectin. Pour lemon juice over peaches. Add butter/margarine to help reduce foaming.
Press jam button – the cook time will automatically default to 21 minutes. Press enter.
Wait 4 minutes for appliance to sound 4 short beeps indicating that it is time to add sugar. Add sugar gradually while Stirrer continues running. Place the Glass Lid on the Pot.
The appliance will continue to automatically stir your ingredients while it cooks. Stay within earshot of the Jam & Jelly Maker, the appliance will beep again at the end of the process signaling jam cooking is complete. Press cancel, unplug the appliance and immediately remove Glass Lid.
Remove Stirrer using a pot holder. Skim foam, if necessary, from top of jam.
Preserve jam immediately, using 1 of the 3 ways listed here.
Recipe from FreshPreserving.com


 I am Jen the Beantown Baker. Engineer by day and baking maven by night. Hubby serves as my #1 fan and official taste tester. We got hitched back in 2006. Barefoot. In the sand. With the waves crashing behind us. It was one of the best decisions we’ve ever made.







I always loved fig newtons too 🙂 I have never thought of making my own. Now I know where to find a great recipe 😉
I am going to have to make these. As well as making them with some blackberries.
These look amazing and waaaay better than the store bought brand.
My husband loves fig newtons – just added this to my ever growing list of things to make!
I liked Newtons until they messed with the recipe…Maybe this version will be yummier.
I love the idea of making these at home! I still buy Newtons from time to time…they’re so nice and wholesome.
You are so creative! My family loves Fig Newtons….can’t wait to make these!
My boyfriend and I were just talking about fig newtons this evening! I was saying how much I loved them but hadnt had them recently.. and heres a way to make them myself!
I moved to the US when I was 15 so I didn’t grow up eating fig newtons but I liked them at my very first bite. I’m sure the homemade version is so much more gourmet 😉 Your pics make it look like raspberry filling which I bet would be amazing!!
These bring me back to my childhood! Only, these look infinitely more delicious and decadent. The Blue-Eyed Bakers must make these soon!
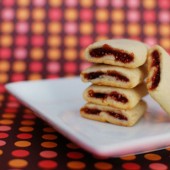
They look fantastic, and I’ve never actually been that much of a Fig Newton fan. Love the polka dot background for the pics too.
I love fig newtons. Hopefully, I can find my figs around here so I can try these.
http://www.lindaslunacy.blogspot.com
Congratulations on making one of the top food blogs!
Jonathan
Gluten Free
I was always a fig newton-lover as a kid too! Glad I wasn’t the only one and these homemade ones look fantastic!
I did make these and loved them! I did just what you suggested and used a little less of dough for that amount of filling and just made some grape jam filled ones with the rest of the dough. They came out perfect! Thanks for sharing!
http://ouritaliankitchen.blogspot.com/2010/10/fig-newtons.html
When you say scoop out the seeds and pulp–I am assuming you mean, use the seeds and pulp and discard the skins? Recipe looks good. I’m planning to make these tomorrow!
When you say scoop out the seeds and pulp–I am assuming you mean, use the seeds and pulp and discard the skins? Recipe looks good. I’m planning to make these tomorrow!
When you say scoop out the seeds and pulp–I am assuming you mean, use the seeds and pulp and discard the skins? Recipe looks good. I’m planning to make these tomorrow!
When you say scoop out the seeds and pulp–I am assuming you mean, use the seeds and pulp and discard the skins? Recipe looks good. I’m planning to make these tomorrow!
When you say scoop out the seeds and pulp–I am assuming you mean, use the seeds and pulp and discard the skins? Recipe looks good. I’m planning to make these tomorrow!
When you say scoop out the seeds and pulp–I am assuming you mean, use the seeds and pulp and discard the skins? Recipe looks good. I’m planning to make these tomorrow!
Laurel, Mikey & Quinn – Yes, scoop out the flesh and seeds and discard the skins. Let me know how they turn out!
Thank you for posting this! Great recipe and I want to try with different fillings. I used strawberry for mine – yummy!
In response to the dough ratio, I made it the way you posted but ended up with very thin dough once it was rolled out to 12×16 inches. I think you should leave it doubled.
Hi, I want to make raspberry newtons and am finding it very hard to get an easy recipe online… think I could use this dough with raspberry jam?
beantownbaker — May 16th, 2013 @ 8:41 am
You could definitely use raspberry jam for the filling!
I made them with 3 different fillings: strawberry jam, blueberry pie filling and vanilla cream. All came out very tasty, and also last freezing nicely.
A few comments:
1. The dough was not easy to deal with, even after cooling. It was sticky and fell apart easily.
2. With the first roll I made, I sliced it to cookies and separated them on the baking pan before baking. All of the Jam oozed out. The other ones I sliced but didn’t move the pieces, and it came out well.
3. I think in order to taste like real newtons they lack some oats/cereal. Any Idea of how to add some to the dough?
beantownbaker — June 10th, 2013 @ 1:10 pm
I would think you could grind up some oats and replace some of the flour with the ground up oats. If you try it, I’d love to hear how they turn out!