


Chocolate Truffle Ice Cream
If you are a fan of chocolate, you have to make this Chocolate Truffle Ice Cream this summer. You’ll thank me later for being so assertive about this, so just go with it. Start gathering your ingredients now and plan ahead. Because this ice cream is the most decadent ice cream I’ve ever eaten.
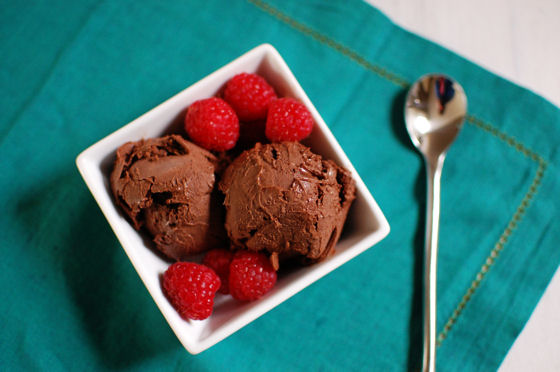
And it requires even more patience than most ice cream recipes. This ice cream takes 5 days to make! Yep, five days. And believe me, it’s worth the wait.
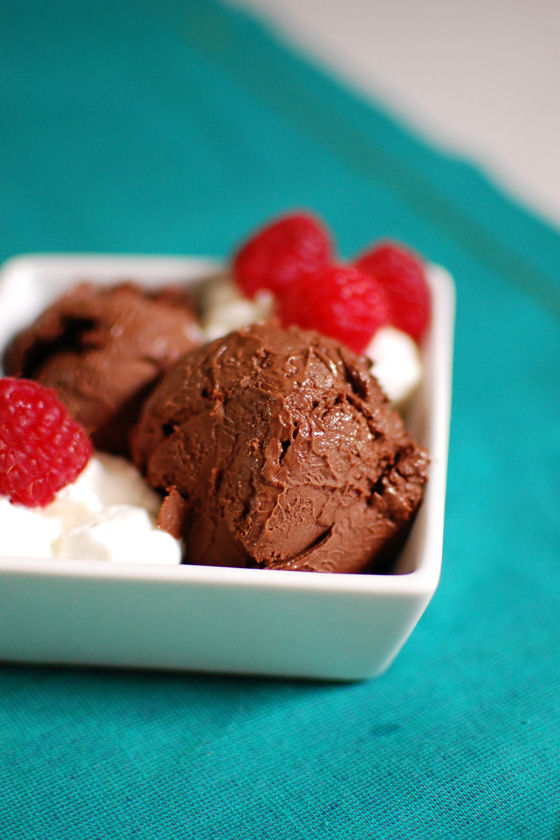
Scooping this ice cream is somewhat difficult because it’s just so thick. I served it with freshly whipped cream and raspberries to lighten up the thickness a bit. When I had some of the ice cream by itself, I could only eat a small scoop because it was just so rich.
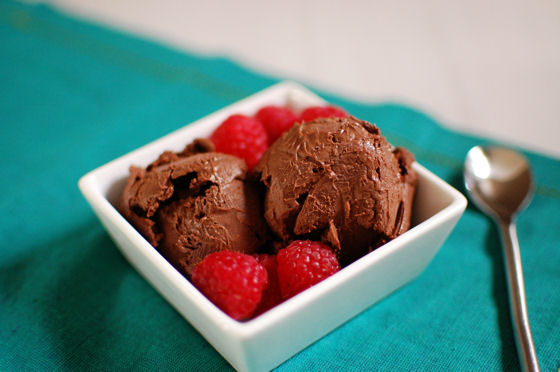
I have to thank Fiona for sharing this recipe for me. We were emailing one day and she mentioned she was making it. I got started on my batch that very night when I got home. You should do the same.
One Year Ago: Boston’s Chocolate Brunch from In and Around Town
Two Years Ago: Cannoli Cupcakes
Three Years Ago: Strawberry Cobbler
Five Years Ago: Cookie Dough Chocolate Ice Cream Cupcakes and Goat Cheese and Spinach Turkey Burgers


Chocolate Truffle Ice Cream
Ingredients:
7 ounces dark chocolate (70% to 75% cacao), finely chopped
2 cups plus 2 Tbsp whole milk (I used coconut milk here)
1/3 cup unsweetened cocoa powder
6 egg yolks
13 Tbsp sugar, divided
1/4 cup heavy whipping cream
Directions:
Place chocolate in a medium metal bowl. Set bowl over a saucepan of barely simmering water. Stir chocolate until melted and smooth. Set melted chocolate aside; let cool slightly.
Whisk milk and cocoa powder in a medium heavy saucepan over medium heat until mixture begins to boil; set aside.
Using an electric mixer, beat egg yolks and 7 tablespoons sugar in another medium bowl until very thick ribbons form, about 2 minutes. Whisking constantly, gradually add hot milk mixture to egg yolk mixture. Return mixture to saucepan. Add melted chocolate and whisk to blend. Stir over low heat until slightly thickened and an instant-read thermometer registers 175°, about 5 minutes. Transfer chocolate custard to a large bowl and place over another large bowl of ice water. Stir until chocolate custard is cool.
Bring remaining 6 tablespoons sugar and 2 tablespoons water to a boil in a small heavy, deep saucepan over medium-high heat, stirring until sugar dissolves. Boil, occasionally swirling pan and brushing down sides with a wet pastry brush (do not stir), until a dark amber color forms, about 5 minutes. Gradually whisk in cream (mixture will bubble vigorously). Whisk caramel into chocolate custard. Strain into a large container; cover and chill for 2 days.
Process custard in an ice cream machine according to manufacturer's instructions. Transfer to another container; freeze for 3 days before eating.
Recipe as seen on A Boston Food Diary, originally from bon appetit




 I am Jen the Beantown Baker. Engineer by day and baking maven by night. Hubby serves as my #1 fan and official taste tester. We got hitched back in 2006. Barefoot. In the sand. With the waves crashing behind us. It was one of the best decisions we’ve ever made.







I definitely look forward to corned beef every year. Yours looks awesome. We actually trekked to CT this year for my mom’s corned beef and cabbage. And I got to take some leftovers home to make corned beef hash!
I have never made corned beef myself, but it always looks so tasty!
Hi! I would like to try this for Saint Patrick’s Day this year and wanted to verify that the liquid ingredients added to the dutch oven are not brought to a simmer on the stovetop before being placed in the oven?
beantownbaker — March 9th, 2014 @ 10:17 am
Yep! Just dump it in and throw it in the oven.
I made it today and it turned out SO GOOD! Thank you so much for the recipe. We all loved it! I linked back to you on my website! http://beautifulmess46.blogspot.com/2014/03/corned-beef-and-cabbage-for-saint.html
beantownbaker — March 18th, 2014 @ 8:05 am
So glad you enjoyed it! What a fun day with your little leprechaun!
Made for fathers day! They love them!
Thank you