


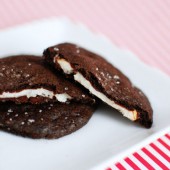
Peppermint Patty Cookies
York peppermint patties are one of my favorite candies. I love the minty-chocolatey goodness that you can get biting into on little patty. I have seen recipes to make them from scratch, but haven’t crossed that bridge yet…

I’m not going to lie, I ate a LOT of cookies while I was at Hershey’s. These were hands down, my favorite of the entire trip. They’re awesome. I knew I had to make them at some point when I got home.
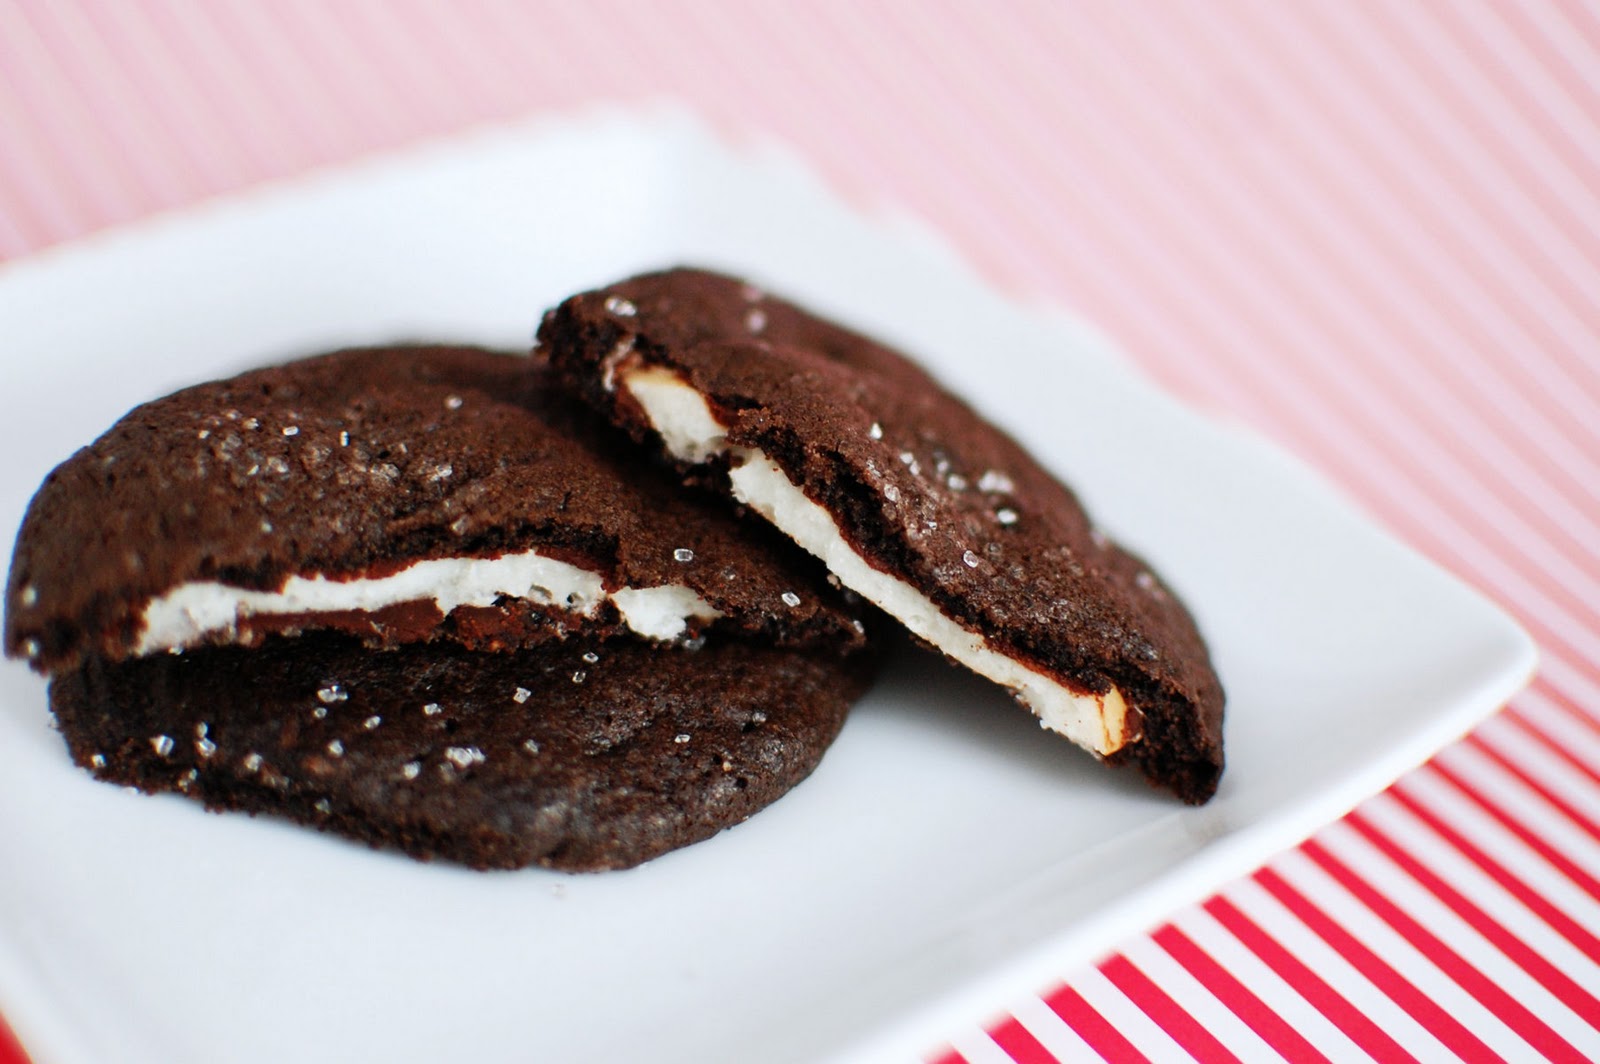
It wasn’t until after the holidays that I had time to make these delicious little cookies. The dough on my cookies seemed a little wetter and thinner than I expected. I’m not sure why that happened. The cookies were delicious even if they were really messy to assemble. I stored these in freezer and hubby and I enjoyed snacking on them straight out of the freezer! It made the smooth peppermint filling even more refreshing.
One Year Ago: Spinach and Artichoke Dip
Two Years Ago: Pork Chops with Blue Cheese Gravy


Peppermint Patty Cookies
Yield: 2 dozen
Ingredients:
2/3 cup butter or margarine, softened
1 cup sugar
1 egg
1 Tbsp milk
1/2 tsp vanilla extract
1-1/2 cups flour
1/3 cup cocoa
1/2 tsp baking soda
1/4 tsp salt
24 to 26 small (1-1/2 inch) York Peppermint Patties
White decorator's sugar
Directions:
Beat butter and sugar in large mixing bowl; add egg, milk and vanilla, blending thoroughly. Stir together flour, cocoa, baking soda and salt. Add to butter mixture, blending well. Refrigerate dough about 1 hour or until firm enough to handle. (Dough will be a little soft.)
Heat oven to 350. Lightly grease cookie sheet or line with parchment paper. Remove wrappers from peppermint patties.
Roll dough into 1-1/4 inch balls. For each cookie flatten ball slightly; press peppermint pattie into dough. Mold dough around pattie so that it is completely covered. Place on prepared cookie sheet. Using knife edge press star design into surface of each cookie; sprinkle with decorator's sugar.
Bake 12 to 14 minutes or until cookie is set; sprinkle with additional sugar, if desired. Cool slightly; remove from cookie sheet to wire rack. Cool completely. About 2 dozen cookies
Recipe from Hershey's

 I am Jen the Beantown Baker. Engineer by day and baking maven by night. Hubby serves as my #1 fan and official taste tester. We got hitched back in 2006. Barefoot. In the sand. With the waves crashing behind us. It was one of the best decisions we’ve ever made.


I do the same thing on Friday nights. Totally acceptable. 🙂 The cake looks gorgeous!
beantownbaker — February 24th, 2013 @ 10:33 am
Glad I’m not the only one 😉
This looks amazing!!! Great choice of convenience item to make, and what better way to use it than in a layer cake!?!?
Beautiful cake, Jen! I’ve never heard of a filling made from dried fruit, either. Must try it soon!
beantownbaker — February 24th, 2013 @ 10:34 am
It was a lot better than I was expecting for sure!
Sounds like a great combinations of flavors. Layer cakes are the best!
beantownbaker — February 24th, 2013 @ 10:34 am
I agree, layer cakes are the best
Those are some delicious flavors going on. It looks great, too.
haha, “forced” your friends to eat this deliciousness? tough life! sounds amazing 🙂
beantownbaker — February 24th, 2013 @ 10:34 am
Ha no kidding. The life of being friends with a baker…
Looks delicious!!
Very nice, cake